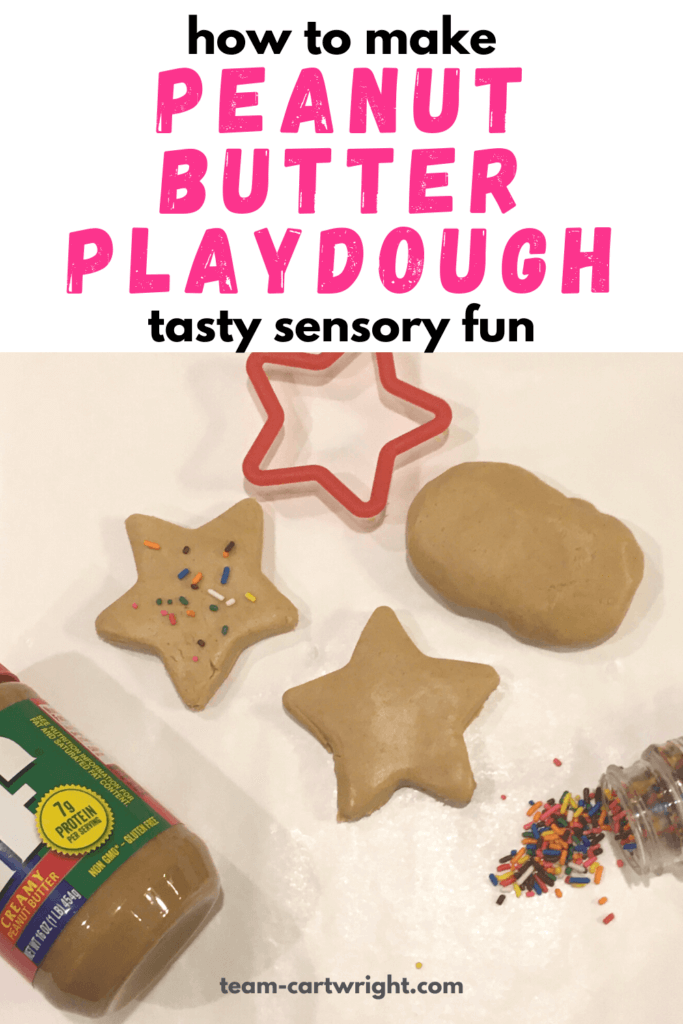
How To Make Edible Peanut Butter Playdough with Just 2 Ingredients
My kids are obsessed with play dough. They love everything about playing with it. And they absolutely love when we make play dough at home.
So I thought it would be fun to try to make a playdough that I remember my mom making for my brother and me when we were kids. It is super easy and we had all the ingredients.
Here is how you can make this winning sensory experience at home with your kids. Here is how to make peanut butter playdough.
What's In This Post?
How do you make peanut butter playdough?
Peanut butter playdough is one of the easiest types of play doughs to make. That makes it perfect for a rainy day or weekend when you don’t have anything else planned.
(If you need an allergy-friendly version, check out Edible Sunbutter Play Dough!)
Ingredients for Edible Play Dough
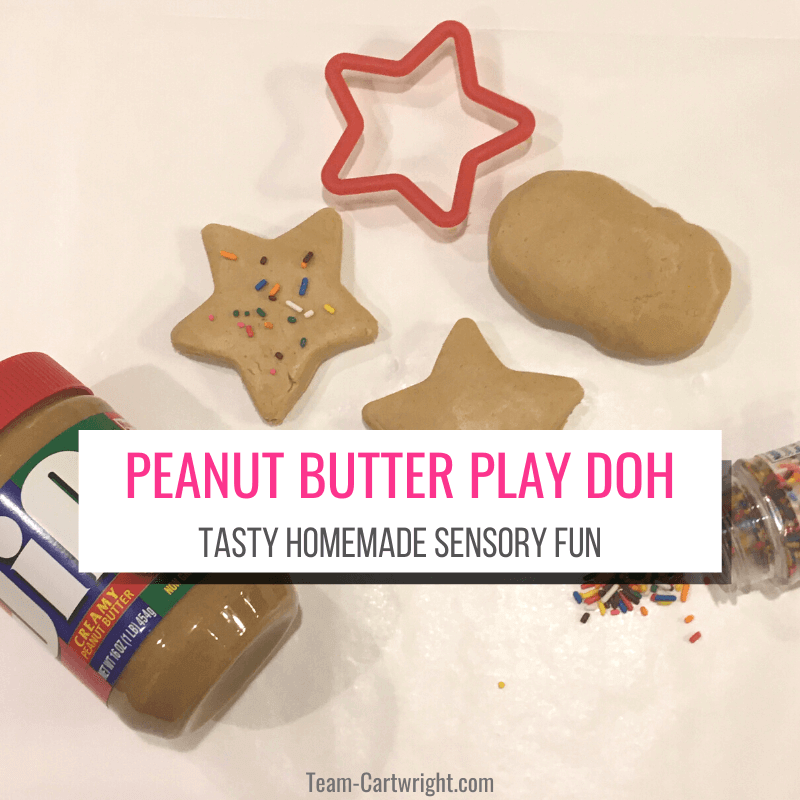
This edible playdough takes just two ingredients. You need:
- Peanut Butter
- Powdered Sugar
It should be pretty clear, but there is an allergy risk with this activity. If your child is allergic to peanut butter don’t do it. I haven’t tried it with alternative nut butters, but if they have the same consistency as peanut butter it could potentially work well.
We used powdered sugar and it made for a great consistency AND a delicious treat. If you want to discourage the eating of the playdough you can use cornstarch or even flour. You might have to add it gradually to get a good consistency, but it will make good playdough. (Don’t let your child eat too much if you use raw flour.)
How To Make Edible Peanut Butter Playdough
This is a simple recipe. You do have to work it a bit to make sure the ingredients mix fully, but it is not hard.
This recipe made enough playdough for two kids to play with a decent amount. You can scale it up or down as needed.
Step 1: Put 1 cup of peanut butter into a bowl. (I recommend spraying your measuring cup with nonstick spray to make it easier to get out.)
Step 2: Add 2.5 cups powdered sugar to the bowl.
Step 3: Mix it up! I start with a spoon, but as the ingredients start to mix more I just use my hand to work it. You’ll be able to tell when it feels like playdough. If it is too dry, add a little more peanut butter. If it is too sticky add a bit more powdered sugar.
Step 4: Wrap up your playdough and let it chill in the fridge for about 20 minutes.
Step 5: Play!
Want more edible playdough? Try Ice Cream Playdough!
Find Your Next Fun Acivity!

Playing With Edible Playdough
This playdough is every bit as fun to play with as store-bought playdough. It does taste a lot better though.
You can use this for all your usual playdough sensory play activities. Shape it, roll it out, use it for learning activities. It can do it all.
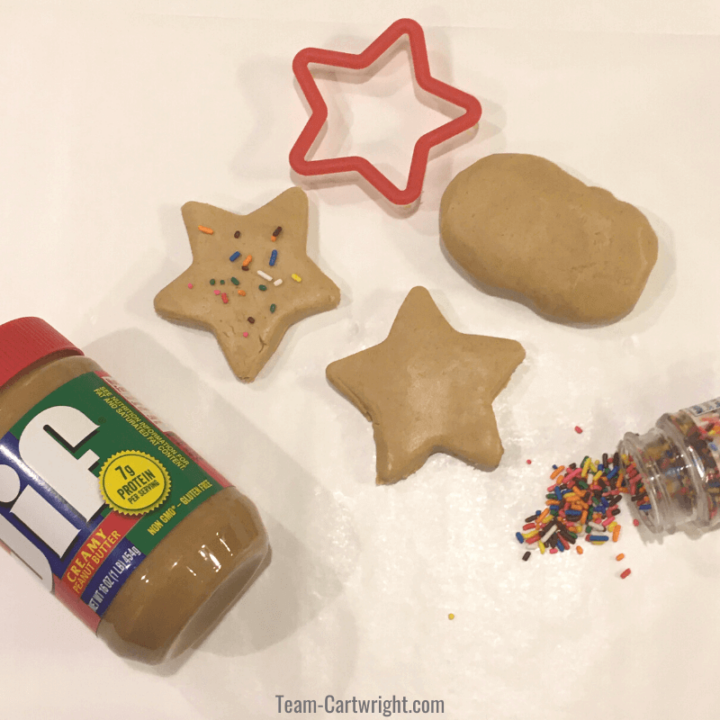
The real treat of this playdough comes from playing baker though. It is perfect for pretend cookies and cakes because you can actually taste it.
I recommend getting out cookie cutters, sprinkles, and candies to make yummy creations. This is the perfect playdough to use as a pretend bakery or cake shop. A lot of learning comes from this sort of imaginative play.
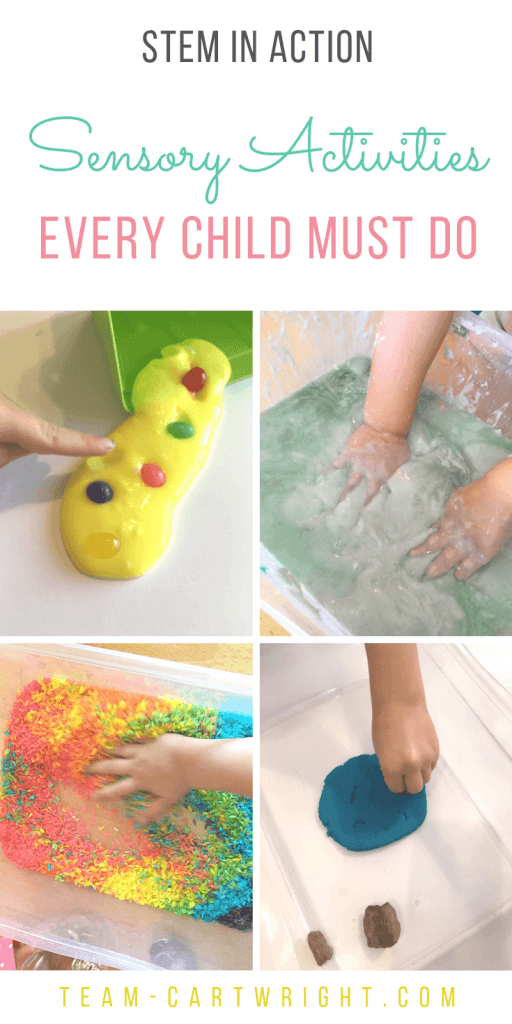
Learn why sensory play is so important for kids: The Big Benefits of Sensory Play
Storing Your Edible Playdough
This playdough is too much fun to have for just one day. You can store it for awhile.
I take each child’s portion and put it in a resealable baggie. Then I keep them in the fridge until we want to play with the playdough again!
Now, I understand that this playdough was made with two ingredients that don’t need to be refrigerated. But for some reason, I feel better keeping it in the fridge. We hold on to ours for a couple of weeks.
Once we are done with our playdough we simple throw it away.
Sensory play with out the mess? Yes! Learn more: Mess Free Sensory Activities
You’ll Want To Read These Too!

Enjoy The Sensory Fun!
This peanut butter playdough is so much fun, you will want to make it again and again. And since it doesn’t need anything fancy you are always ready to make it!

How To Make Edible Peanut Butter Playdough
Learn how to make the easiest (and tastiest) edible playdough there is. With just two ingredients you can make a delicious sensory play time!
Materials
- Peanut Butter
- Powdered Sugar
Tools
- Resealable Bag
- Cookie Cutters (optional)
- Candy (optional)
Instructions
Edible Peanut Butter Playdough Recipe
This recipe makes enough playdough for 2 kids. You can scale it up or down as needed, just keep the ratios the same.
- Put 1 cup of peanut butter in a bowl.
- Add 2.5 cups of powdered sugar. Mix with a spoon.
- As the playdough comes together, switch to using your hand to mix and knead the dough. If it is too sticky, add a bit more powdered sugar. If it is too stiff add a bit more peanut butter.
- Place into a resealable bag and chill for 20 minutes.
- Play and enjoy!
Notes
Store your peanut butter playdough in a resealable bag in the fridge.
This playdough is perfect for pretend play with baking or cooking. Use cookie cutters and candies to create fun treats.
This playdough contains peanut butter. Do not make if you or your child has a peanut allergy.