3 Easy Color Science Activities for Kids.
Let’s talk color. Color is a great way to introduce kids to science. It’s bright, it’s fun.
And colors are one of the big things you learn when you are a toddler. You start with letters, numbers, shapes, and colors. So kids have a vocabulary in place to recognize what they are working with, and this can boost confidence and willingness to try new activities. Color makes changes very clear to see, which makes them great for STEM activities.
So let’s dive into color. Here are 3 easy color science activities to do with toddlers and preschoolers.
What's In This Post?
How Does Color Work?
Let’s take a moment to talk about how color actually works. How do we see it? We see colors because they are in the visible light spectrum.
Light as a Wave
Light is a wave. (And a particle. It’s pretty interesting, but for our purposes, we are thinking of light as a wave.) Think of the waves you see when you drop a penny in a pool. Waves are formed. Some waves are big, some small. Some are fast, others are more spread out.
These differences are the frequencies and wavelengths. Frequency is how quickly a wave moves up and down, and the wavelength is the distance between two peaks in the waves. These differences in light waves are what give us colors.
How We See Color
Colors each have different frequencies and wavelengths. Reds have a low frequency and high wavelength, while the purples have a high frequency and low wavelength.
What we recognize as the color of an object is actually the wave of light that is reflected by that surface while all other wavelengths are absorbed. So an apple looks red because the surface of it absorbs all colors except red. Red bounces off and is seen by our eyes.
When you see white, what you are actually seeing is all the wavelengths mixed together, all colors are being reflected. Black is when all the wavelengths are absorbed. It is the absence of color.
How Rainbows Work
Rainbows are always seen in the same order: red, orange, yellow, green, blue, indigo, and violet. Remember learning about Roy G. Biv in school? This is why. Colors maintain their wavelengths and are refracted the same way every time, creating rainbows.
The order of the wavelengths do not change, rainbows will always be in this order. If you have Netflix check out a show called StoryBots. They have a great episode that explains all this to kids. This site also has a good visual of the wavelengths of colors.
Bonus fact: Rainbows, as seen from overhead, are actually circles.
More Must Try STEM Activities
Color STEM Activities for Kids
Now we know a bit more about how color works. Let’s try some activities to learn even more. The first one shows kids how colors mix, and it makes the order of rainbows make a little more sense. The second teaches about refracted light and answers an age-old question. And the third introduces chromatography to break complex colors down into their components.
Walking Color Wheel
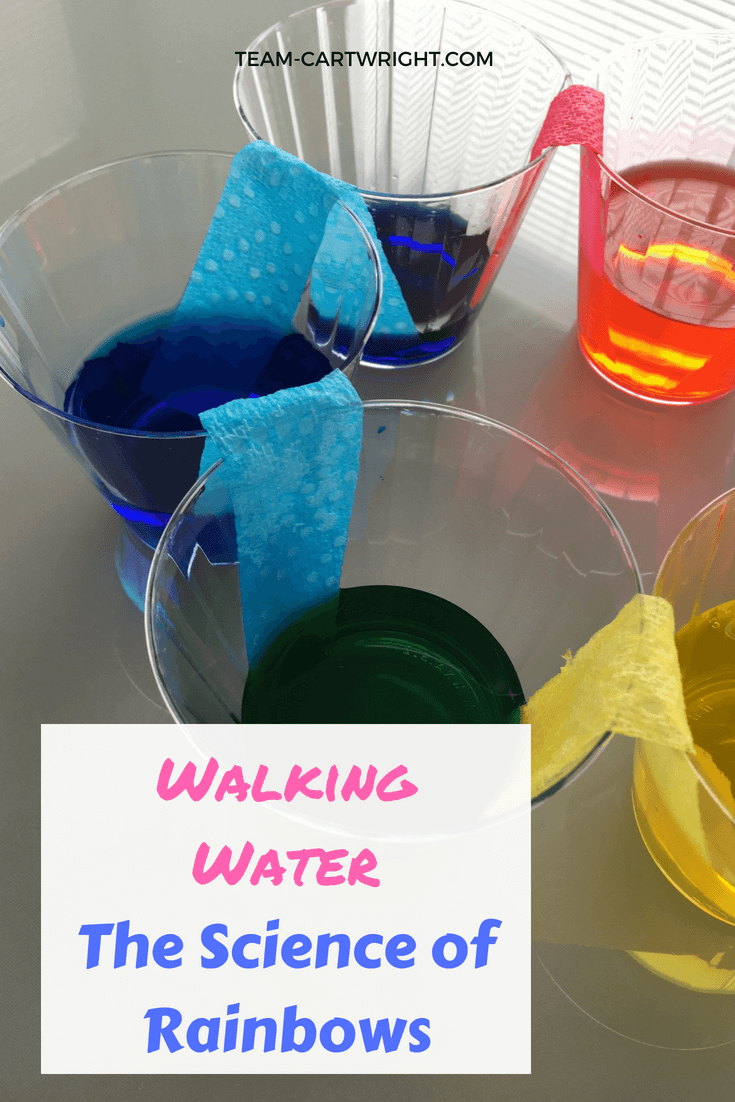
This one is great, and we have done it several times in our house. You might remember it from the St. Patrick’s Day post, as it gives a very nice visual rainbow. You can do even more with it, and we are going to make it even more meaningful here by talking about primary and secondary colors.
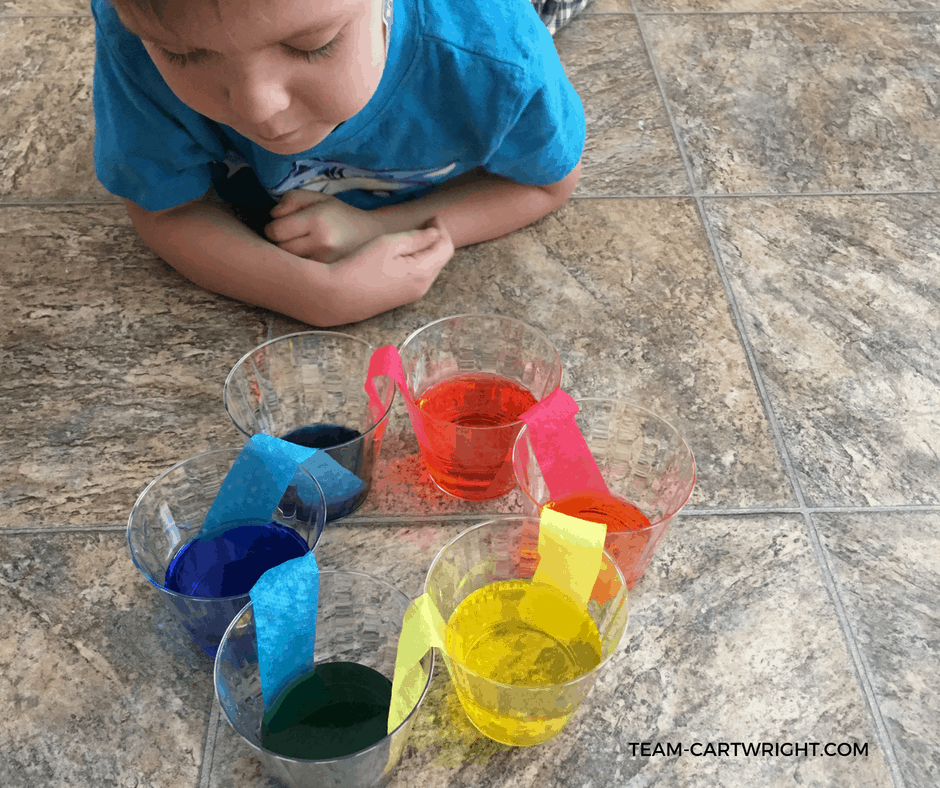
Primary colors are colors that can be used to make other colors, and they cannot be made from other colors. These are red, yellow, and blue. Secondary colors are the colors you get from mixing these primary colors.
Remember: Red+Blue=Purple. Red+Yellow=Orange. Blue+Yellow=Green. (This makes sense when you think about the order of a rainbow. Orange is between red and yellow, green between blue and yellow, etc.)
These are the big three to work on with your kids. Let’s make a visual color wheel that shows this in action.
Walking Rainbow Supplies:
- 6 plastic cups
- Paper Towels
- Water
- Food Coloring
How To Make A Walking Rainbow:
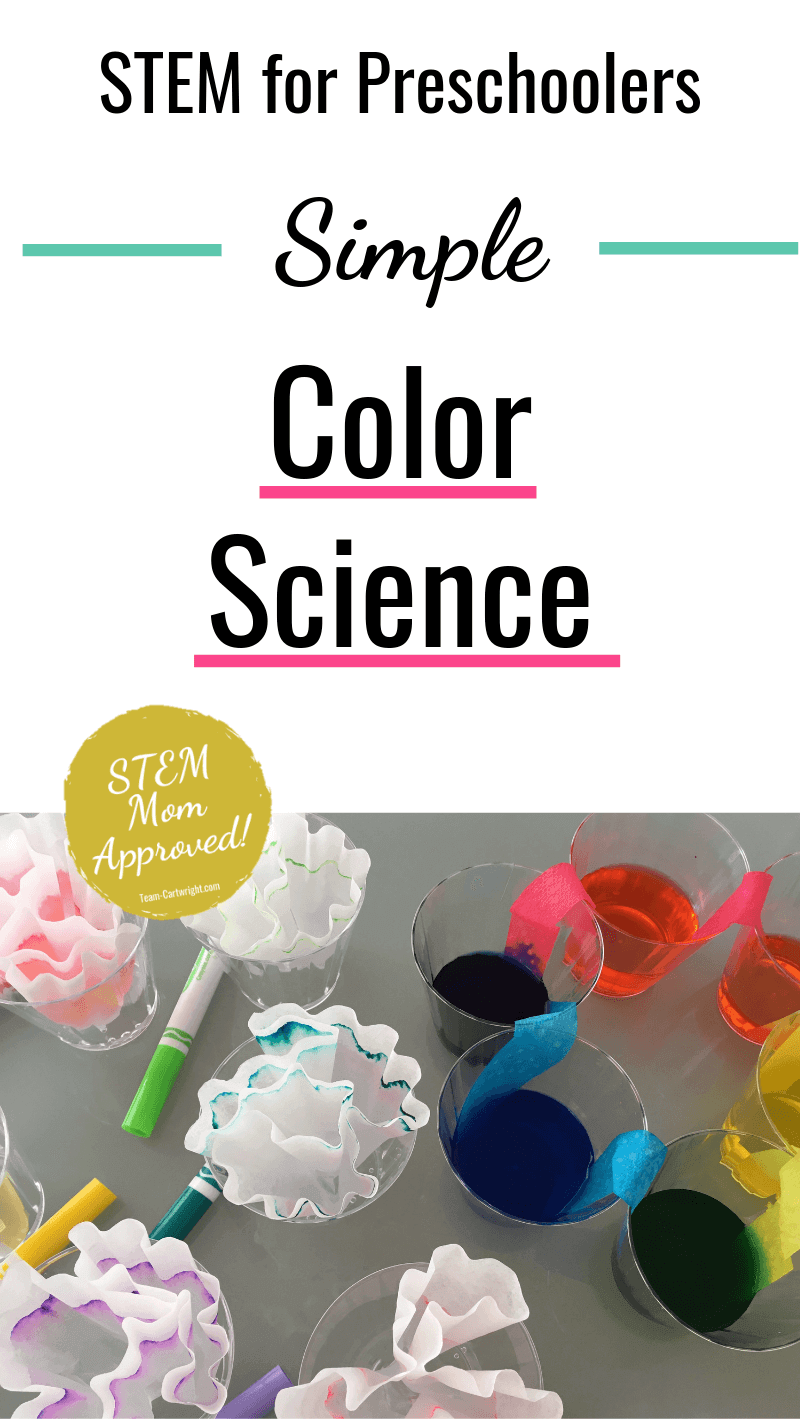
Set up your cups in a circle with all the cups touching. Fill every other cup with water, about halfway full. Add the red food coloring to one cup of water, blue to the second, and yellow to the third. Cut a rectangle out of the paper towel, about four by one inch. (You’ll need 6 of these total.)
Then take one and place one end in a cup with color and the other end in an empty cup, creating a bridge between cups. Continue until each cup is connected by a paper towel, completing the circle. Now wait.
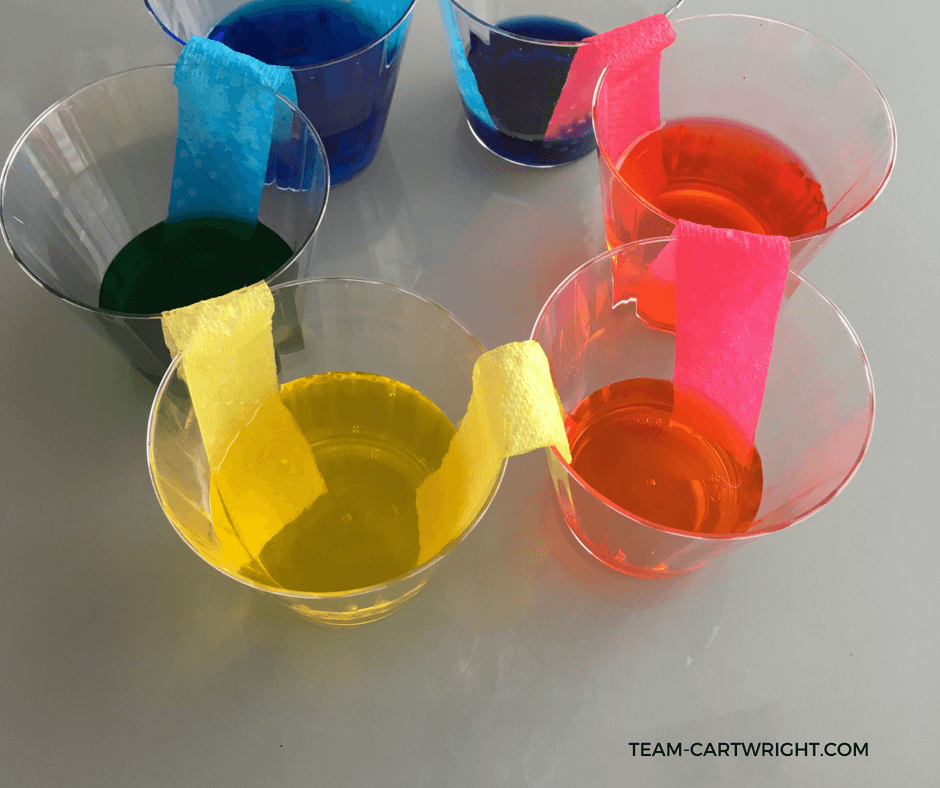
You should be able to see the color climbing up the filter bridge. Colors from both sides will mix in the empty cups.
This is a project you need to set up and come back to later. It doesn’t take too long, but it does take some time for the water to move from cup to cup. After some time you will see new colors have appeared in what was once the empty cups!
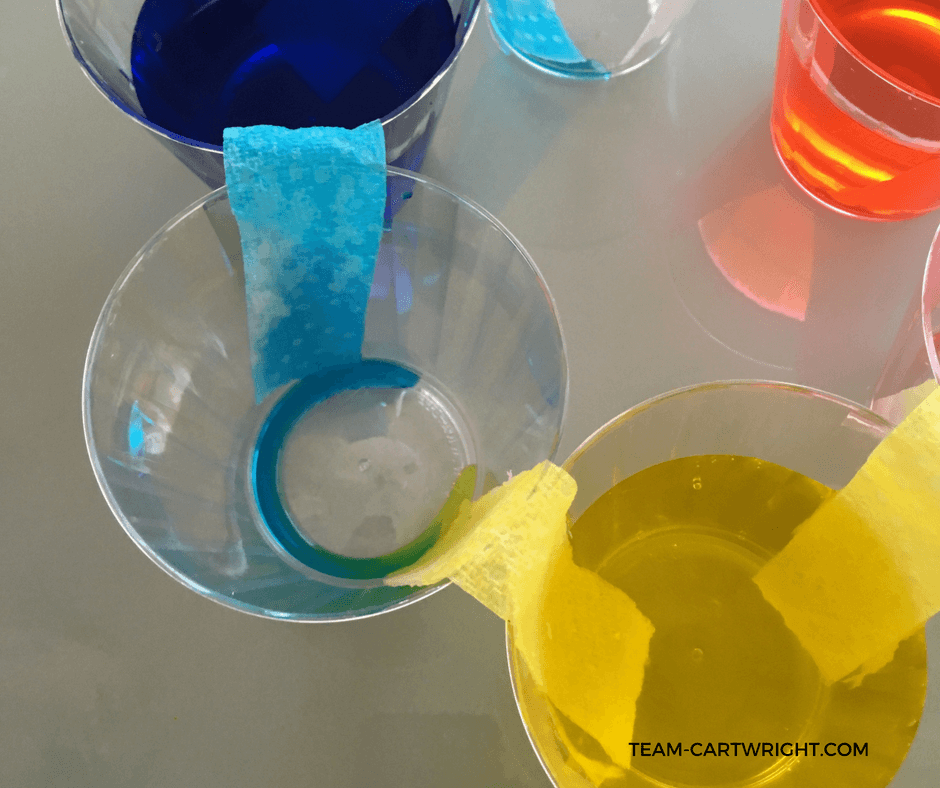
While you wait you can ask your children to predict what they think will happen. Will the water make it all the way through the bridge? What colors will we see in the empty cups? This works because red, yellow, and blue are the primary colors that make new colors through addition.
There are colors, (magenta, yellow, and cyan) that can be used to create new colors through a subtractive method. This is often done using filters over lights. (Think of filters placed over lights for theatrical performances. Those create a subtractive color experience.) We’ll do that one another time, but it is good to know there are multiple ways to create colors.
Take it a step farther.
Do more mixing by combing the colors even more. What can you make? Older kids can enjoy making their own custom colors.
Use measuring spoons to mix colors using more precise measurements. Write them down and see if you can reproduce them. This is how specific shades of colors are created.
If you want to be even more precise repurpose a syringe from a baby Tylenol bottle. (Just be sure to rinse it well.) These give you more exact amounts and can help you create more subtly different colors.
Why Is the Sky Blue?
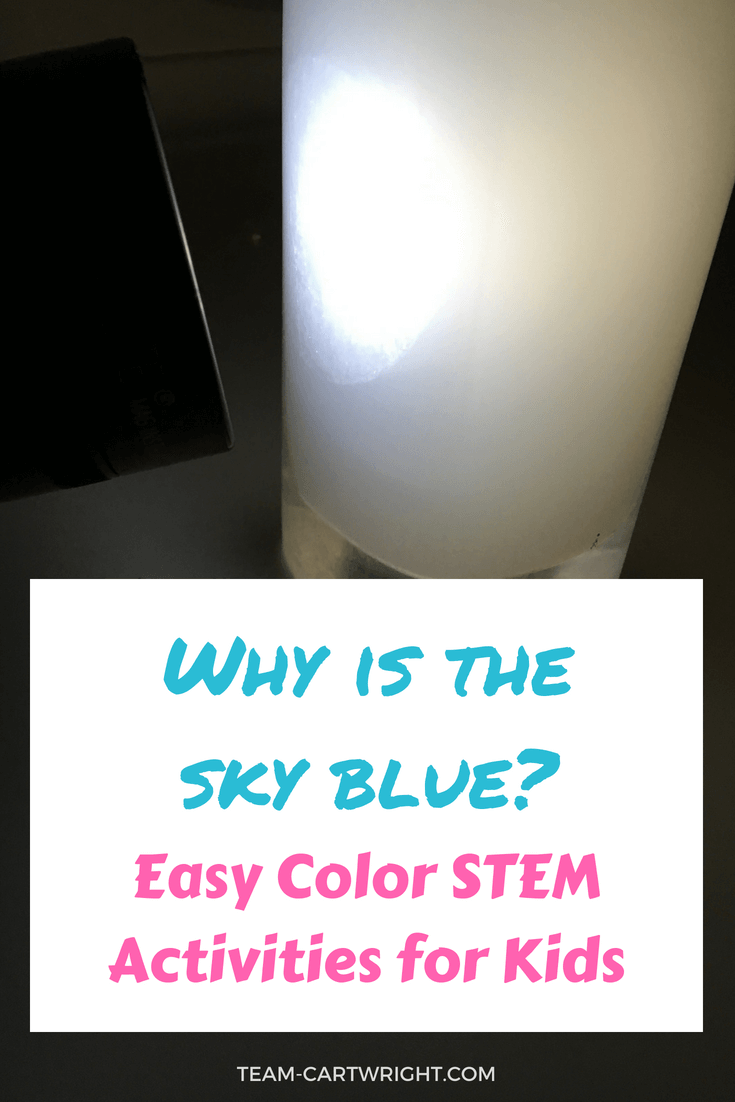
This is a stereotypical little kid question, right? It sounds so simple, yet do we really know why the sky is blue?
It comes down to wavelengths and scattering. Our atmosphere has lots of particles that we can’t see floating around in. (Nitrogen molecules, oxygen, etc.) Light waves from the sun bounce off of these particles. Blue light is scattered most of all, so that is what we see here on earth.
(Fun fact: Purple is actually scattered more than blue, but our eyes are not as sensitive to it as they are blue. So we see the sky as blue.)
Must Try Sensory Activities
At sunrise and sunset, the light is hitting the particles in the atmosphere at different angles, scattering the reds and oranges more. This is how beautiful sunrises and sunsets are created. If you watch closely you might just see a streak of green as the wave scattering moves from being predominately blue to predominantly red. It happens quickly, but it can be seen. Check out this site for more information.
We can demonstrate this blue sky for our kids very easily at home.
Materials to Make a Blue Sky:
- A glass of water
- Milk or White Soap
- Flashlight
How To Make a Blue Sky:
Take a glass mainly full of water. Add about a tablespoon of milk or white soap to create a thin whitish solution. (No jokes about skim milk already being white water here. 😉 ) Take the glass and the flashlight and go into a darkened room.
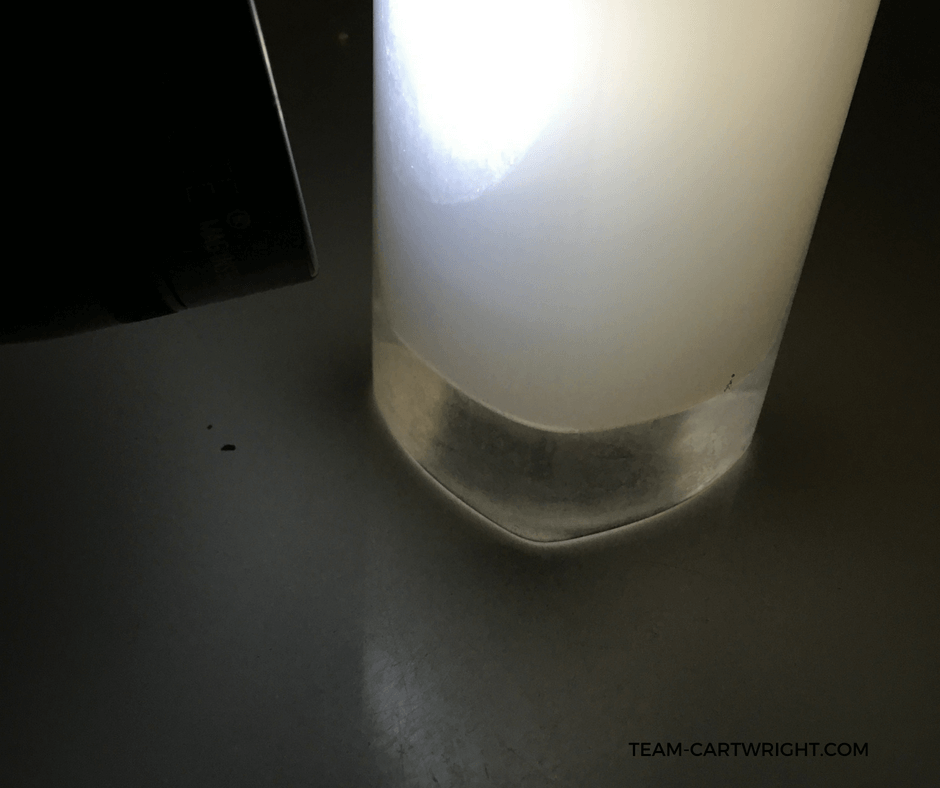
Hold the flashlight up to the side of the glass and observe it from the side. You should see a bluish cast from the liquid in the glass. This is the same as how light is scattered through the sky. The blue wavelength is scattered most of all, making it the color we see. This scattering in the sky is called Rayleigh Scattering.
At Home Color Chromatography
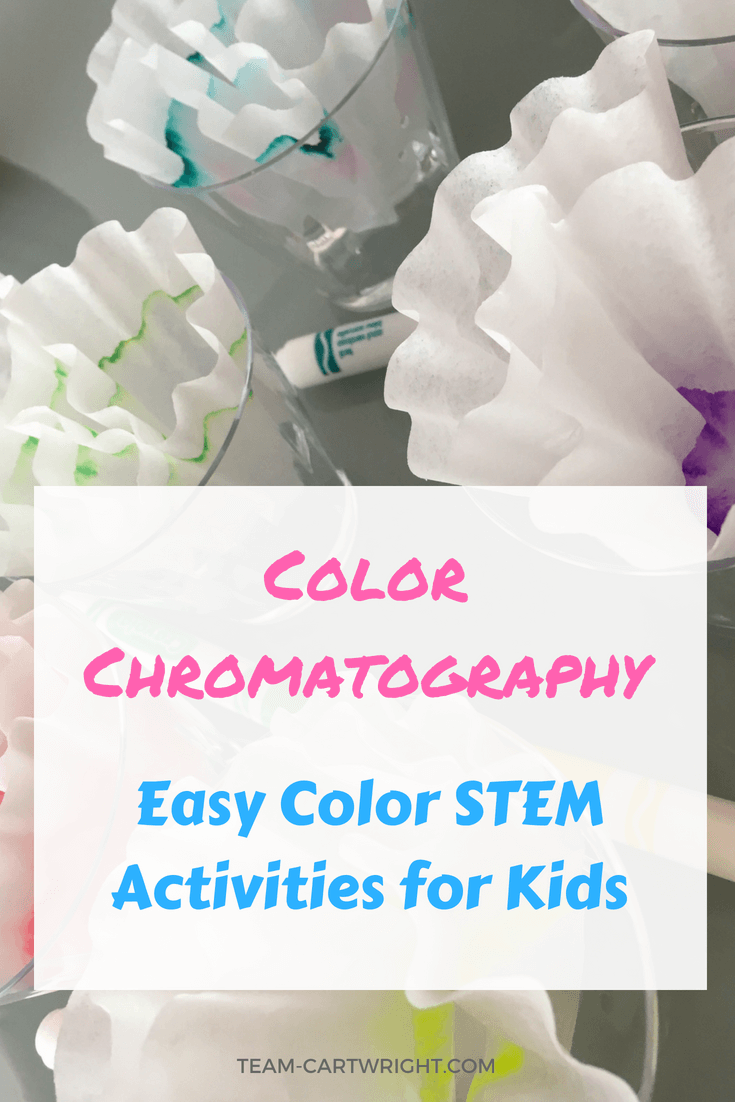
We learned that colors can be created by adding different primary colors together. Markers are a great example of this. For example, the ink in a green marker is made up of yellow and blue inks. We can separate these colors through a method called chromatography.
Chromatography is the separation of a mixture by passing it through a medium in which the components move at different rates.
Two ways of doing this I personally have worked with in my research days are gas chromatography and liquid chromatography. The medium in each of these is of course gas and liquid respectively. There are ways to do this in the lab with complex mixtures. (Let me know if this is something that interests you. I worked with both for years.)
You can do it at home in a more simplified manner, which is a good idea if you don’t want to spend thousands on lab equipment.
We can separate the color components of markers at home using simple materials.
Supplies for At Home Color Chromatography:
- Markers
- Coffee Filters
- Cups of Water
How To Do Coffee Filter Color Chromatography:
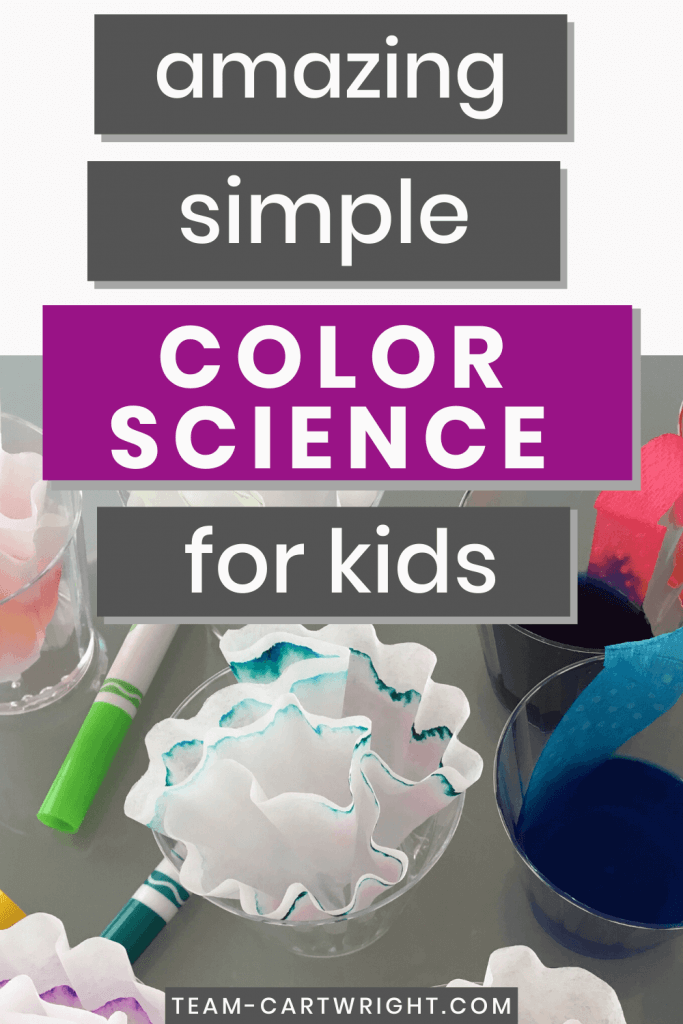
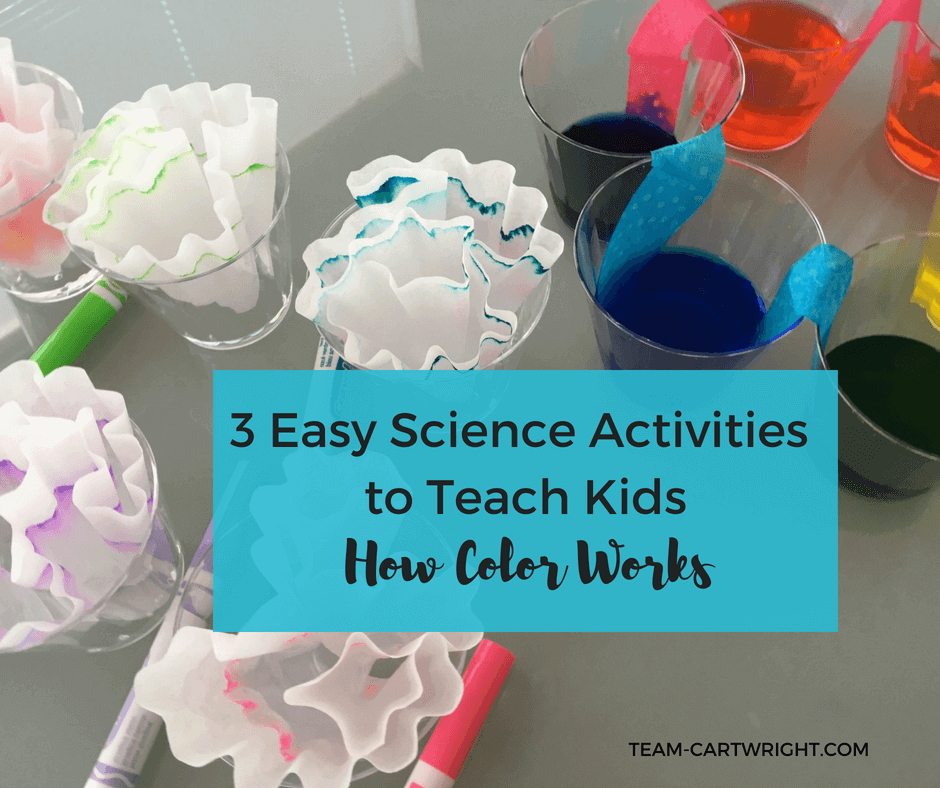
Take a coffee filter and draw a circle with a marker around the edge where the flat part moves into the ridged part. Make sure you don’t use permanent markers. Write the color either in the middle of the filter so you remember, or on a post-it you keep with that filter. It can be easy to forget what color you started with.
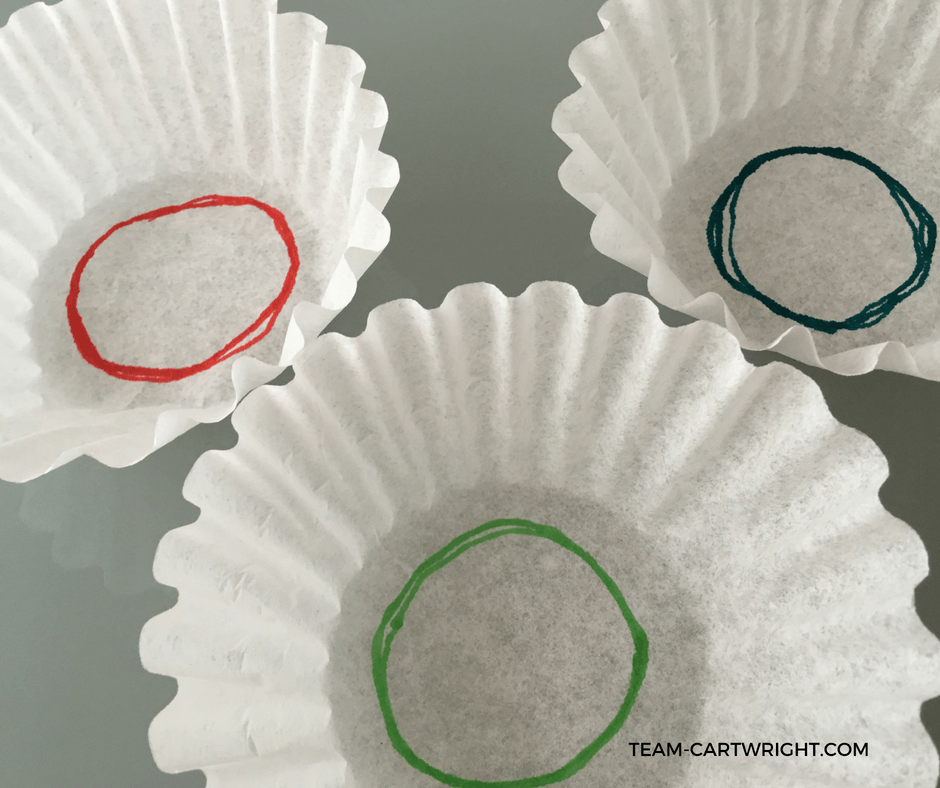
Fold the filter in half and then in half again to create a cone. Place this cone in a cup with water so that the tip of the cone touches the water, but the marker ring itself is not in the water. The water will start to travel up the filter.
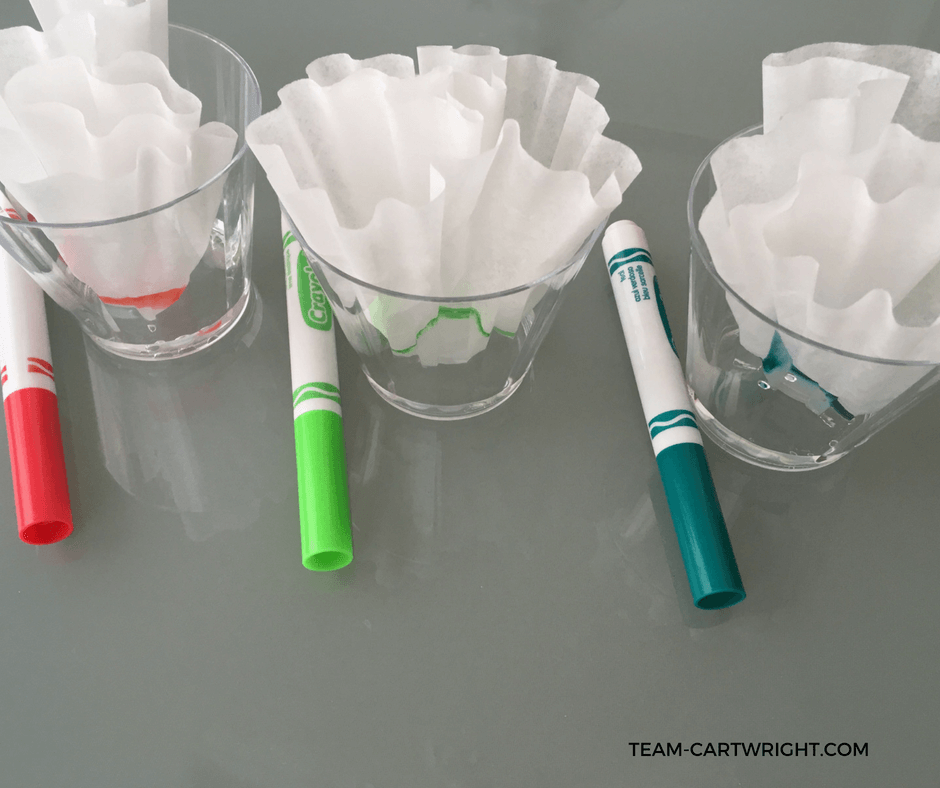
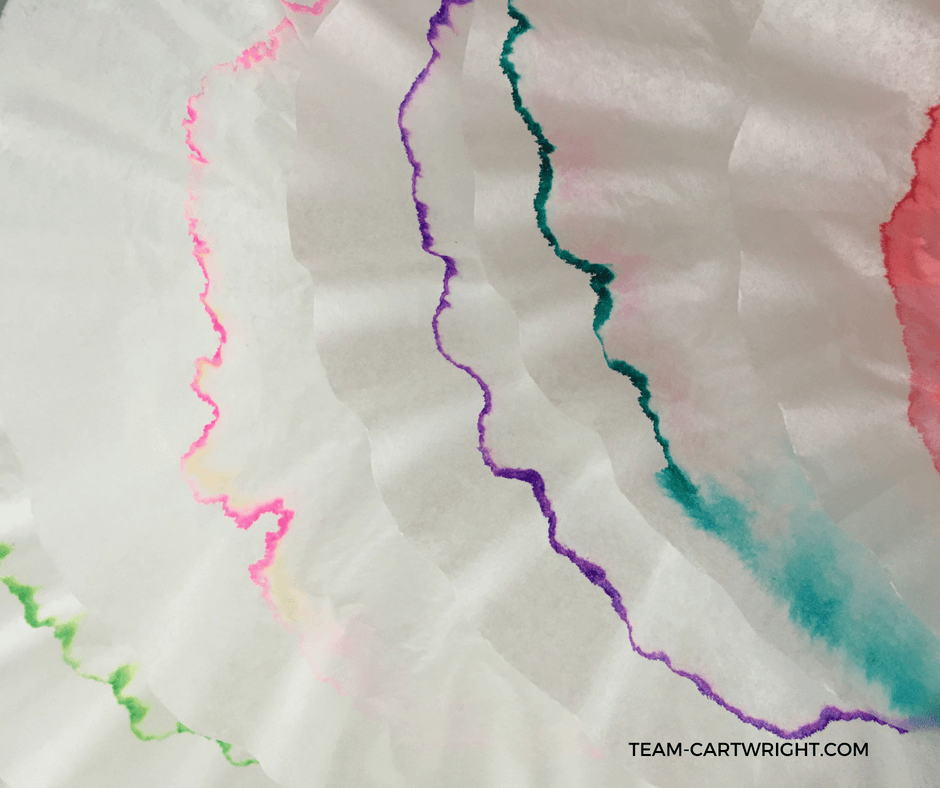
What you will see are the different colors that make up the original marker ring separating. Each color travels at its own speed through the filter, which allows us to see the separation. You will see the different components that make up the colors you use! We got some interesting results. If you look closely you can see the different shades that go into making up colors. I highly recommend you try black with your child, you might be surprised at what you see!
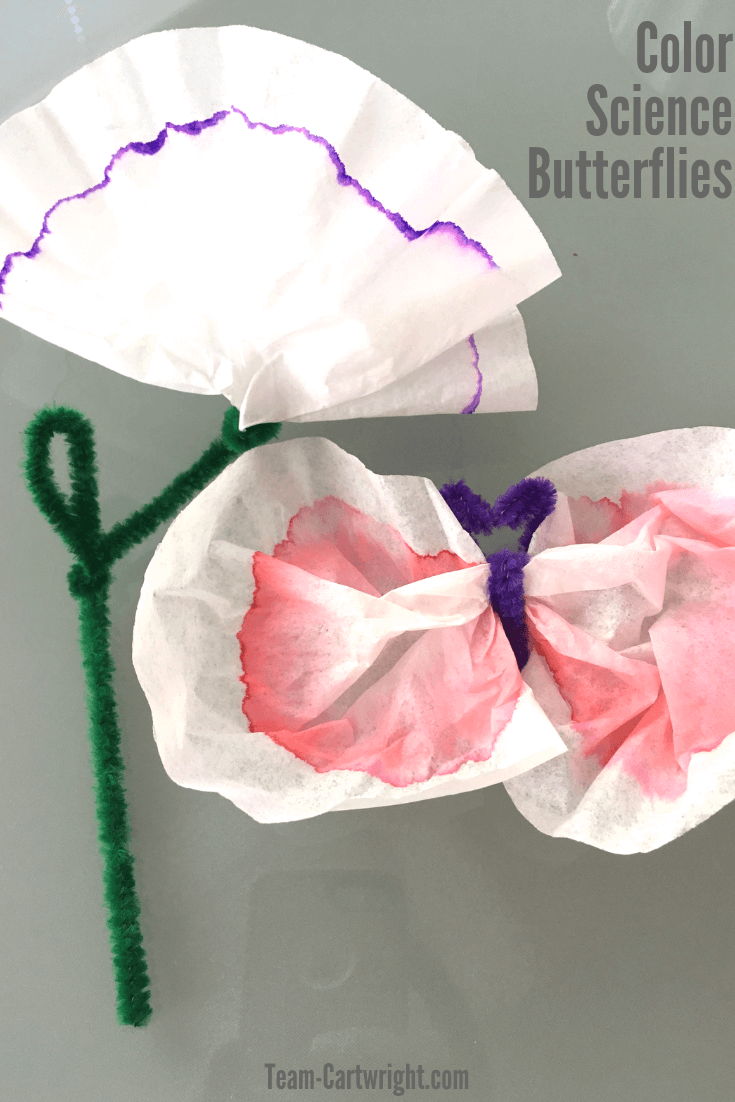
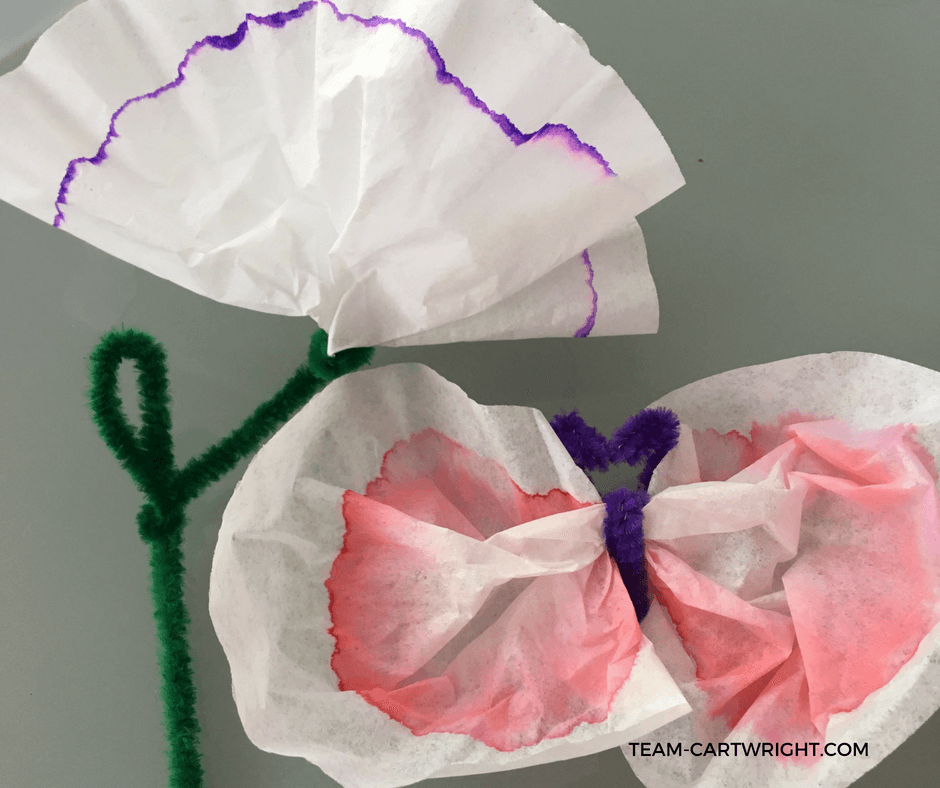
You can add some art to this project too. Once the colors reach the top edge of the filter, pull them out of the water and lay them flat on some paper towels to dry. Once dry you can tie a string around the middle of the filter to create a butterfly. Another option is to shape the filter back into a cone shape and wrap a pipe cleaner around the point to create flowers.
For Older Kids
This is a great activity for older kids as well. Have them try different solvents in the cups instead of water. Compare how the liquids make the colors separate. Some options to try include vinegar, hydrogen peroxide, and rubbing alcohol.
Keep It Colorful
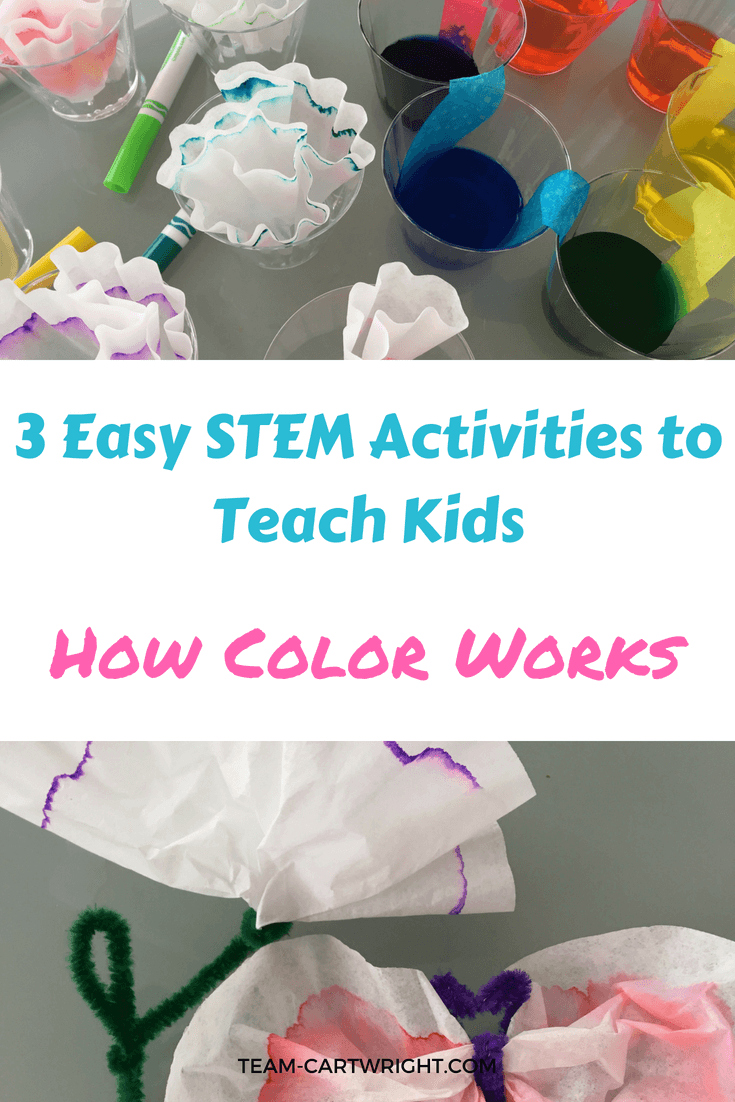
Color is so much fun for kids, and it is something they are familiar with. This comfort will help make introducing more challenging topics a little easier. Exploring a more artistic side to science can also bring around some more reluctant little scientists.
There is no rule that says science can’t be pretty. So enjoy the colorful world we live in, and learn more about how those colors work.

Bonus Color Mixing Activity!
Sometimes you don’t have the time or materials for a big activity, but you still want to work on colors. This activity is perfect for just these times.
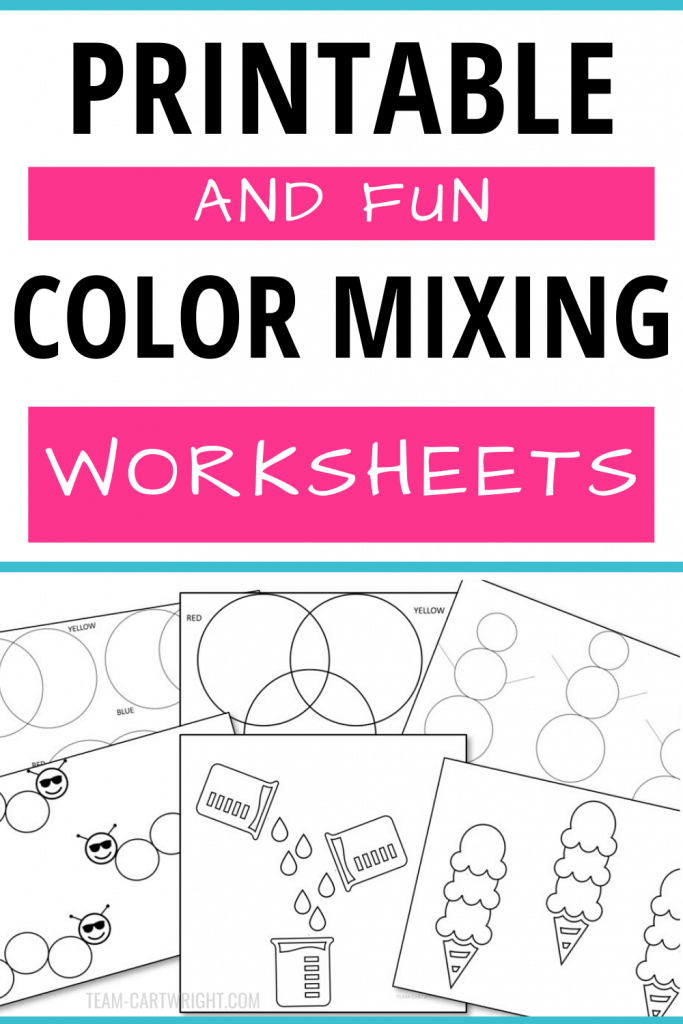
Color mixing worksheets!
Print out these worksheets and you have adorable ways to see what happens when different colors combine. You can use crayons, colored pencils, paint, whatever you have around, to add colors together.
Start with the basic circles, mixing colors in known ways. Then you can try the snowmen, caterpillars, chemistry beakers, or ice cream cones. Encourage your kids to try any combination they want. The best way to learn is to try!
What color combos are you going to try first?
