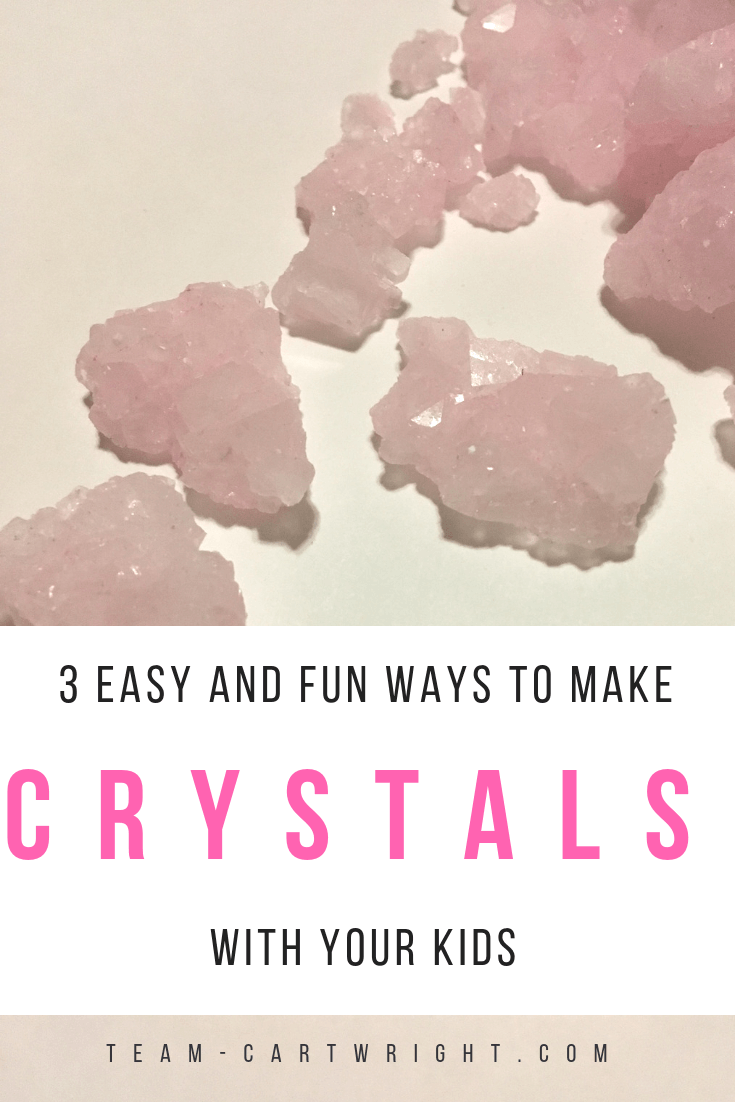
Growing Crystals for Kids: Create Your Own Jewels!
Ben loves treasure. He loves his ‘gold’ coins, real coins, and even jewels. Basically, anything a pirate from his fantasy books could have as their loot.
I thought it would be fun to add to a few jewels to his treasure collection. We weren’t going to try to take over any ships though, we can make our own. And we could learn a little science while we did.
We made crystals. This is way easier than it can seem. We even made them a couple of ways, so you can figure out which method works best for you.
Here is how to make crystals at home, and a bit about the science behind them.

What's In This Post?
Growing Crystals for Kids
In this post, we were going to look at easy ways to grow your own crystals. They all follow the same basic premise, and you can tailor them to your needs. Plus the ingredients are things you have on hand.
After making the crystals stick around because of course, we are going to get into the science behind the beautiful jewels you just made!
The three types of crystals we are going to make are:
- Borax Crystals
- Salt Crystals
- Sugar Crystals
Safety
I need to toss a safety warning right up front. All three of these methods involve boiling water. Sorry, that’s how this works.
I have not made crystals with Ali and Sammy since they are just two-years-old. But I have done it with Ben when he was three. And four. And five. (What can I say, it doesn’t get old!)
Ben was able to help me and still be careful near the boiling water. Know your child and your safety limits. Safety always needs to come first.
We used the back burners on our stove to keep Ben away from the flame, used a long wooden spoon to stir, and Ben wore oven mitts while stirring. It was probably overkill, but he thought it was fun.
Safety first. Always.
This post contains affiliate links. Please see my disclosure for more info.
How To Make Crystals
The basic premise for making all three of these crystals is the same. Make a supersaturated solution and let it cool. As it does, crystals form. That’s really it.
(Don’t worry, I’ll give a bit more science towards the end.)
So first we are going to go over the main procedure, then we will take a look at what makes these types of crystals different.
You Need:
- Borax, Sugar, or Salt
- Water
- Food Coloring (optional)
- Pipe Cleaners
- Wooden Spoon or Ruler
- String
- Tall Glass or Mason Jar
To Make:
Pick Your Crystal Plan
You have two choices here, you can create crystals just in a pot. (We use a hammer to knock them out.) This gives a lot of free-form crystals that are perfect for future craft projects or just to use as treasure.
Another option is to use pipe cleaners to create crystal shapes. (Note: You may still get crystals all over your container.) These make great ornaments or just fun trinkets to have.
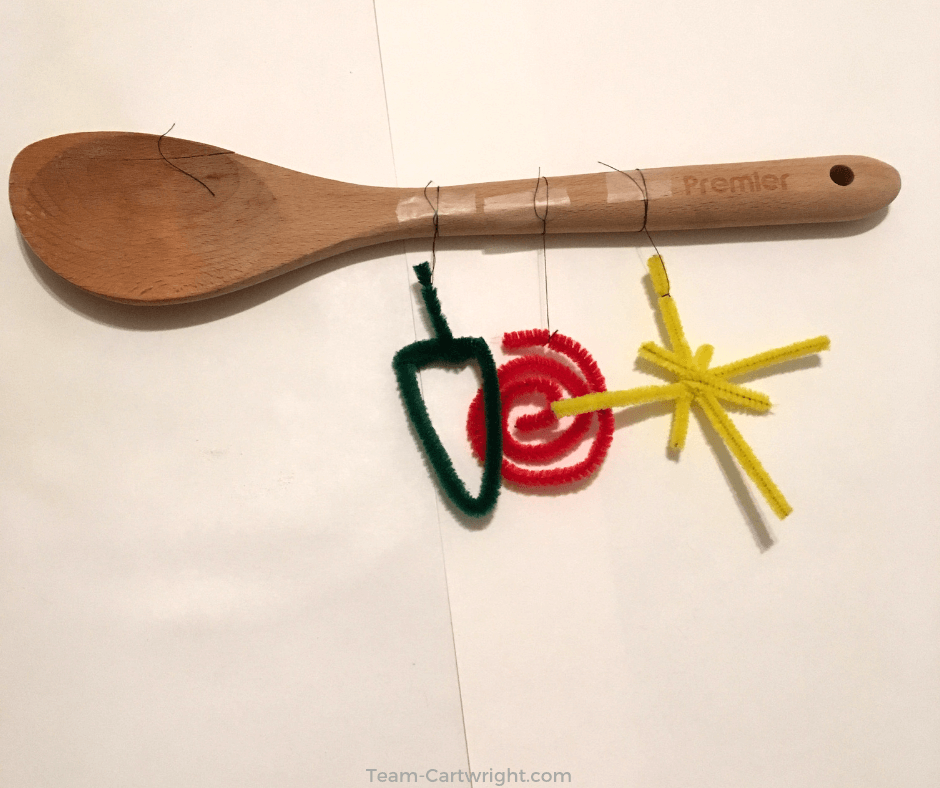
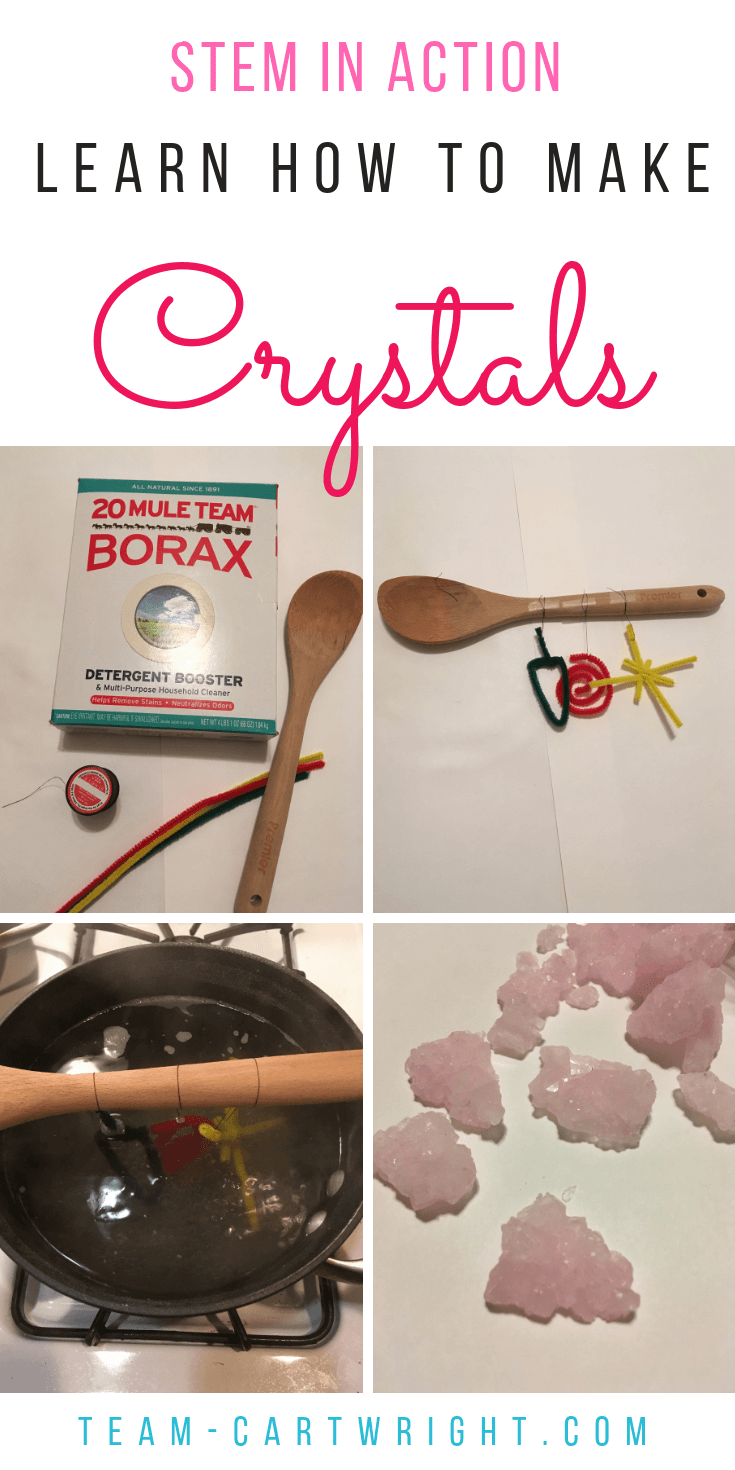
If you choose the pipe cleaner method, make your shape. Simple shapes work best. (Think a heart, tight spiral, or circle.)
Tie your shape to a wooden spoon or ruler that can span the entire length of the pot or mason jar you are using.
Finally, pick out which substance you want to use to make your crystals, Borax, sugar, or salt.
Make Your Supersaturated Solution
Boil a couple of cups of water. Add your crystal substance (the Borax, salt, or sugar) until it dissolves. Then add more. Then add more. Seriously, you are going to be adding a lot.
What you are trying to do is make a supersaturated solution. That means that water is maxed out in how much crystal substance is dissolved. You’ll know you are there when you stir and a small bit remains at the bottom of the pot.
So add, stir, and make sure it dissolves. Then add and stir some more. The more you can dissolve into the water the better. This step takes some patience.
How Much Do You Add?
I do this step by sight, but if it is your first time making crystals, or you just like more detailed instructions try these ratios:
Borax:
Start 3-4 tablespoons of Borax to 1 cup of water.
Sugar:
Start with 2 cups of sugar to 1 cup of water.
Salt:
Start with 1/2 cup salt to 1/2 cup of water.
Then Add More
If you add the crystal substance and it dissolves right away, add more. I am going to keep repeating it, but the more you can dissolve into your water the better your crystals will be.
The goal is to have a small amount of substance still at the bottom of the pan that just won’t dissolve. Then you know you are ready.
Get Your Crystals Ready to Grow
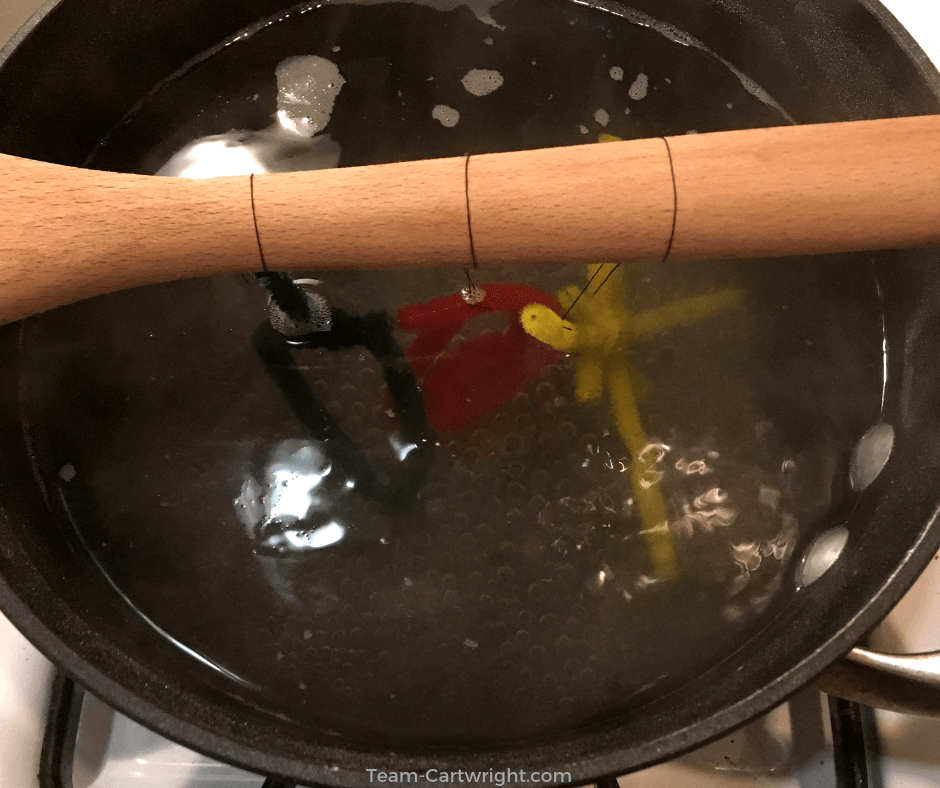
Once you have your supersaturated solution you are ready for your crystals to grow. You can leave the pot as it is (just turn off the heat), and let your crystals grow in there are is. This way works best with Borax crystals.
For salt and sugar crystals I recommend using a tall glass or mason jar to grow your crystals. You will want to carefully pour your solution into the glass, leaving an inch or so of headspace at the top.
Now is when you want to add your pipe cleaner shape to grow your crystals on. Take the spoon or ruler you tied them to and lay it across the pot or glass with the pipe cleaner in the solution. Try to avoid having it touch the bottom of your container.
If you want your crystals to have color, stir in some food coloring. You can split your solution into a couple of glasses and have different color crystals!
Now you wait.
Borax Crystals
Borax crystals grow very quickly, making them awesome for short attention span kids. They will be formed by morning! Just leave your pot to sit overnight.
The crystals will grow all over your pot, but they will also grow on your pipe cleaner shape if you put that in the solution. If crystals have attached your shape to your pot (as has happened to me) gently drop warm water around the base of your shape. You can use a spoon to wiggle the crystals loose.
For the crystals in the pot, turn the pot upside down over some paper towels and use a hammer to tap on the bottom of the pot and most of them should fall out.
Sugar Crystals
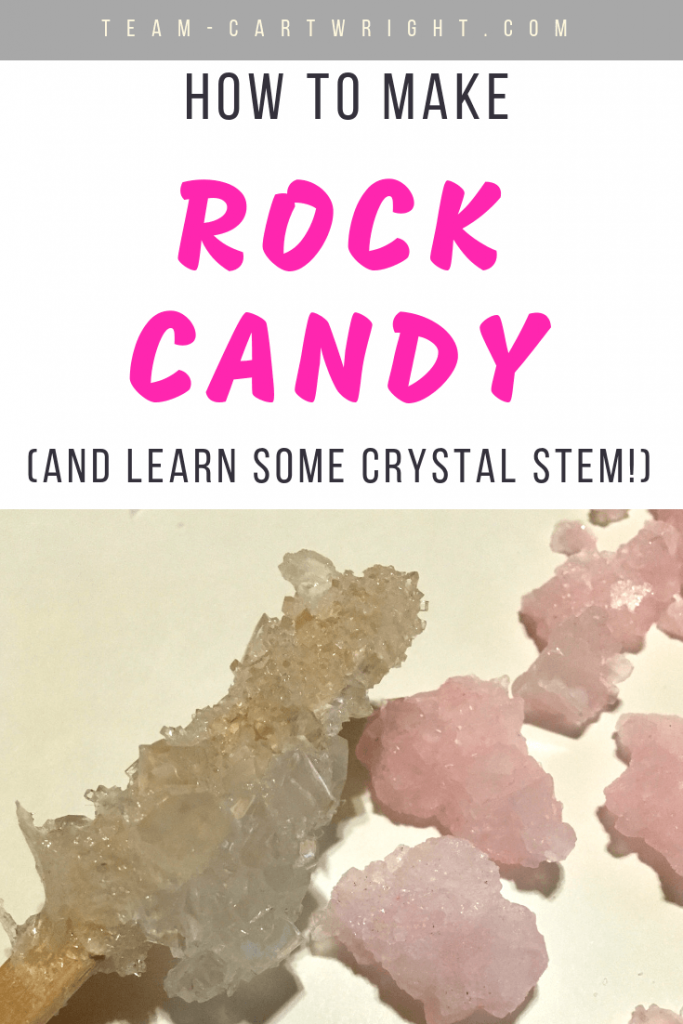
Sugar crystals do best when transferred to a glass or jar. This is because they take about a week to form, and no one wants to have a pot out of commission for a week. I recommend using a popsicle stick to create these.
These crystals will grow along the popsicle stick to create a delicious crystal treat. That’s right, you made rock candy!
I prefer to make this type of crystal on small popsicle sticks so my kids don’t end up eating and fibers from the pipe cleaners, but it is still cool to see the shapes you can make. Just be careful if you eat them.
One way to get your sugar crystals to grow faster is to dip your popsicle stick in a little bit of water and then gently into some loose sugar. The sugar crystals on the stick act as seed crystals and will encourage faster growth from your supersaturated solution.
Safety Note: If you make this type of crystal for eating, I recommend you keep a close eye on any other type you make and on your little ones. All three types of crystals can look pretty similar, and you don’t want your child to eat the wrong one.
Salt Crystals
These crystals also do best in a glass or jar because they take a few days to grow as well. (Note: iodized salt doesn’t work as well. You’ll get some crystals but not as many.) Pour your solution into a glass and add your pipe cleaner shape.
There are some things you can do to influence the size of these crystals. If you are able to leave the glass or jar relatively undisturbed for a few days, you are more likely to create a large crystal. You’ll want to keep your jar cool and shaded and have it touched as little as possible.
If you have your jar in a place where there are air currents (think a fan or open window), you will get more, smaller crystals. It’s fun to make two jars of these, put them in different places, and see what you get!
Which fun activity are you going to try next?
Clean Up
Clean up for this is pretty easy, but can take some time. You can throw away any loose crystals you don’t want. Then focus on the crystals left in your container.
An easy way to get rid of the crystals is to just add water to your glass or jar, wait a few hours and dump it out, then add more water and repeat. You just dissolve the crystals. Salt and sugar crystals dissolve pretty quickly.
If you have Borax crystals remaining in a pot it can take a little longer to get them out. Try to get as many out of the pot by using the hammer method as you can. Then add water to your pot, covering any remaining crystals.
Boil the water. After it has boiled for a bit dump it out, add more water, and repeat. You are slowly and carefully dissolving your crystals.
I do recommend that you boil water a few times in your pot once the crystals are all dissolved before you use it to cook food again. Overall, this is low effort in terms of clean up. It just takes a little time.

Crystal Science
So what is happening here?
Supersaturated Solutions
I mentioned we are really just making a supersaturated solution and letting it cool. Supersaturated means you have dissolved solid into the solution past the point of saturation. The saturation point is the point where no more substance can be dissolved.
Heating up the water raises the saturation point and enables it to dissolve more of the crystal substance than it normally could, then as it cools that substance falls back out of solution. The water can no longer hold onto it as dissolved ions. As such, the substance re-crystalizes, only this time it can turn into larger crystals.
Crystalline Structure
What makes something a crystal? A crystal occurs when atoms come together in a regular repeating pattern. So that means crystals are more than just diamonds.
Snowflakes are actually crystals. They are repeating patterns of water molecules. So something doesn’t need to be hard and/or permanent to be a crystal.
They form in nature, and in fact, that is what traditional jewels are. Crystals. Time and slow evaporation of liquid make molecules cling together in repeating patterns, and this is what we know as a crystal. The different molecules present influence the color, shape, and rate of growth of the crystals.
Get more fun crystal facts: Crystal Facts for Kids
Observations
Making crystals are a great way to walk through the scientific method with your child. You can make your hypothesis, set up your experiment, test, and observe. (Learn how the scientific method teaches more than just facts: Life Lessons from the Scientific Method)
Whichever type of crystal you make, take the time to have your child observe them. Are they hard or soft? Are the sides smooth or bumpy? What happens if you tap on them?
Compare your crystals to other substances. How are they similar? Different? (If you have jewelry with gemstones you can pull those out to compare with as well!
Another fun thing to do is to compare the crystals that you created to some of the original crystal growing substance. So take your big sugar crystal and compare it to the tiny sugar crystals you used to make it. What are the differences? (And yes, those are tiny crystals themselves!)
My Tips for Making Crystals
I prefer to make Borax crystals. They are the fastest to make, and even as an adult, I like that. Plus I consistently get good and large crystals from this method.
I also like making Borax crystals because Borax makes the best slime, so it is worthwhile to have on hand. (See below for my notes on Borax safety.)
Sugar crystals are fun to make as a part of science you can eat. They are a great way to add some learning to a party favor too!
All three types of crystals will dissolve if they get wet, so be aware of that.
A Note on Borax
A quick note on Borax. Borax gets a bad rap for being bad for kids to use. Here’s the thing. It is actually naturally mined out of the ground, so any arguments that things that are natural are safe are moot.
The amount of Borax your child is handling for a project like this is not enough to cause harm. Use common sense safety. Don’t let your child snort the Borax. Don’t let your child eat the Borax. Wash your hands after handling it.
That’s it. Don’t believe me? Check out this video from Steve Spangler (who is a scientist who makes his living teaching kids science): The Truth About Borax.
If you use the contact lens solution method of making slime and your kids really like making slime? Just buy the Borax too. Boric acid and Sodium borate are in contact lens solution, and that is what links the polymers to make slime. You’re using it anyway.
Crystal Fun!
I love crystals because they really invite kids to appreciate the beauty of nature. It is amazing that beautiful rocks like this can be created! They also show some of the natural geometry that can appear in the wild.
This activity also encourages children to think about states of matter, specifically solid and water, and how they relate to each other. Kids are naturally drawn to rocks. You can capitalize on this interest to lead into a discussion on molecular structure. (Or we can all just agree that rocks look cool. 😉 )
If you make free-form crystals they can be used for learning games like counting and sorting. I have found my kids are more into learning games when they made the crystals themselves. It gives them a sense of ownership over the activity that encourages participation in the activity.

Here are some more fun learning activities to try!
Cleaning Pennies with Ketchup?!
The Science of Slime and the Best Homemade Recipes


Scarlet
Friday 26th of June 2020
My daughter is going to love this tutorial for growing crystals. She is so into hands on science projects.
Kim
Friday 26th of June 2020
I hope she does! Hands-on science is the best!