Exploding bag experiment for kids.
Ages: Preschool, PreK, Kindergarten
Difficulty: Easy
Learning: Cause and Effect, Chemical Reactions, STEM
Let’s just cut to the chase. Explosions (safe, no one getting hurt, and nothing getting destroyed) are cool. Even cooler is seeing two items that, on their own, are very safe (and edible!) come together to create an explosion.
So yes, we are going to make an explosion with kids. Don’t worry, it is safer than it sounds. But it is so much fun.
Grab a baggie, we’re doing the exploding bag experiment.
What's In This Post?
Exploding Bag Experiment for Kids
This is another one of those experiments that are so easy to do, but really draws kids in. And, despite being an explosion of sorts, is safe and is made from materials you already have in your home.
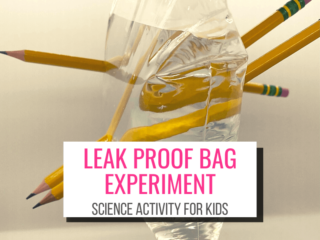
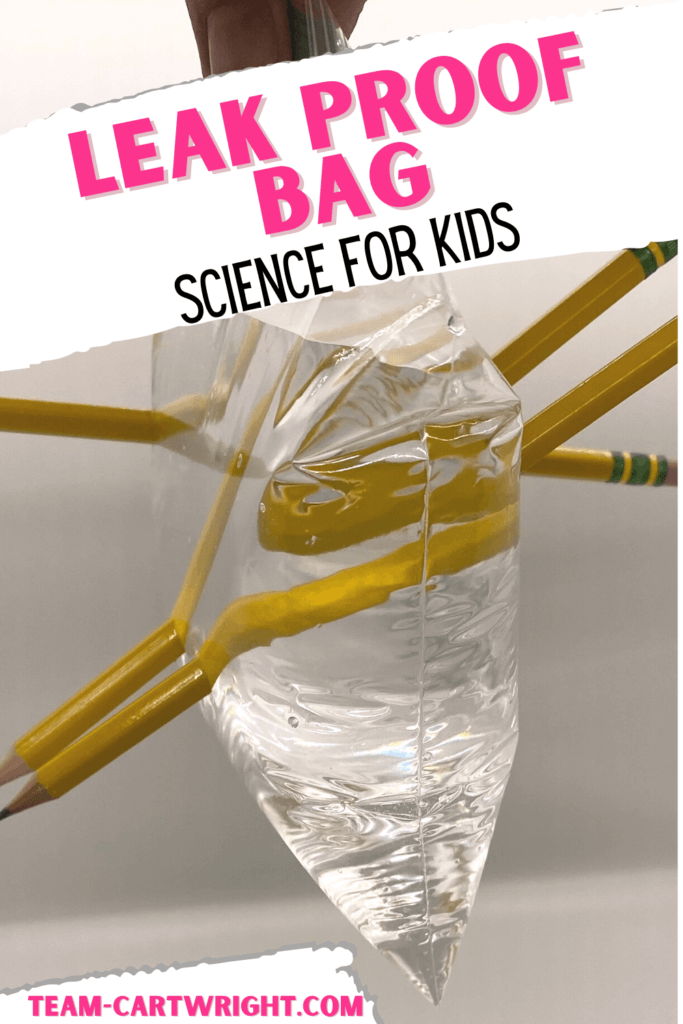
(And if you like this experiment, make sure you check out the Leak-Proof Bag Experiment. Same type of baggie, just add pencils!)
Supplies for the Exploding Bag Science Experiment
Head to your kitchen, you should find almost everything you need for this science challenge. Here is what to grab.
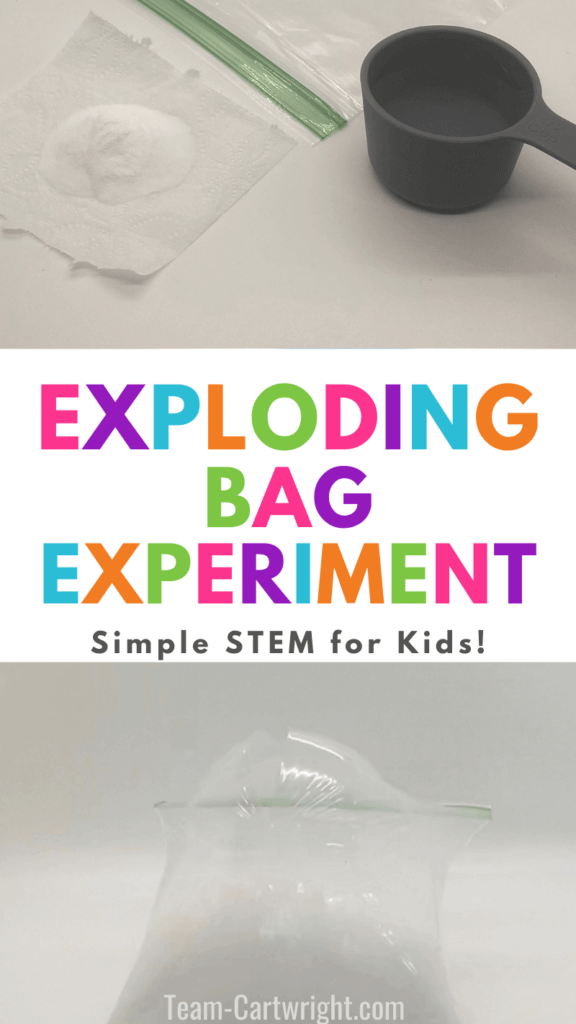
- Plastic Re-sealable Baggies (like a sandwich baggie)
- Baking Soda
- Vinegar
- Tissue or Toilet Paper
How To Make an Exploding Bag
This experiment is pretty simple, and it actually doesn’t make too much of a mess.
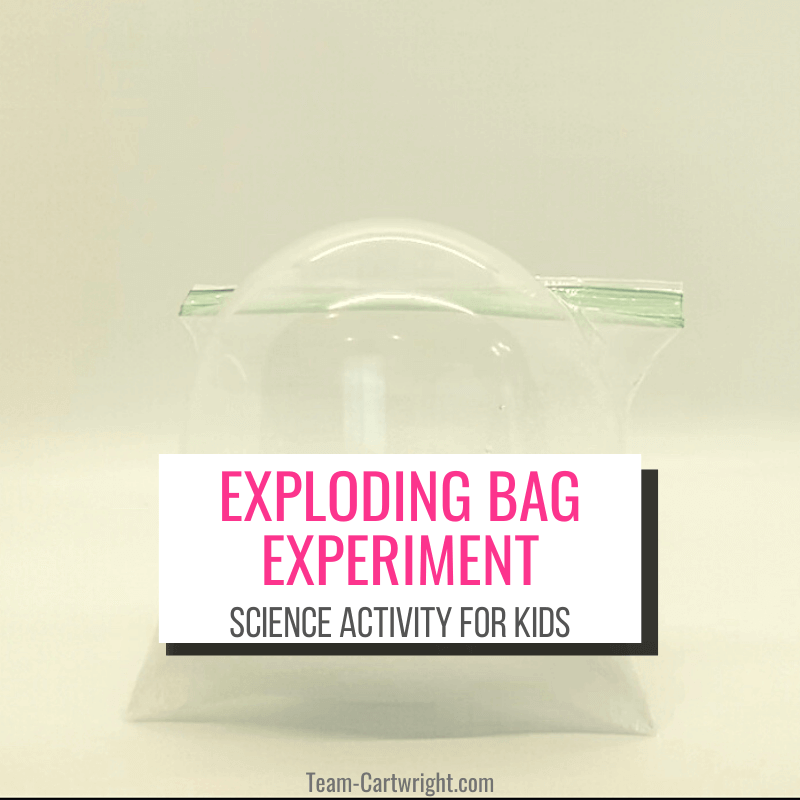
Step 1: Take 1/2 cup of vinegar and put it in your re-sealable baggie. Seal up the bag.
Step 2: Take a square of toilet paper or a tissue. If it is more than one-ply, carefully separate the layers and use only one. You will need to work with it carefully, but the thinner the better. Put 3 teaspoons of baking soda in the middle of the tissue, then wrap it up like a little bundle.
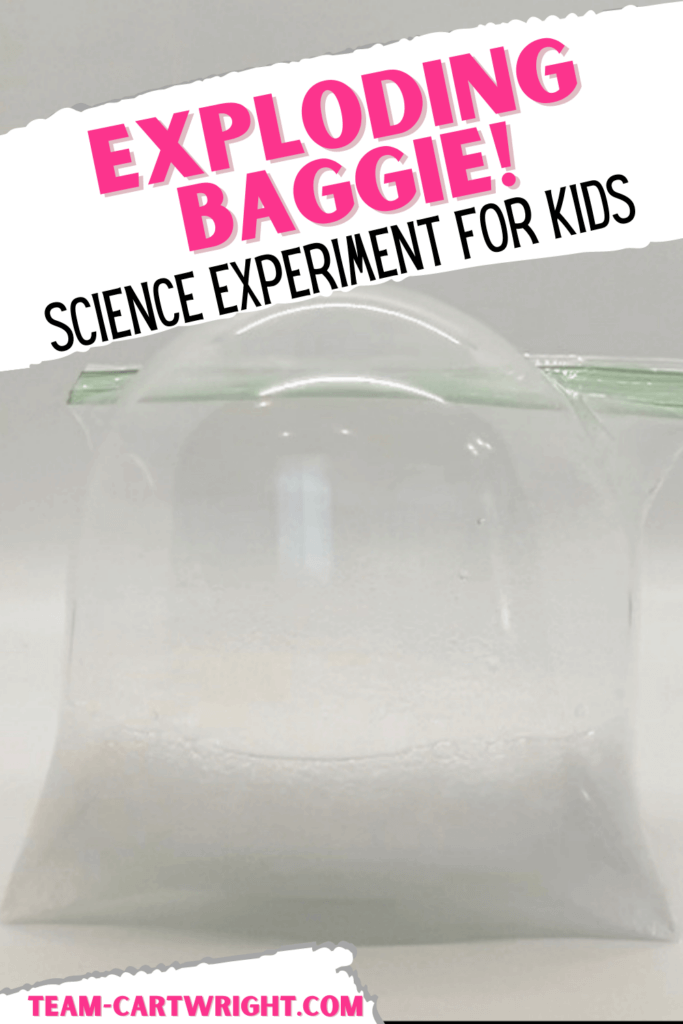
Step 3: Unseal one side of the bag. Quickly drop in your bundle and seal the bag. Then place it down. It will start to puff up and eventually pop open!
Tips
This is a great experiment to do outside. It is unlikely that your explosion will cause a big mess, but the liquid can leak out once it explodes.
If you don’t want to do this outside, you can use a large bowl or plastic container. You can also do this in your sink or bathtub as another option.
If you want to add some extra science fun, put a few drops of food coloring in with the vinegar step for a colorful exploding sandwich bag.
Safety
This, despite being called an explosion, is actually a reasonably safe activity. Avoid getting any of the materials in your eyes. And, despite being food-safe ingredients, I don’t recommend ingesting anything involved with this experiment.
It is a good idea to have your child stand back the first few times until you get a feel for how big your explosion will be. Safety glasses or other eye protection is recommended.
Clean Up
This is pretty simple to clean up. If your bag has burst open at the seal, you can rinse it out and use it again. If it breaks the integrity of the bag you can simply throw the whole thing away.
Any leftover supplies (baking soda or vinegar) can be rinsed down the drain.
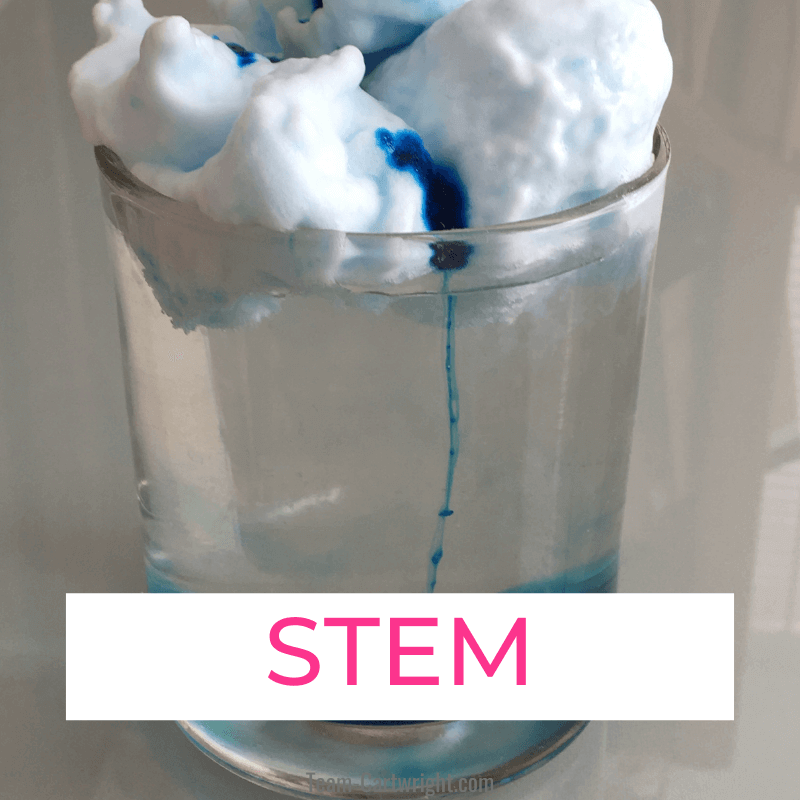
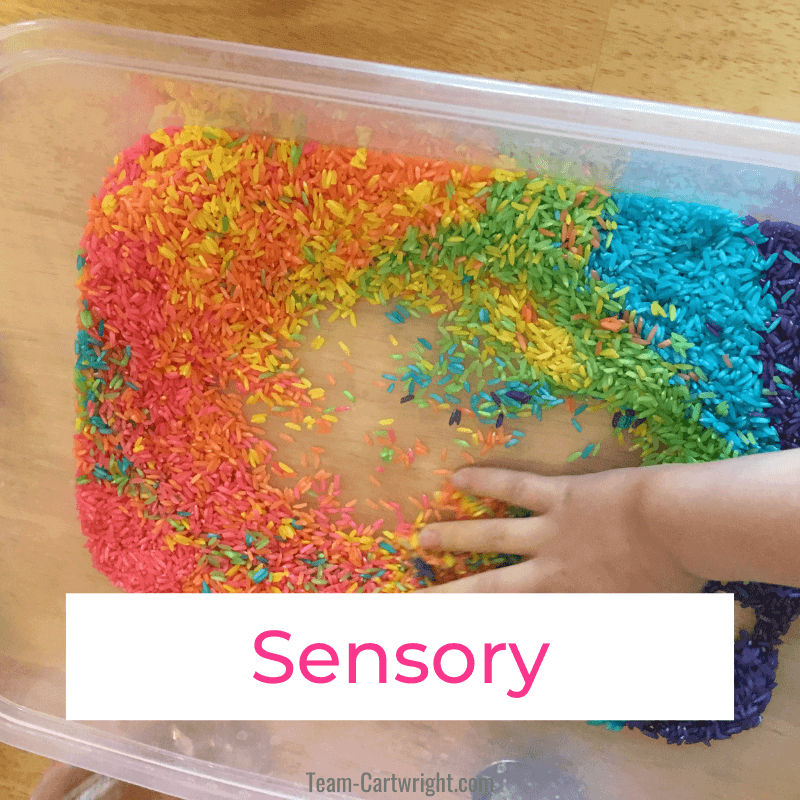
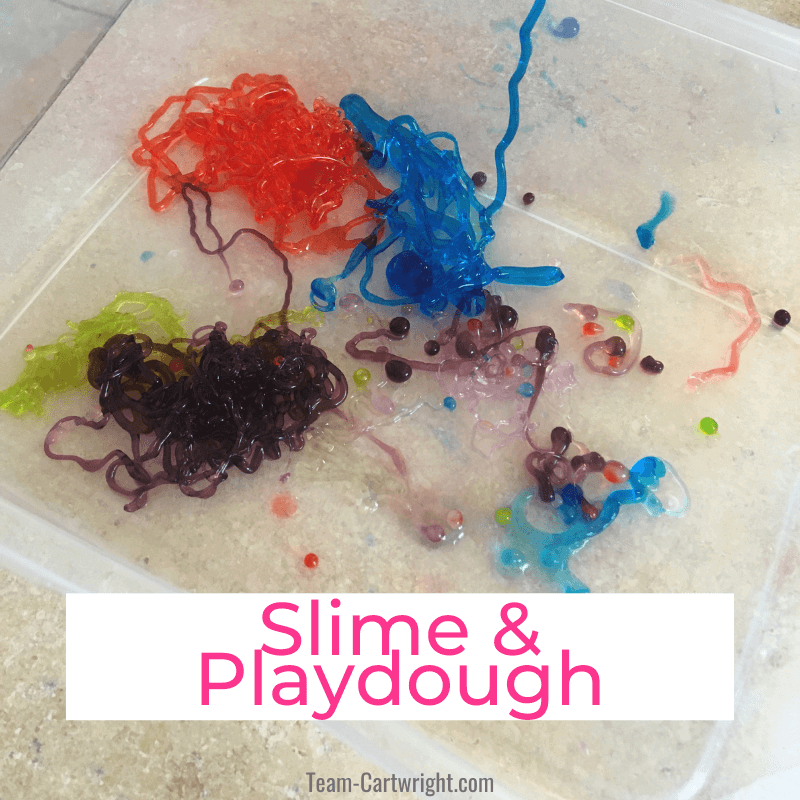
You have got to try these fun activities too!

How Does the Bag Explode?
This is a fun activity, but what makes it a STEM activity is if we dive into the explanation of what is happening.
The Science of the Exploding Bag Experiment
This experiment uses one of my favorite kitchen chemical reactions. It is tried and true and a total classic. Yep, it’s the vinegar and baking soda reaction.
Some might think this reaction is overdone, but I strongly disagree. It is amazing for the toddler, preschool, prek, and kindergarten ages too. Why? It’s simple, safe, and uses easily accessible materials. In addition to that, it works consistently and produces obvious results. These all make this worthwhile.
The Baking Soda and Vinegar Reaction
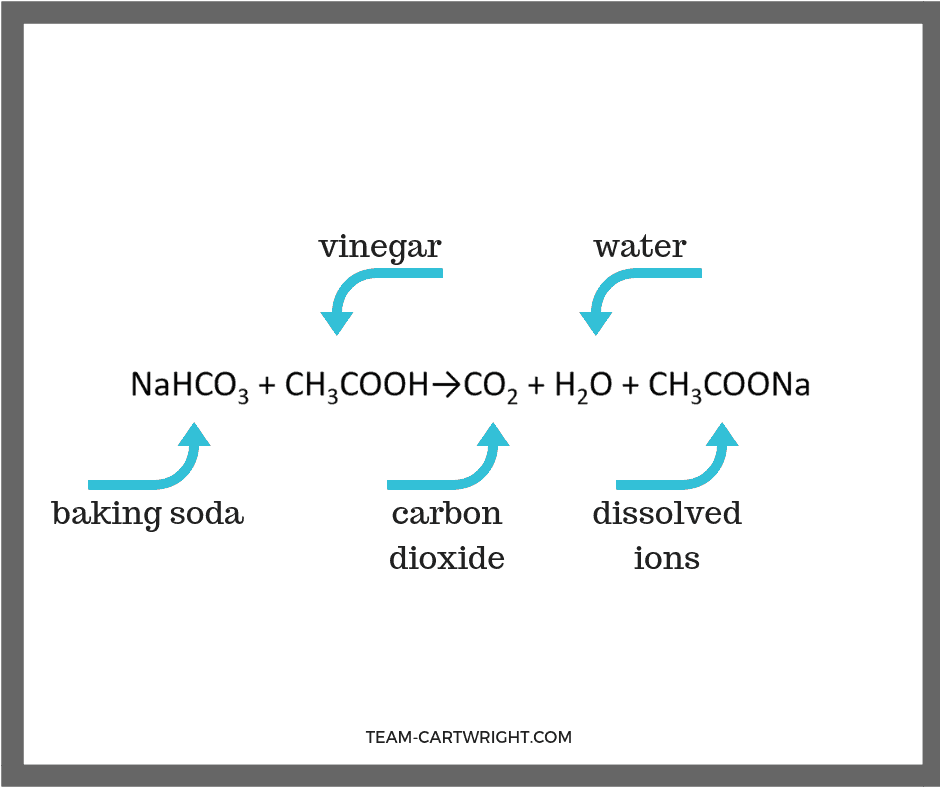
The short answer for why the bag explodes is that a chemical reaction takes place that creates a gas. This gas fills the bag until the bag explodes.
We can explain a bit more than that though.
We started our experiment with vinegar in our bag. Then we added the baking soda wrapped up in a tissue. The tissue is very thin, so it quickly gets soaked through with the vinegar, enabling the vinegar to come in contact with the baking soda.
When vinegar and baking soda mix there is a chemical reaction. The result of this is carbon dioxide, water, and other dissolved ions.
The carbon dioxide fills the bag until it can’t hold anymore and it pops open! A science explosion!
Limiting Reagents
This experiment is a great way to introduce the concept of limiting reagents with your children.
What is a limiting reagent? Well, first we need to know that reagents are the chemicals we are mixing. In this case, our reagents are baking soda and vinegar.
These reagents react to make products (the carbon dioxide and water), but the reaction can’t continue forever. Eventually, we will run out of one of the reagents. The reagent you run out of first is the limiting reagent.
You can liken it to baking. When you are baking a cake you need a certain amount of sugar, flour, baking powder, etc. But you can’t bake an infinite amount of cakes. Once you run out of flour, you are done baking cakes. That is a limiting reagent.
What Is the Limiting Reagent?
So what is the limiting reagent in this reaction? Well, that is up to you!
Encourage your child to see what happens if they add more vinegar to the reaction. Then try with more baking soda. Does it impact the reaction time at all?
Keyword
Here is a keyword to note from this experiment.
Limiting Reagent: The limiting reagent in a chemical reaction is the reactant that is totally consumed in the reaction.
Additional Experiments and Activities
This is a fun science activity to try over and over. And we can change it up to explore even more. Here are some additional experiments to try.
- What happens if you add more vinegar and baking soda to the bag? Does it explode faster? Bigger?
- What if you add more of just one ingredient? Try it then switch to more of the other ingredient and see if the results change at all.
- Try using a double layer of tissue. Again, how do the results change from this adjustment?
- What happens if you leave the bag open a little? Does it still explode like when it is closed?
- Try pouring the baking soda directly into the bag. Does the rate of the reaction change at all?
- What happens if you add warm water or cool water to the baggie too?
These are just a few suggestions. Let your child explore and be creative!
Exploding Baggie Science Experiments
This is a great experiment. It’s exciting, it’s fun, and you are exploding things. Yet it is pretty safe (a huge win for caregivers). There are so many factors you can change up and experiment with. This gives children the chance to really be scientists.
So when are you going to start?

Let’s find your next fun activity!!