Ben loves all things dinosaur, as many a 4-year-old does. He likes digging, learning about fossils, and well, exploring everything. I remember feeling the same way. And I wanted to think of a fun way he could dig for dinosaurs on his own and be a real archeologist. Back when I was in elementary school I had a wonderful teacher who set up a dig for us using different candies. It was amazingly fun. So it got me thinking about how I could do something similar for Ben. But I also wanted it to be something Ali and Sammy could participate in at just 2-years-old. No problem. Here is how to create a Jell-O sensory archeological dig for kids.

What's In This Post?
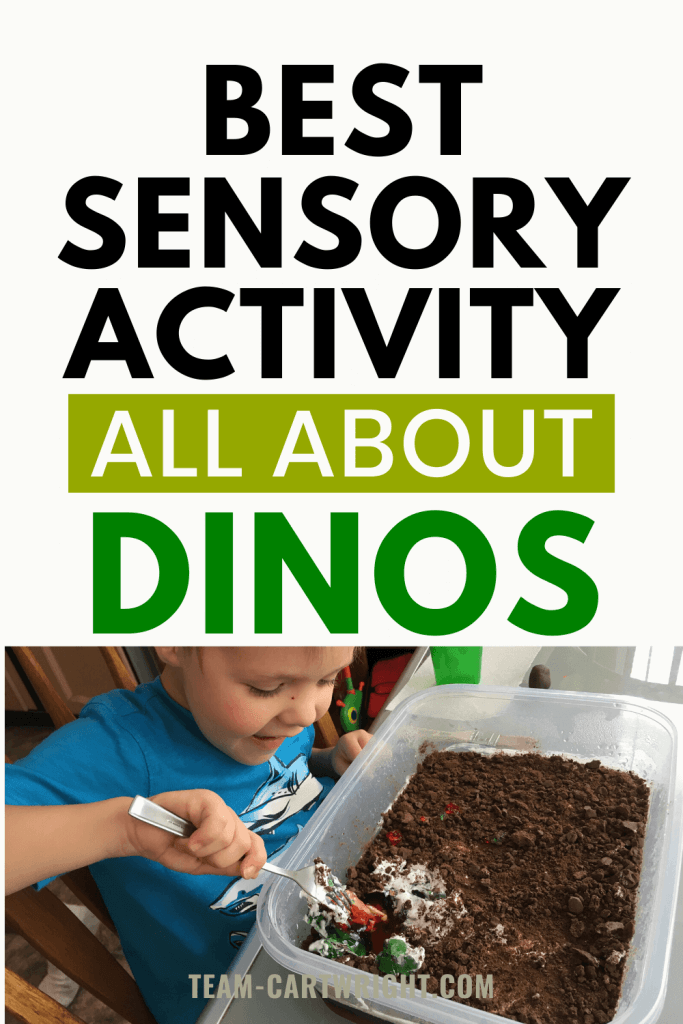
Sensory Dinosaur Dig
This activity is a great sensory exploration that kids can literally dig their hands into. It opens up conversations about states of matter, and it allows for great practice in comparisons. You can customize it to your child’s interests. And you can introduce your child to the exciting world of archeology. Plus it makes for a pretty tasty treat. (Learn why sensory activities are so important for kids—> The Big Benefits of Sensory Play)
Looking for more sensory STEM activities! Check these out!
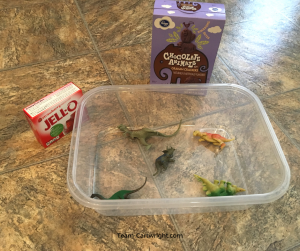
You Need:
- Two boxes of Jell-O mix
- Chocolate Cookies
- Plastic Dinosaurs (or other objects to hunt for)
- Cool Whip (or other whip cream or pudding)
- Large Tupperware container to hold the dig
To Make:
Prepare the first box of Jell-O as per directions on the box. Pour it into a big Tupperware to set. I just got a container at the dollar store. It doesn’t have to be anything fancy. You can use any sort of large container, I just liked that you could see through to the layers. Here is my big tip: get whatever container you are using into the fridge before you place the objects in you plan to dig for. I put them in first and then took it to the fridge and everything just moved all around. Let this layer of Jell-O set.
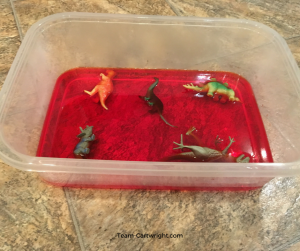
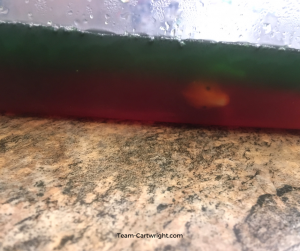
Once the first layer is firm you can make the second box of Jell-O and pour it over the first layer. I did a bottom layer of red because red is the best flavor of Jell-O, and to represent deeper layers of earth. I used green for the second layer. The result was that the whole thing did look a bit brown when looking straight down on it, which made for a realistic earth model. Let this layer of Jell-O set.
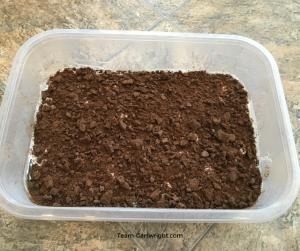
While the Jell-O is solidifying grab your chocolate cookies and smash them. This is a great step to have your child help with. It’s so much fun! Ben, Ali, and Sammy all got into it. I spread a thin layer of Cool Whip over the Jell-O, then covered that with the smashed cookies. The cool whip really just helps the cookies stay in place. You can using pudding if you want to make it look more mud like. For younger children I liked that it was clearly a different layer from the topsoil. It is your choice as to which you want to use. (And it tastes good.)
Grab an extra container with some water so you can wash off your findings. Then you are ready for your dig!
Here are more fun ways for your toddler and baby to play together!
The Dig
Now for the fun part, the archeological dig! There are a few ways you can approach this depending on your child.
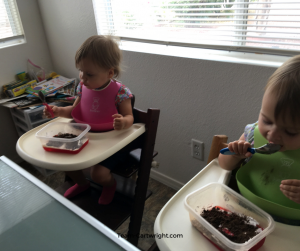
Toddlers:
I did a modified version of this activity with Ali and Sammy. They are just two, so I put plastic toys in some Jell-O for them to pull out. This is a great sensory activity. It is also wonderful if you have kids who still put everything in their mouths. This is a fun way to have dessert and explore textures.
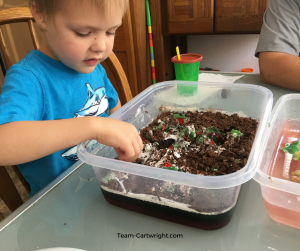
Preschoolers:
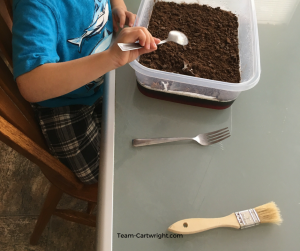
Ben is 4, so he got to be a bit more detailed with this. I gave him a small brush, a spoon, a fork, and a toothpick to work with. We started by peering through the layers and talking about how the Earth has layers. Now, I love science but I am no geologist. Don’t worry about getting too detailed if you don’t want to or if your child isn’t interested. Just explaining that there are many layers, naming the basics like grass, topsoil, bedrock, etc is helpful.
We used the toothpick to poke into the Jell-O to try to determine where to dig. Once we felt an object we took the brush and dusted the dirt aside. Then we had to use the spoon to push aside the ‘mud’ (cool whip). If you are going for more realism trade pudding for whip cream.
We slowly used the fork to rake the surface of the Jell-O and start the dig. Finally, we used our hands and spoon to pull out our dinosaurs! Ben liked to dig into the Jell-O with his hands, and he was super excited when we discovered dinos!
Older Children:
For older children, you can add additional challenges. One thing to do to make this a more realistic dig is to add documentation. Set up a grid system over your container. Toothpicks and dental floss work really well for this. Then recreate your grid on paper. The goal is to mark out where exactly you find all your dinosaurs. So as you dig and explore, carefully layer by layer, you will mark on the paper where exactly you found everything. Be sure to draw in the dinos in position before you remove them from the ground, as in a real dig.
(Find more tasty sensory ideas here: Taste Safe Sensory Play)
Added Fun:
This can be a great group activity. The dig I made for Ben was big, way more than we could eat in a sitting. (And to be honest, we didn’t want to eat it later after it had been destroyed.) It would be great for play dates as it is big enough for a couple of kids to work on.
If you have a real dino fan and have plans for a dinosaur birthday party this can be a great extra dessert option. You can stick a candle in it and still sing, then dive in to dig!
You can also make individual digs using smaller Tupperware containers or cups. Place one or two dinos (depending on the size of the container) in each cup, and let each individual child dig for themselves! This is a great way to add in a party activity and the kids can take their dinos home as a party favor.
(If you want more fun for your dino-loving child, check out this awesome dinosaur bedroom!)
Get some great simple STEM projects for preschoolers here!
Other Options:
You don’t have to limit yourselves to dinosaurs either! I used dinos because Ben has learned about digging for fossils. Plus it is pretty cheap to grab some small plastic dinosaurs. You could do plastic bones, as real archeologists find bones and not whole dinosaurs. Gold coins would make for a fun treasure hunt. Really anything you can think of can be used! If you are worried about the objects getting damaged by the Jell-O or vice versa, wrap the objects tightly in plastic wrap or foil.
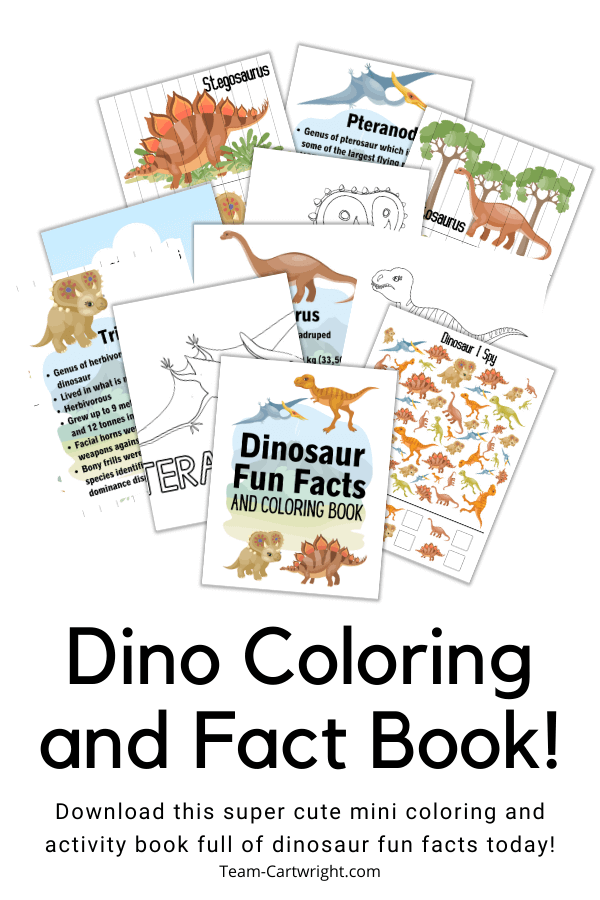
Have even more dinosaur fun with this mini coloring and activity book full of fun facts all about dinosaurs you can print out today!
Happy Digging!
Ben loved getting to explore and really find dinosaurs. He loved the whole process and getting to dig his hands into the squishy Jell-O. Ali and Sammy loved getting to feel the different textures as well. And all three liked the special tasty treat. Science and dessert can go hand in hand.
Let me know when you have tried this one at home! Share a picture and share the learning fun!