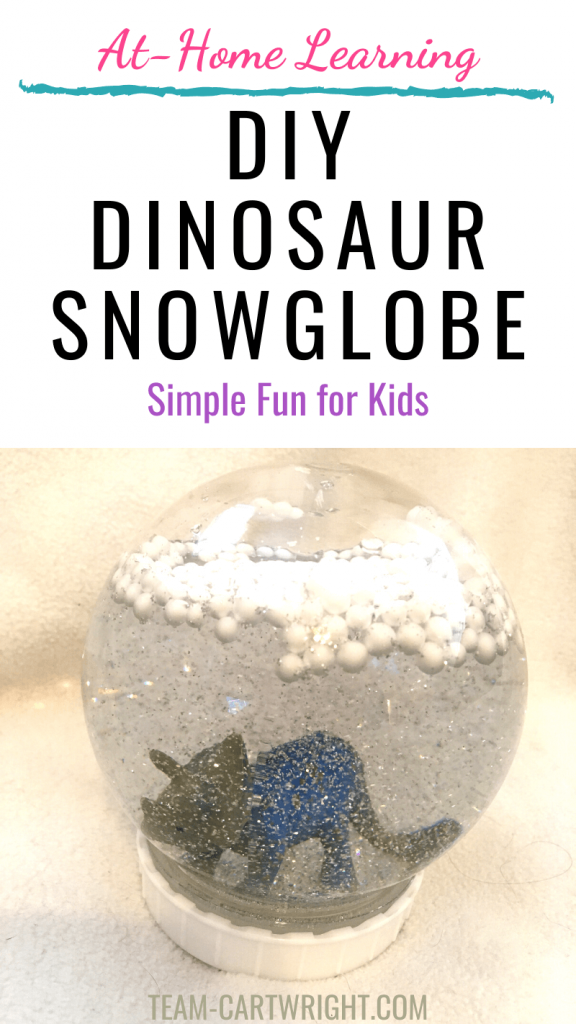
How To Make Dinosaur Snow Globes for Kids
Ben has been super into snow globes this holiday season. There are several holiday movies that feature them, and we saw some on our North Pole adventure. There is something magical about a Christmas snow globe.
The one downfall of a lot of snow globes I have seen in the store is that they are glass. I get it, that’s what makes them work well. But I don’t generally like to hand breakable items over to my kids. And honestly, the cost of some snow globes is a bit more than one might want to budget for.
So, obviously, there was only one solution. We had to make our own snow globes. And it is easier than you might think. (And don’t worry, you don’t have to make dinosaur snow globes, this works for all kinds of themes.)
Here is how to make dinosaur snow globes with your kids.

What's In This Post?
- Dinosaur Snow Globes
- Supplies for Dinosaur Snow Globes
- How To Make Your Dinosaur Snow Globe
- DIY Snow Globes for Kids
- How To Make Dinosaur Snow Globes
- Christmas STEM and Learning Activities
- Christmas Science Experiments: 5 Minute Holiday STEM Activities
- Christmas Counting Worksheet: Santa Math Fun!
- Christmas Tree Tinker Tray Engineering Challenge
- Christmas Slime For Kids! Holiday Sensory STEM
- Homemade Crystal Ornaments: Christmas Science for Kids!
- Flying Reindeer: Christmas STEM for Kids
- Snow Sensory Bins: Must Do Winter Activities for Kids
- I Spy Bottles: Engaging Sensory Independent Play
- Homemade Marbled Ornaments: Color Mixing Christmas STEM
Dinosaur Snow Globes
I mentioned that my oldest is into snow globes right now, but why dinosaurs? The simple answer is that all 3 of my kids are super into dinosaurs, so we had some small dinosaur figurines around that were easy to use for this project.
And come on, who doesn’t love dinosaurs? It just adds fun and whimsy to the activity.
Supplies for Dinosaur Snow Globes
These are so easy to make, and honestly really inexpensive.
- Plastic Snow Globe (or Plastic Jar)
- Glue Gun
- Water
- Glitter
- Plastic Dinosaur (or figurine of your choice)
- Sequins
- Small Snow Balls
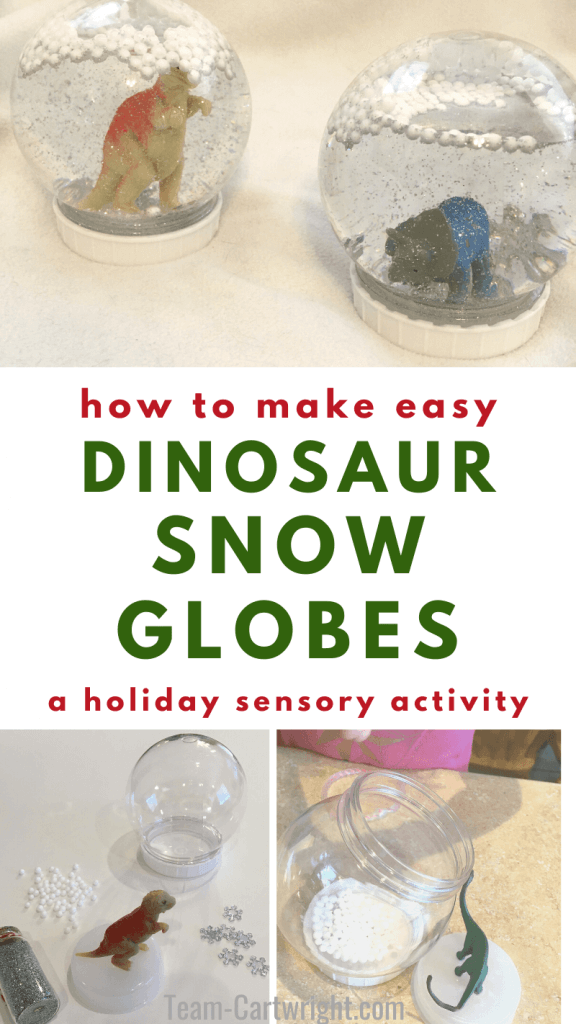
How To Make Your Dinosaur Snow Globe
1. Pick Your Globe
The first thing you need to do is get your DIY snow globe. I got ours at our local dollar store. They are plastic, which makes them perfect for little kids. You can order one here: Snow Globe Kit![]()
If you can’t find a fillable snow globe, you can also use any clear plastic jar you can find. Check your craft store or dollar store. Around this time of year they aren’t too hard to find. (Yes, glass jars like mason jars work too. But I really wanted to keep it kid-friendly so plastic was my goal.)
2. Pick Your Dinosaur
Next, you need to pick out your dinosaur. You want a hard plastic that will hold up to being submerged in water for a long time.
And, most importantly, you want to pick something that will fit through the opening of your snow globe. (Yes, this seems like an obvious thing. But little ones might need to be guided to realistic options.)
We happened to have small dinosaurs at home ready to go. But here are some suggestions for options to purchase. These look like they work well: small dinosaur figurines![]()
(And again, use whatever your child is into! Cats, baseball, trucks. Anything that is waterproof and fits in the snowglobe works. You can even go traditional with a snowman.)
3. Glue Your Figurine
This part will need a parent. You need to glue your figurine to your snow globe.
If you have a snow globe kit, there is usually an inner plug that goes into the globe before the lid that you will glue your figurine to. If you are using a jar you will glue your figurine to the inside of the lid of the jar.
Line up your figurine on the plug or lid and glue it into place. You will want to use a glue gun for this. Remember, your figurine is going to be submerged in water, so any water-soluble glue (like Elmer’s) is not going to hold up.
I tried to get around using the glue gun and used super glue, and it did not last. We had to redo our globes with the glue gun. I haven’t tried other epoxies, but if you have a non-water-soluble option you can try it. I know the glue gun works though.
Safety: An adult needs to use or at least heavily supervise the glue gun use. It gets really hot.
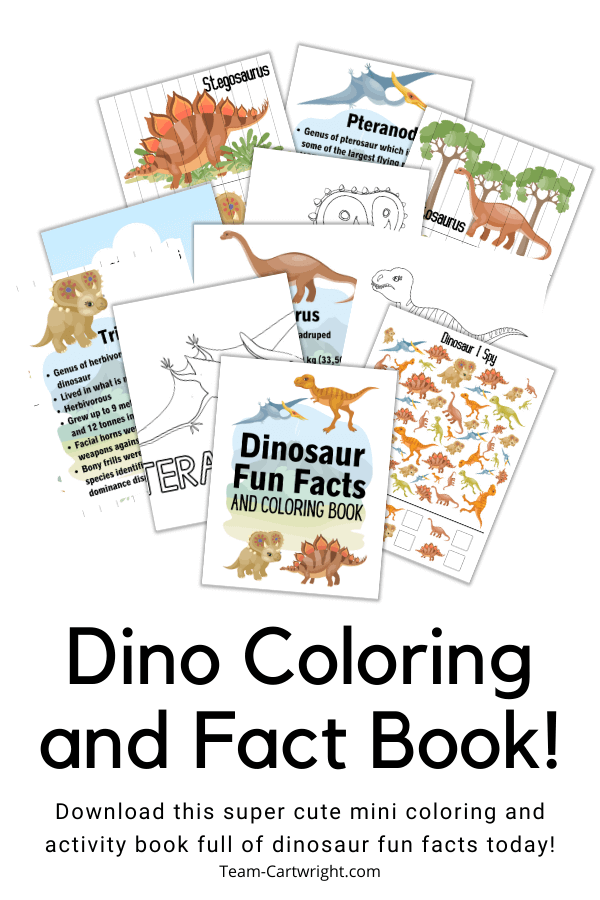
Have even more dinosaur fun with this mini coloring and activity book full of fun facts all about dinosaurs you can print out today!
4. Fill Your Snow Globe
This is a fun part for kids. They get to fill their snow globe with all the fun stuff that will swirl around when they shake it!
Glitter is a must here. Sequins work really well too. We had some snowflake sequins that were very pretty. Anything sparkly and small is perfect.
We also put in small foam snowballs. The kids loved these as they looked like real snow to them. They do float, so they won’t settle the same way a traditional snow globe will. But it is cheap and makes the globe look wintery even when not shaken up.
I let my kids do what they want with the filling and they were happy. That’s the most important part.
5. Fill Your Snow Globe with Water
To finish up your snow globe you will need to fill it with water. I suggest you make this the parent’s job. It’s just easier this way.
Fill your globe with water leaving an inch or so of headspace at the top. You need a little air in your globe to help your materials fly around when you shake it.
6. Seal Your Snow Globe
Take your plug with the figurine glued on and place it into your snow globe carefully. Then screw the cap on! (If you are using a jar simply place the lid on carefully and screw it into place.)
I highly recommend you test each seal before you hand it over to your kids to play with. Ours needed a bead of hot glue around the seal to keep all the water in place. (Yes, it is just water if it leaks out, which isn’t a huge deal. But there is glitter in there. Glitter gets into everything.)
The extra glue also prevents well-meaning kiddos from unscrewing their snow globes and making a big mess.
7. Shake Your Snow Globe and Enjoy!
Snow globes are magical, even those that aren’t the fanciest. And your kids will love that they made these snow globes themselves. So enjoy!
DIY Snow Globes for Kids

How To Make Dinosaur Snow Globes
How to make a fun, personalized dinosaur snow globe with kids.
Materials
- Snow Globe Kit
- Dinosaur Figurine
- Glue Gun
- Glitter
- Sequins
- Snow Balls
- Water
Tools
- Hot Glue Gun
Instructions
- Pick out your snow globe kit (or jar).
- Pick out your dinosaur figurine.
- Hot glue your figurine to the snow globe platform. (Best done several hours before the following steps.)
- Fill your snow globe with glitter, sequins, and snowballs.
- Add water to your snow globe, leaving at least an inch of headspace.
- Carefully place your snow globe platform into your snow globe.
- Screw on the lid and hot glue around the edge to seal.
Notes
Safety: Hot glue guns should be handled by adults. They get very hot and can hurt little fingers. So use care when using.
You can use a jar instead of a snow globe kit. Just glue your figurine to the inside of the lid.
Use whatever figurine your child would like! Just make sure they are plastic or a material that will hold up to being submerged in water.
Christmas STEM and Learning Activities
Nothing says Christmas like STEM! Okay, maybe a few things do. But embracing the holiday season is a great way to get your kids excited about science and learning!
These super fun holiday stem activities are just what your children need to get ready for Christmas and keep their learning skills sharp over the holiday break.
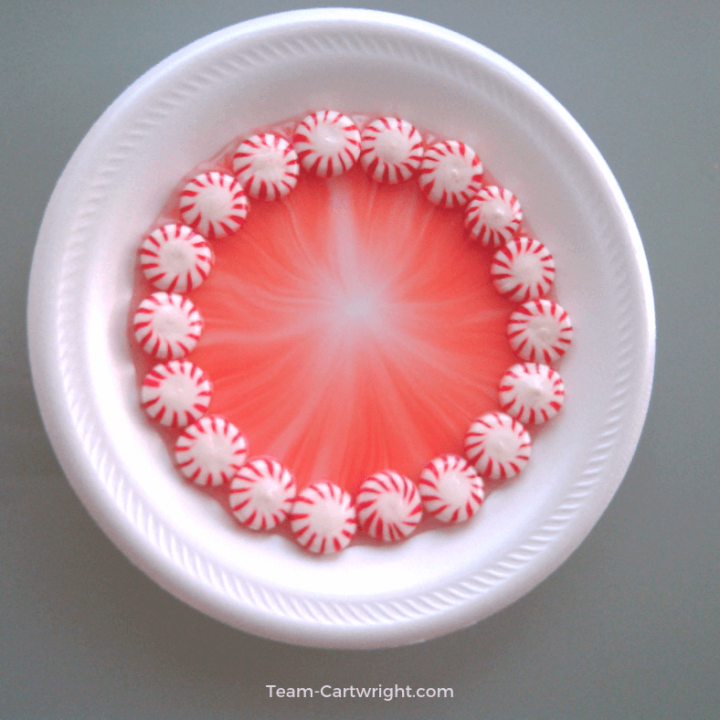
Christmas Science Experiments: 5 Minute Holiday STEM Activities
The Christmas season is busy, I totally get that. So these are 5 minute STEM activities. You have what you need in your home already and you can put these together in no time. (And bonus, your kids will probably want to play with them for longer so you can get some wrapping done!)
Watch a candy cane color spread, make a marshmallow shooter, see the Grinch's heart grow with a chemical reaction, and more!
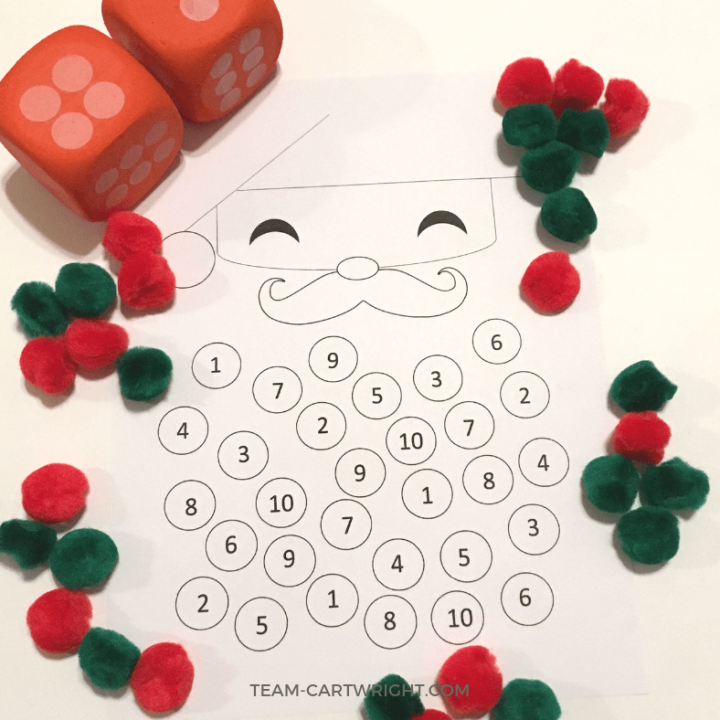
Christmas Counting Worksheet: Santa Math Fun!
This is such a simple game, but my kids could not get enough of it. Practice number sense and counting while filling in Santa's beard. Your children can play it alone or play the game together and see who wins.
And yes, the Santa printable is free in this post!

Christmas Tree Tinker Tray Engineering Challenge
This is a super fun Christmas engineering challenge. Can your kids make a Christmas tree out of the materials in this tinker tray? Learn how to make a simple but creative tinker tray and encourage problem-solving skills. This is one of those must do activities that your kids will want to do over and over.
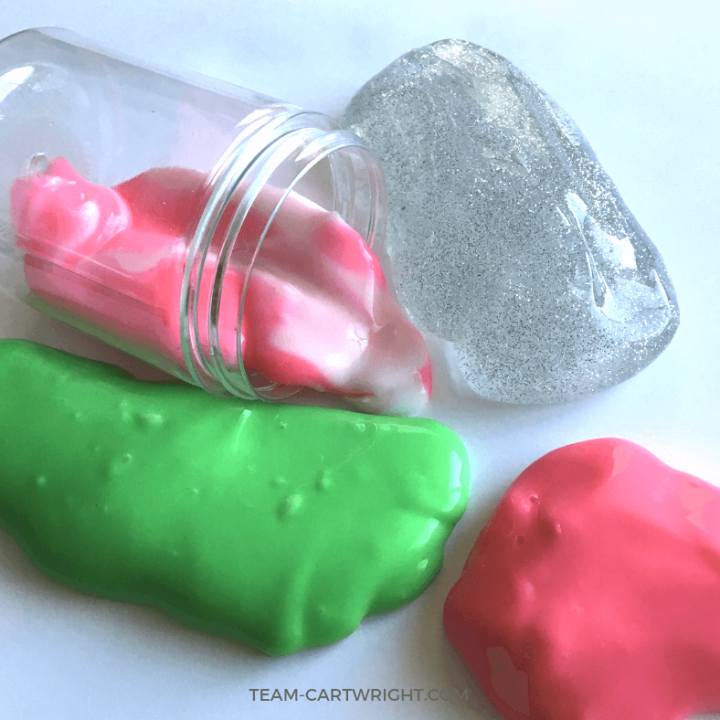
Christmas Slime For Kids! Holiday Sensory STEM
There is a slime for every occasion and I love that. Candy cane slime, ice slime, Grinch slime and more. Which one will you make first?
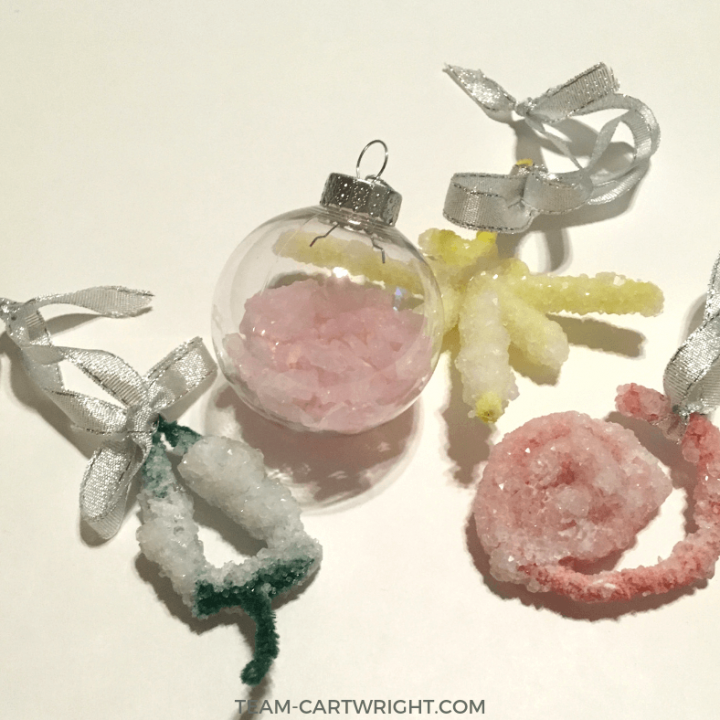
Homemade Crystal Ornaments: Christmas Science for Kids!
You can make your own crystal ornaments at home! These are a great way to teach your kids about crystals and molecular structures. And don't worry, it is ridiculously easy to make these. Your kids will want to make more and more! (Bonus, learn the science behind crystals too!)
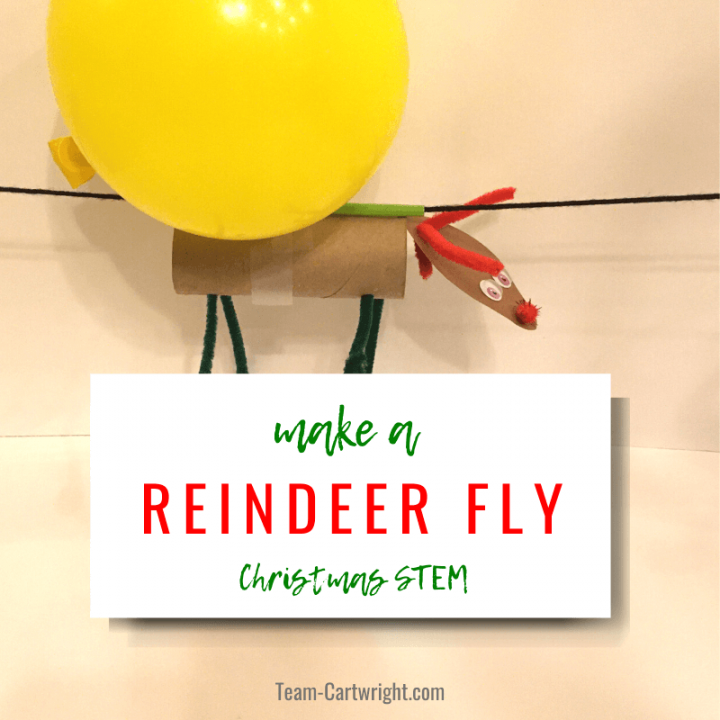
Flying Reindeer: Christmas STEM for Kids
Want to make reindeer fly at home? This fun and easy STEAM activity will wow your kids and create a fun holiday tradition. Learn about Newton's Laws of Motion and make a cute reindeer craft!
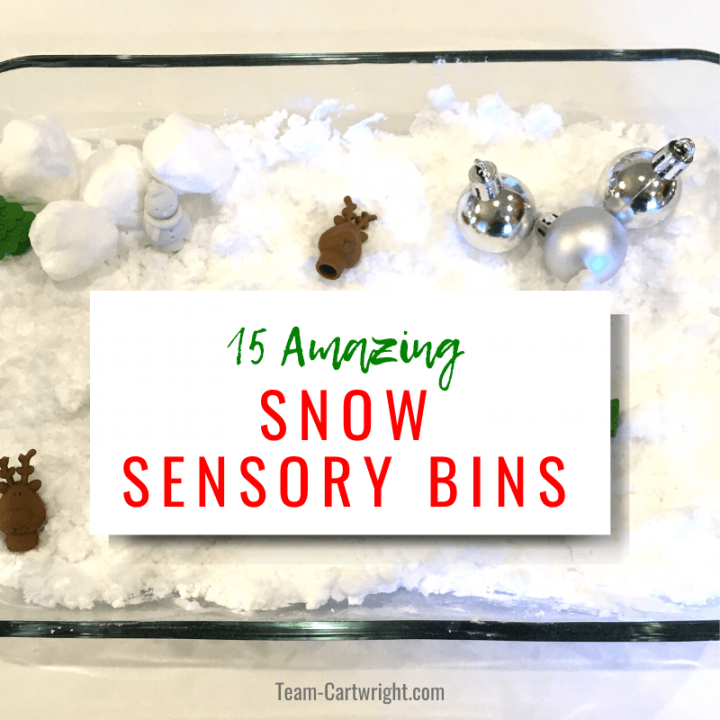
Snow Sensory Bins: Must Do Winter Activities for Kids
Christmas snow is magical. And you can bring that snow inside without the mess. Make the winter wonderland your kids want and help them learn with snow year-round!
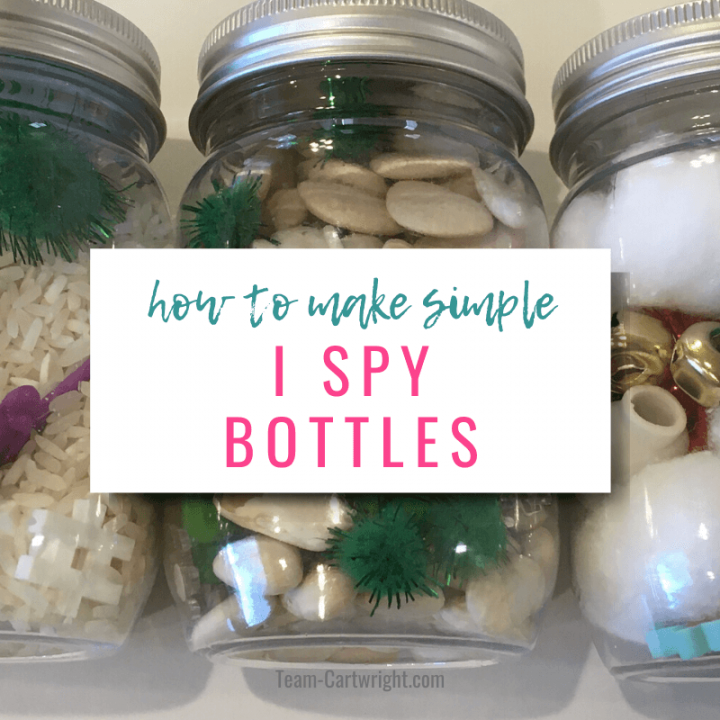
I Spy Bottles: Engaging Sensory Independent Play
Make simple seek and find bottles and create the perfect quiet time holiday activity. Work on focus, perseverance, and observation skills with these personalized bottles. You have to try them.
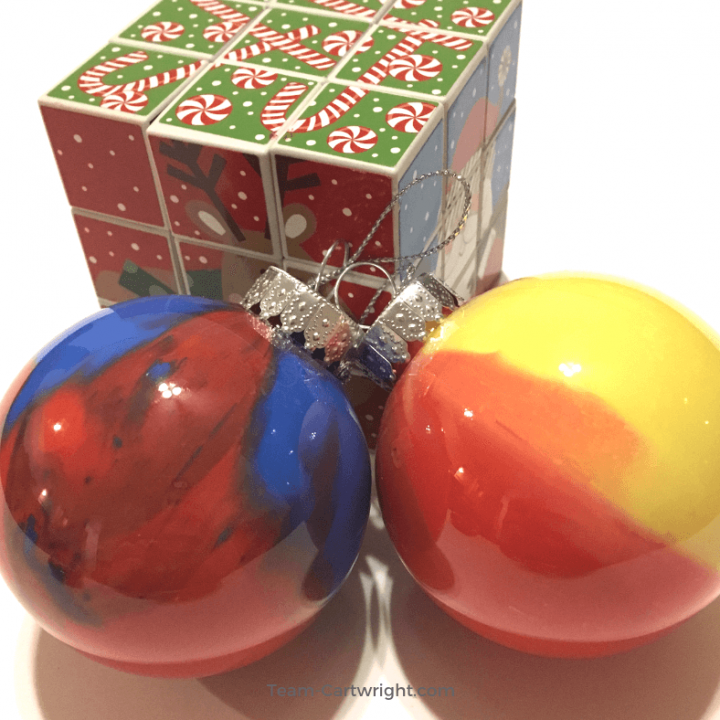
Homemade Marbled Ornaments: Color Mixing Christmas STEM
Color mixing really grabs children's attention. These simple ornaments turn out looking really cool. They are perfect for gifts or making at parties (no mess!). Practice colors with your little ones and create memorable ornaments they will be so proud of.