Edible Ocean Sensory Bin Treasure Hunt
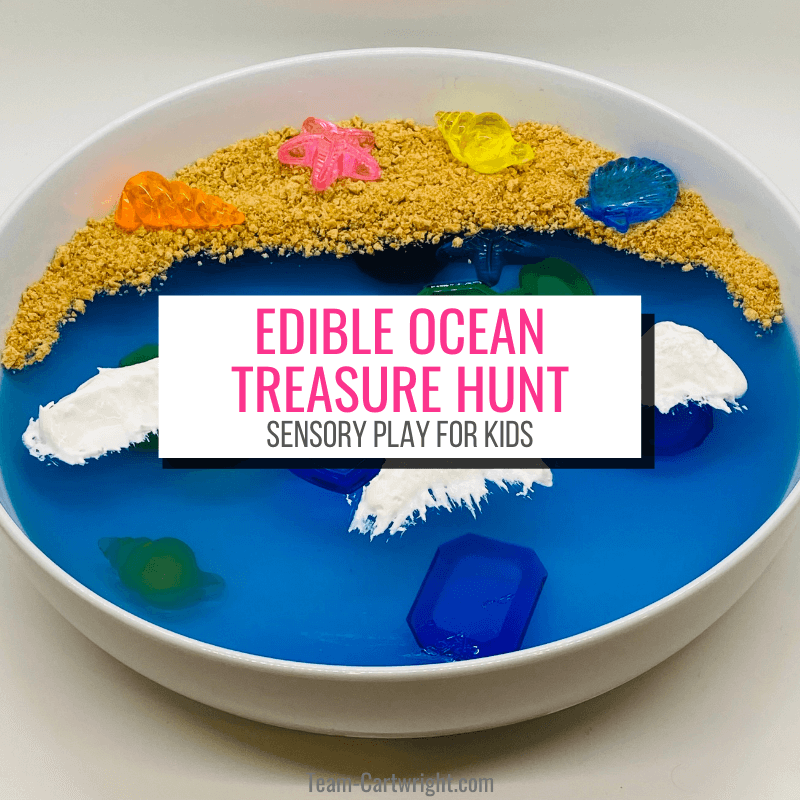
Digging for buried treasure is so much fun. Well, I assume it is. I haven’t actually had the chance to dig any up. But I found a way for my kids to have some of that adventure and fun, and it’s taste safe.
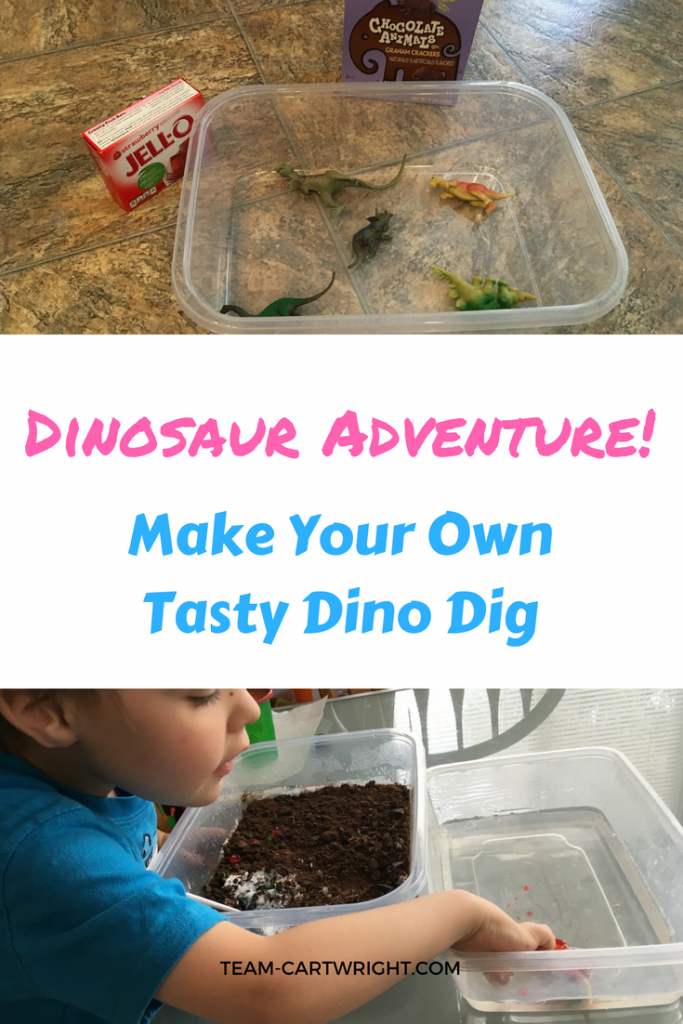
We did something similar with this when my son was in a dinosaur phase and it was a big hit. This time my girls are into mermaids and the ocean.
So we made an ocean sensory bin treasure hunt. Here’s how you can make one too.
This post contains affiliate links. Please see my disclosure for more information.
What's In This Post?
Edible Ocean Sensory Bin Treasure Hunt
This sensory bin is amazingly fun. It does take a little prep work. Nothing hard, don’t worry. The actual active prep time is pretty short. You just have to remember the weight time while it sets.
But I find it pretty easy to make this the night before we want to do it. That way the kids are already asleep and I can quickly get it out the next day.
And the joy my kids got out of this bin is worth every ounce of preparation. Here’s how to make it.
Supplies To Make a Taste Safe Ocean Sensory Bin Treasure Hunt
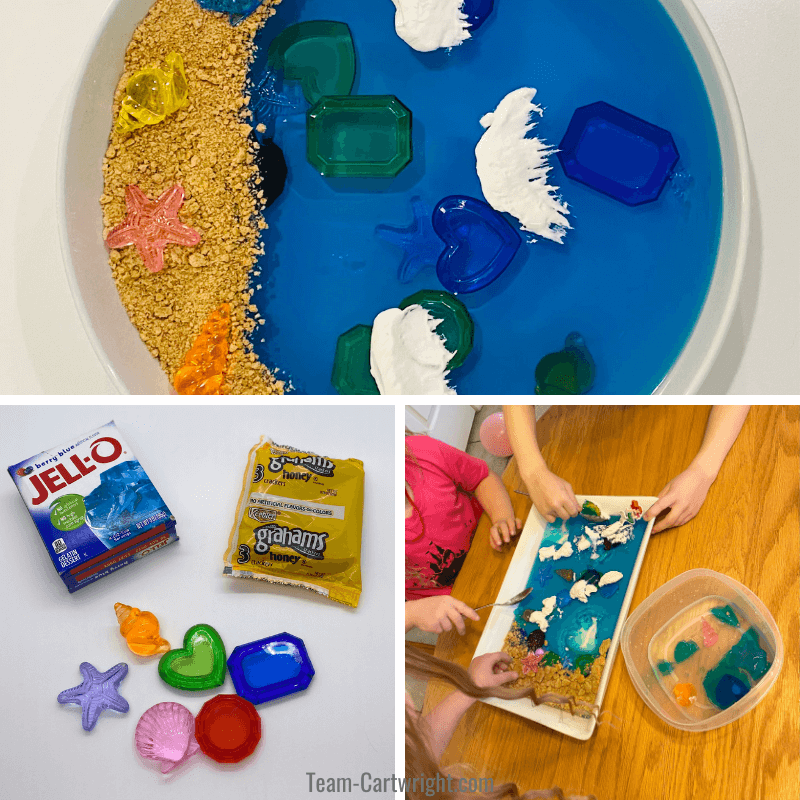
You only need a few items to make this sensory activity.
- Blue Jello (at least 2 packs)
- Cool Whip (or other whipped cream)
- Graham Crackers
- Plastic Jewels
These are the basics, and you can be flexible with them. Once you see how to put together this bin it’s easy to customize it to your needs.
How To Make Your Ocean Sensory Play
As I mentioned, I make the main part of this activity the night before. It’s just easier for me, and I do recommend you do the same.
I highly recommend you prewash your jewels or anything going into this sensory bin that is not food. This sensory activity is too tempting to not take a taste of, and safety first.
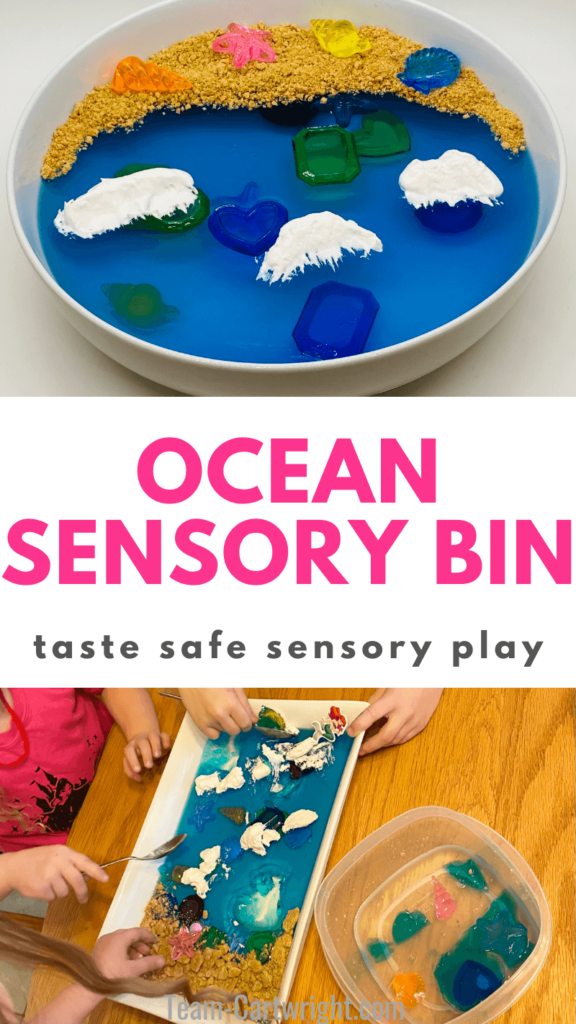
Step 1: Prepare one package of blue Jello as per the directions on the package. Let it cool a little bit and pour it into the container you are using for your sensory bin.
Step 2: Put the bin in the fridge for about 45 minutes. You want your Jello to start to set a bit, but not be too firm.
Step 3: Take your bin out of the fridge and add about half your jewels. Put back in the fridge to firm up.
Step 4: Once your first layer is firm, prepare the second layer as per the directions on the box. Let it cool a little then pour this Jello on top of the first layer.
Step 5: After about another 45 minutes, add the rest of your jewels to your bin. Hold a couple back to put on top for decoration. Let your Jello set overnight.
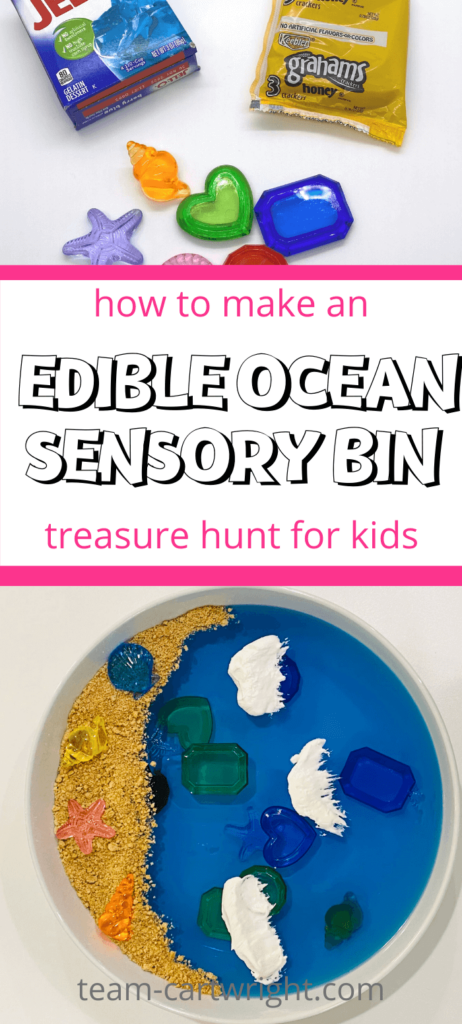
Step 6: When you are ready to do this activity with your children, pull it out of the fridge. Take your graham crackers and smash them up. Sprinkle them around one part of your bin. This is the sandy beach.
Step 7: Take your cool whip. This is for your waves. Draw some lines parallel to your beach to represent the waves coming in.
Step 8: Take the couple of shells or jewels you set aside and decorate your beach with them. If you have a mermaid toy or ocean creatures you can add those on too.
Step 9: Give your ocean to your children to play with! They will need some spoons to scoop. I also recommend having a bowl of water nearby to help them rinse off their treasures.
More Fun Activities To Try!
Tips for Your Treasure Hunt
Here are a few tips to maximize your fun with this activity.
Tip 1: You don’t have to use graham crackers for this. Vanilla wafers, cookies, anything that you can crumble works. You can even use cheerios or other cereal. Want to skip this part? No problem! Your dig can be an open water dive.
Tip 2: You can make this a few days before you need it. That actually makes it easier to plan for since you can make it when it is convenient for you.
Tip 3: Feel free to use more than 2 boxes of Jello to make this an even bigger activity. You can try layering different colors or see how deep of a dig you can make.
Tip 4: Is your child into ocean life? Have them dig out ocean creatures or plants instead of jewels! (Make sure the toys can handle being submerged in jello and clean them before use.
Tip 5: Have a bowl of water for your child to put their treasures in as they find them. This helps clean them off faster.
Tip 6: If you don’t like the flavor of the blue Jello (or want to make it slightly less appealing for snacking), use clear gelatin and blue food coloring to get the same results.
Safety
This is a pretty safe activity. Obviously, when you make the dig you will be handling boiling water. So if you are letting your children help make this be sure to have parental supervision.
Keep an eye on your child that they don’t eat any of the non-edible components.
Wash up carefully after play. That’s mainly because jello can leave kids sticky more than a safety issue though.
Mess Prevention Tips
This activity isn’t necessarily a messy one, but it has the potential to be one. Kids need messy play, but that can be an added stress you just do not need.
Don’t worry, you can learn all about how to have mess free play here: Mess Free Sensory Play Tips.
Here are some quick tips to get you started.
- Place an old towel or sheet underneath the bin to collect any mess.
- Take the bin outside if you are able.
- If you are doing this with small children, take it right to the tub. Easy cleanup.
- Have your child do the dig on the floor (with a sheet or towel under). The mess doesn’t spread out as far.
What Learning Is Going On in this Edible Ocean Sensory Bin?
This activity is so much fun. And it’s great for that reason alone. Kids need to have fun and get a little messy sometimes. But they are learning too.
Sensory Learning
The main component of this activity is of course the sensory aspect. Sensory play is about way more than just keeping little hands busy. There is so much learning going on. Here are a few things that sensory activities boost for kids:
- Language Development
- Vocabulary
- Fine Motor Skills
- Observation Skills
- Memory Enhancement
- Calming Skills
You can learn more about why sensory play matters so much here: The Big Benefits of Sensory Play. It’s a lot.
Color Recognition
If you are using colorful jewels this is a great way to practice color recognition. You can encourage your child to hunt down certain colors first.
Have your child name the colors as they find them. This is an easy way to add color practice in as well.
Counting Skills
You can practice counting skills so easily with this activity. Have your child count their treasures as they dig them out!
If you have jewels of different colors or shapes, have your child count those sections. How many greens? Or pinks? Or circles?
Sorting Skills
Sorting is an important skill, and you can sort the jewels your child finds!
Are they different colors? Different shapes? What sort of differences can your child find?
Sorting helps to boost observational skills. It is also an early math skill. Being able to sort information helps with understanding data. So you are helping to build early STEM skills when you encourage your child to sort.
Happy Hunting!
Now all you have to do is give this bin a try! I hope it inspires you to try new and different sensory bins themed out for your child’s interest. They are so much fun and so much learning is going on. Enjoy!

Let’s find your next activity!
Free Printable Edible Ocean Sensory Bin Instructions
How To Make an Edible Ocean Sensory Bin
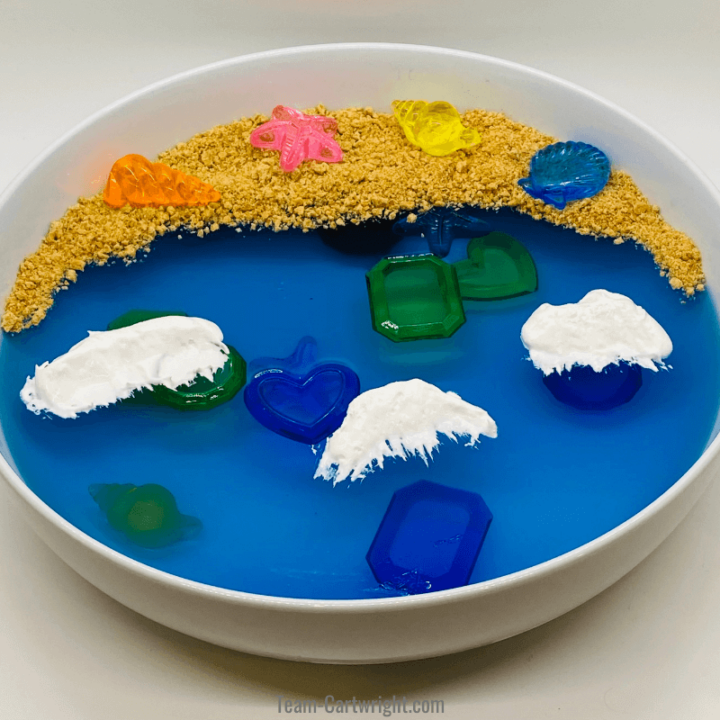
Make an amazing edible ocean sensory bin! It's easier than you think. This is educational sensory experience is so much fun and your kids will love it.
Materials
- Blue Jello (2 boxes suggested)
- Water
- Cool Whip/Whipped Cream
- Graham Crackers
- Plastic Jewels
Tools
- Sensory Bin (Tupperware, baking dish, or another large container)
Instructions
How To Prepare Your Ocean Sensory Bin
Setting up this sensory bin is pretty easy. It does take some inactive time for the jello to set, so it works best if you prepare it the night before you want to play with it.
- Prepare one box blue Jello as per the directions on the box. Add it to your sensory bin and let it cool for a few minutes.
- Add about half your jewels to the bin. Put in fridge to set for about 45 minutes to an hour.
- Prepare the second box of blue Jello. Pour on top of the first layer of jello and let cool for a few minutes.
- Add the rest of your jewels, reserving a couple to use on top of the bin.
- Let jello set overnight.
- Before playtime, take a couple of graham crackers and smash them. Place them at one side of your bowl as your beach.
- Take your cool whip or use it to add waves to the top of your ocean.
- Use the few jewels you reserved to decorate your beach.
- Let your child go on a treasure hunt!
Notes
Tips
You can use smashed vanilla wafers, cheerios, or any other cracker that you like.
The cool whip is optional, it just looks cool.
You can u see unflavored jello and blue food coloring if you'd like.
Safety
This is an edible activity, but make sure your child doesn't eat any non-consumable parts (like the jewels).
Jello preparation requires boiling water, so adult supervision and help is a must.
Clean Up
Once all the jewels have been found and your child is done playing with this, it can be disposed of in the trash. Leftover jello can be rinsed off.
To prevent mess do this activity on a sheet or towel.
