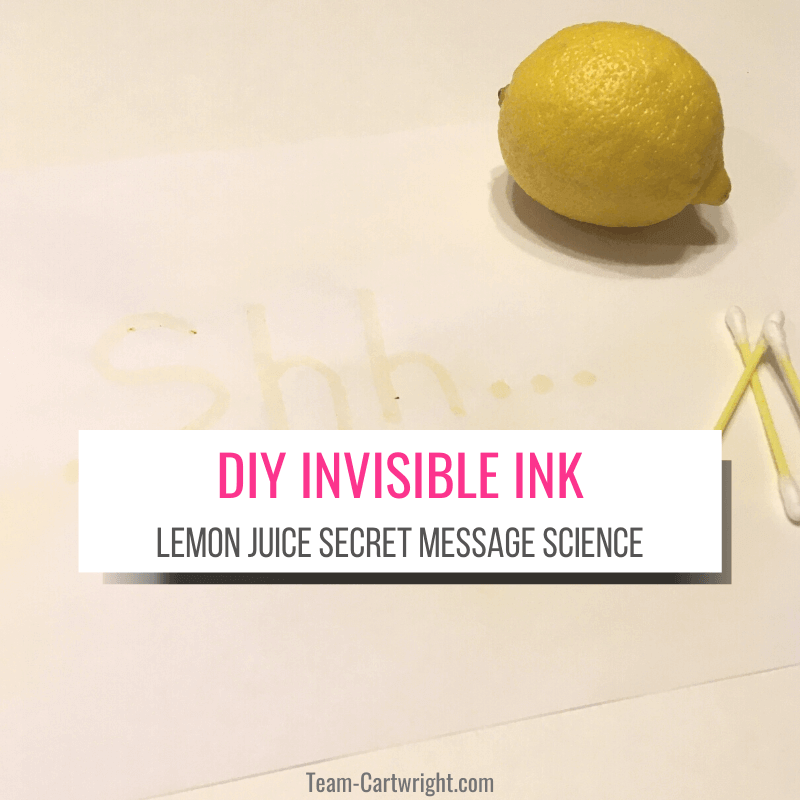
Lemon juice secret writing and the science behind these invisible ink secret messages.
I know in today’s world it is easy to send private messages to people. Emails, text messages, messaging through social media. We don’t have an issue with getting people information, and it really isn’t too hard to send messages privately.
But back in the day, it wasn’t that easy. (Please don’t ask which day, this isn’t a history blog ;)) People had to find ways to hide and encode messages that could only be read by their intended recipients.
The allure of such a secret message hasn’t gone away. Kids love the idea of hidden codes and messages, so we can use that to teach them a little chemistry. All you need is a lemon, some paper, and a heat source.
Time to make lemon juice secret writing, codes for kids.
What's In This Post?
Lemon Juice Secret Writing
This secret writing is really easy to do. Even toddlers can get in on the fun. (Though they will need some adult help with the heat part.) Once your kids try this they will want to do it over and over.
Supplies for Lemon Juice Secret Messages
You only need a few items to create these awesome secret messages.
- Lemon
- Q-Tips or Paint Brush
- Paper
- Oven
Writing Your Lemon Juice Secret Message
This is super easy to do.
Step 1: Squeeze the juice out of a lemon. You don’t want the seeds in it, but you don’t have to be too careful with it.
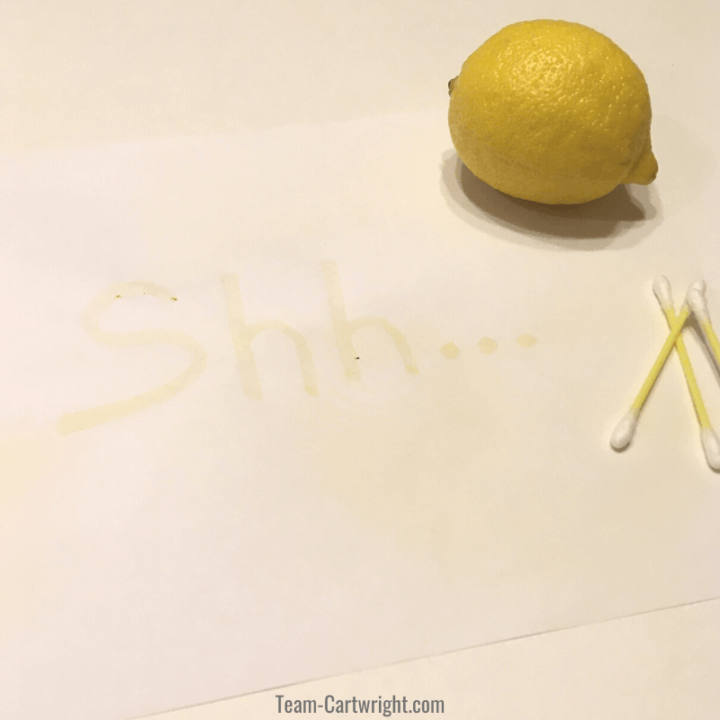
Step 2: Use your cotton swab or paintbrush to write your message. Dip it into the juice mixture and lightly paint onto your paper. You don’t want to go too heavy with the ink, it can make the paper dry a bit bumpy. This isn’t a huge deal, but it can make the message clear without decoding.
Step 3: When you are done writing your secret message, set the page aside to dry.
More Must Do Activities

How To Decode Your Secret Message
The decoding part probably needs the help of a grown-up. You need to take put your paper on a baking sheet in a 250-degree oven for about 20 minutes. As your message heats up it will turn brown so you can read it!
Note: You can also hold your paper up to a lightbulb or candle to see the message appear. These ways are cool, but it is easy for young children to get tired and bored from holding the page up for a time. I prefer the oven method because it is easier for young children to do. Your child can play while you wait. Plus there is less of a fire risk.
Find Your Next Favorite Activity!

Trouble Shooting Your Secret Code
As I mentioned earlier, if you put too much of the ‘invisible ink’ on your paper, the paper will dry bumpy and you can tell there is a message on it. Some kids won’t care about that, some will. There are things you can do to combat that.
Fix 1: Use less ink. Yeah, this one only works if your children realize it before starting, but it doesn’t hurt to mention in.
Fix 2: Add more lines of ink around your message to camouflage the real message. When dry it will just look like a bunch of strange markings. But once you heat up the paper the real message will become clear.
This one can be a little more challenging to use if your child is too young to write words. You will want to ask questions to know what is the intended design and what is the camouflage.
Fix 3: A final fix can be done after your papers are dry. If you notice that the message is clear from the dried ink, crumple the paper. The distressed paper will make it hard for the message to stand out without decoding it.
This method adds a little element of fun as you make the message tiny so as to be less conspicuous when delivering it.
The Science Behind the Secret Message
So this is a fun activity and pretty cool. But knowing how this works is even cooler.
The magic of this reappearing ink is in the citric acid. Lemon juice is acidic, and the specific acid it contains is citric acid. While that is there the lemon juice will remain pretty colorless. So when we write with it the juice dries clear.
When we add heat we break down that citric acid. Without those bonds, some carbon is freed. And that carbon oxidizes in the air, where it turns brown.
Think about apples that turn brown once they are cut. This is the oxidation process as well. The heat speeds up the process.
Surprising Messages
This invisible ink is so much fun to play with. You can leave all kinds of fun messages for each other and learn a bit about chemistry. Perfect for hours of fun.

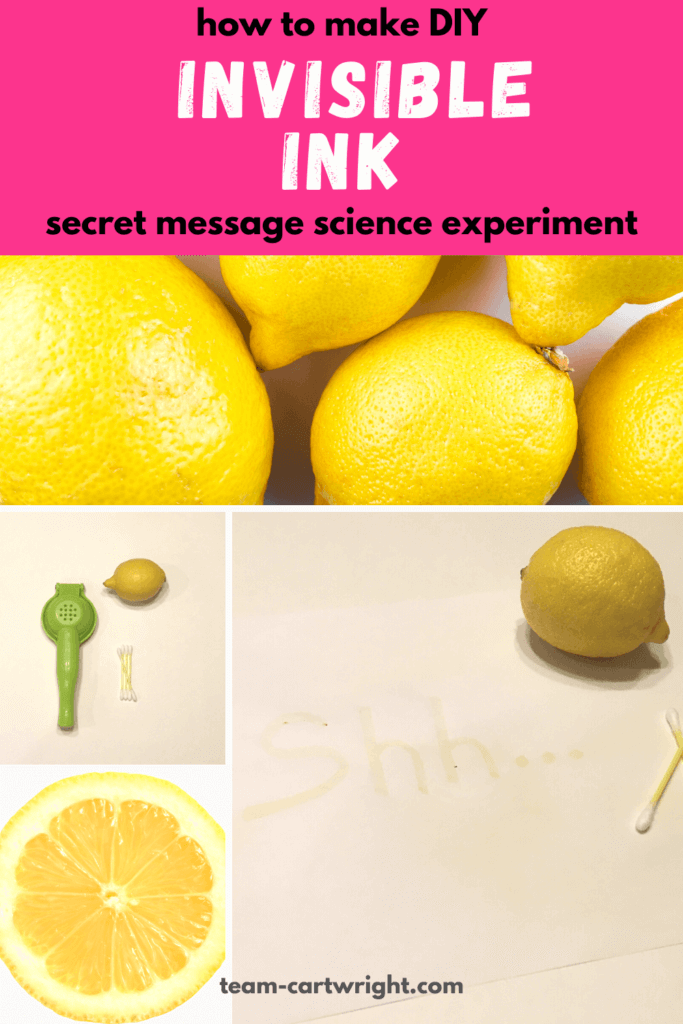
How To Make Invisible Ink
Send secret messages with these DIY invisible ink! Plus, learn a little about the science behind how these messages work.
Materials
- Lemon
- Cotton Swab or Paintbrush
- Paper
Tools
- Lemon Juicer
- Oven
Instructions
How To Make DIY Invisible Ink with Lemon Juice
- Cut the lemon in half. (Have an adult do this part.)
- Squeeze the juice out of the lemon into a bowl.
- Have your child dip a cotton swab or paintbrush into the lemon juice and paint with it on the paper. Write words, draw a picture, whatever they like.
- Let the juice dry.
- Put the paper on a baking sheet and place it in a 250° oven for about 20 minutes.
- The secret message will brown while the rest of the paper doesn't!
- Be sure to let your paper cool for a minute before giving it to your child.
Notes
Safety
A few safety notes here. One, when cutting the lemon be careful. I strongly suggest a parent helps with this step if you are doing this experiment with young children.
This activity requires the oven, which should also be done under adult supervision.