How to make slime worms at home without a kit.
We all know kids love slime. I get it. Slime is squishy and oozes and very interesting sensory-wise. Plus watching it get made is super cool.
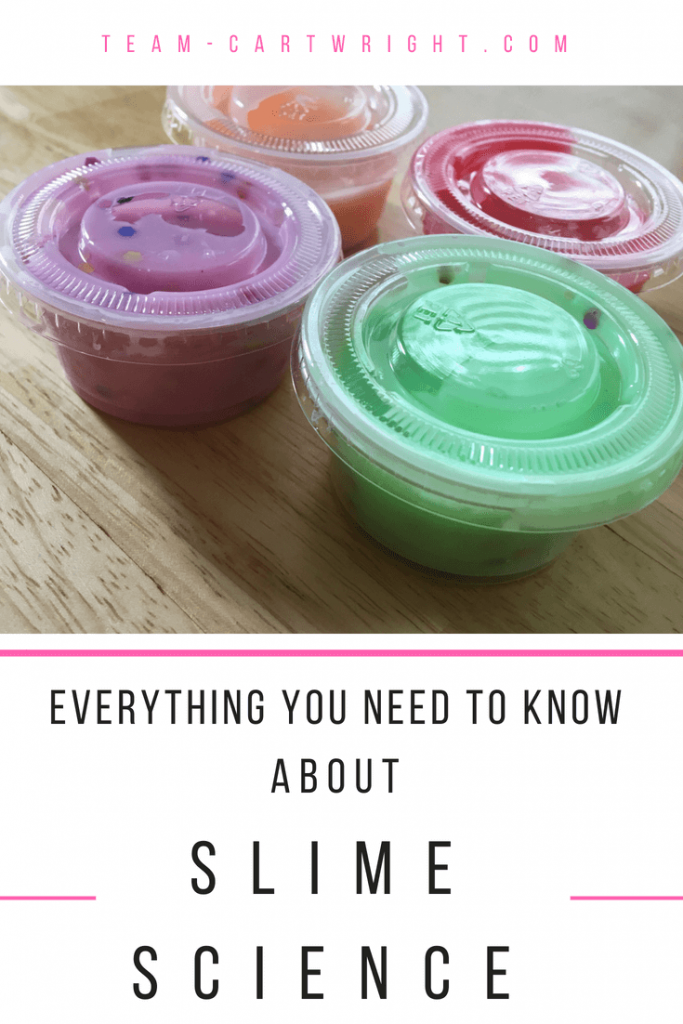
We’ve made a lot of slimes. (You can learn about our best slime here.) We go with themes for holidays, and we’ve made edible slime too. So at this point in time, I felt pretty confident in my slime making abilities.
Then my children saw something on TV that challenged my slime skills. I was so excited to learn how to make these. We tried several ways to get this to work, and this was the method that finally worked. You’ll want to make them too.
Time to make Slime Worms.
This post contains affiliate links. Please see my disclosure for more info.
What's In This Post?
Slime Worms!
Before we get started I am going to be totally honest here. If you are new to making slime, this is not what I would recommend starting with. It isn’t that hard to make slime worms, but it is best to start with more traditional slime methods that are easier to customize.
For example, the basic borax and glue slime is easy and you can toss in all kinds of colors or glitter or extras to make it work for any theme. Plus borax is easy to keep on hand and this makes it easy to make slime without a ton of planning ahead.
This slime took special supplies that I haven’t used for anything else. So I don’t want you to get special materials if you aren’t comfortable with and wasting your time and money.
But if you are ready these are really freaking cool.
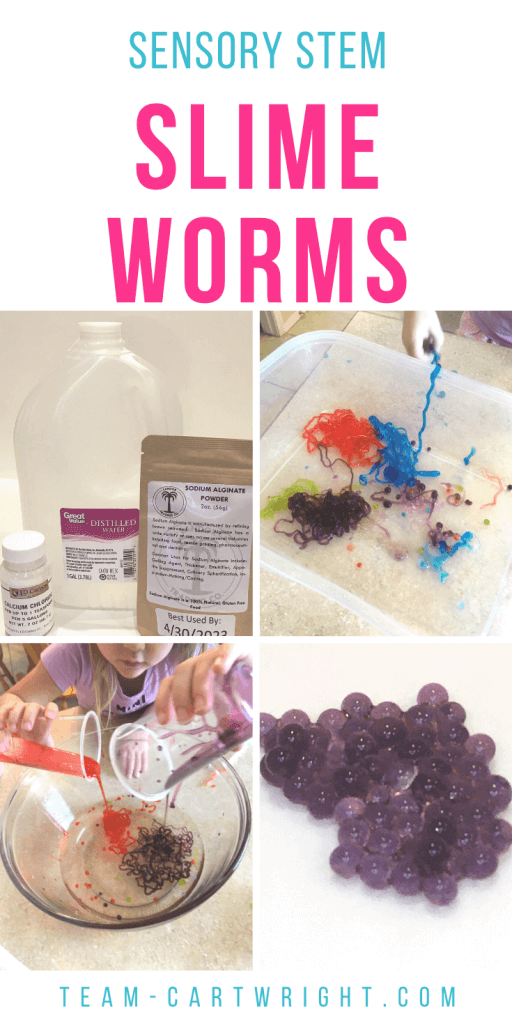
Supplies for Slime Worms
I tried several ways to make these worms with the normal slime methods. I don’t like to have to buy special materials if I don’t have to. For this STEM project though, you need specific supplies.
These are not hard to find or expensive. I ordered them from Walmart. They are also available on Amazon or through a lot of online grocers.
You Need:
- Food Grade Sodium Alginate
- Food Grade Calcium Chloride
- Distilled Water
- Food Coloring
- Measuring Cups and Spoons
- Tongs or Fork
- Plastic Dropper
The sodium alginate and calcium chloride are things you might not have in your home. I know I didn’t. But they were easy to order online from Walmart or Amazon. Make sure you get the food-grade version.
The water is important. Yes, you will want to use distilled water. (You can use deionized too.) I got ours at Walmart, it is something you can easily get a hold of.
How To Make Worm Slimes
To make your slime worms you will need to prepare two solutions ahead of time. I recommend that you make these before you try this project with your children. They aren’t hard to make, but they do take a little time.
Older children can help you prep the solutions you need for this project. But you can also prepare them ahead of time to make the activity run a little more smoothly.
2% Sodium Alginate Solution
The first solution you need to make is your 2% sodium alginate solution. This means you are adding 2 grams of sodium alginate with 100 milliliters of distilled water.
I know that not everyone has scales and beakers lying around to measure that out lab-style, so I converted it to our usual kitchen terms. This is how I made the solutions and it totally worked.
Step 1:
Add 1 tsp sodium alginate to 1 cup of distilled water. You can scale this up and down as needed.
Step 2:
Mix well. And this mixing will take some time. I used an immersion blender to finally get it all mixed together. You could use a regular blender too.
All this mixing causes a lot of bubbles though. So it is a good idea to make this solution the night before. Just keep the solution in the fridge overnight and the bubbles will work themselves out.
5% Calcium Chloride Solution
The other solution that needs to be prepared is the 5% calcium chloride solution. You can make this one right before you make your slime worms with your kids.
A 5% calcium chloride solution is 5 grams of calcium chloride in 100 milliliters of distilled water. Here is how to make it.
Step 1:
Mix 6 teaspoons of calcium chloride with 2.5 cups of distilled water. You will want to make this solution in a large mixing bowl because that is where you will be making your slime worms.
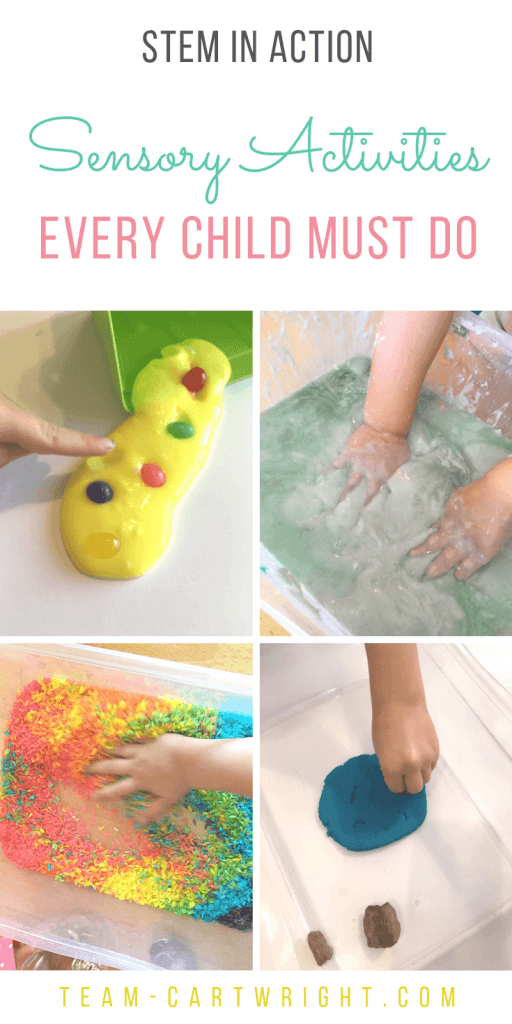
More Must Try Activities

Making Your Slime Worms
Now that you have your two solutions, you are ready to make the best slime ever.
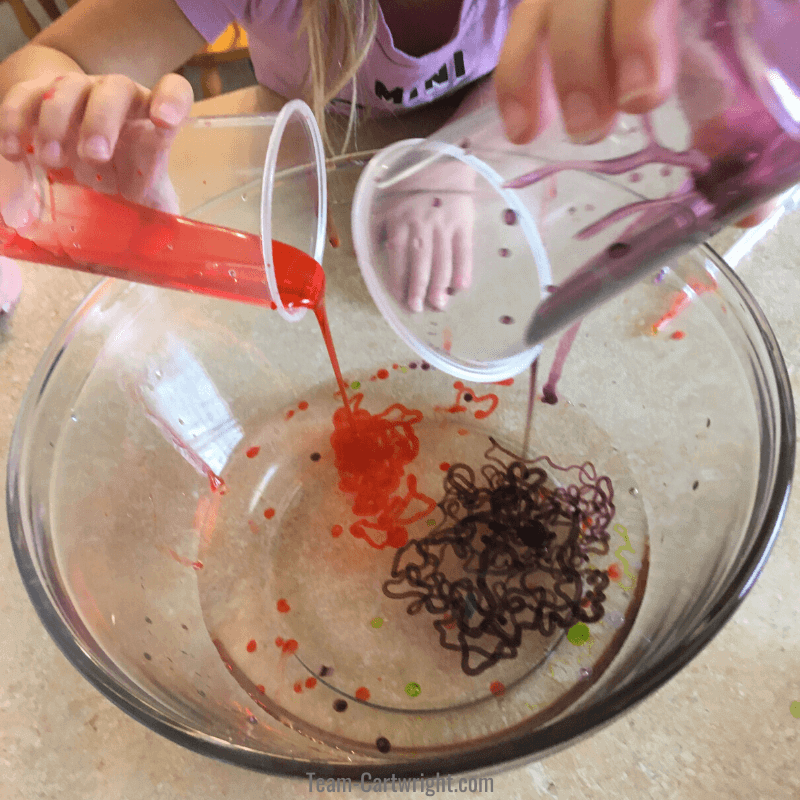
Step 1:
Take out your sodium alginate solution. Split it into however many small cups you want, one for every color worm you want to make. Then add a few drops of food coloring to each cup. (I also recommend keeping one colorless to make clear worms.)
Step 2:
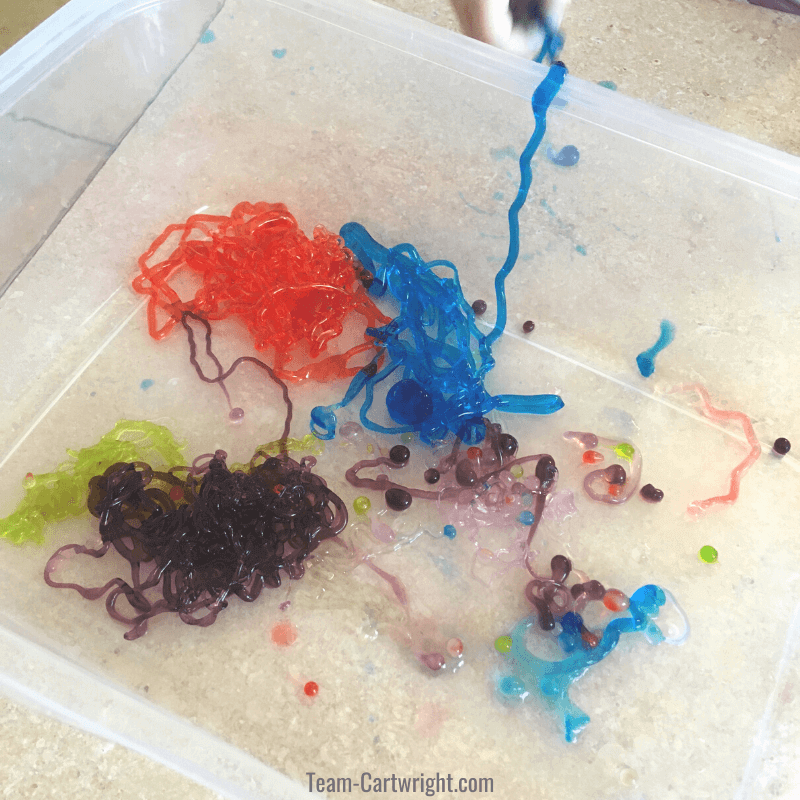
Give your kids the cups of colored sodium alginate solution and some droppers. Have them drop the sodium alginate solution into the big bowl of calcium chloride solution.
Streams of sodium alginate will create worms and drops will create slime balls!
Step 3:
Use a small strainer, slotted spoon, or fork to fish the worms out of the bowl. You can place them in a Tupperware to play with!
You can also gently pour the sodium alginate into the calcium chloride solution to make bigger worms.
Safety
We can’t make slime without talking about safety.
Sodium Alginate
Sodium alginate comes from brown seaweed. It’s used as a thickener and emulsifier in food products. It’s pretty benign and safe to handle. You can read more here.
Calcium Chloride
Calcium chloride is used for a lot of things, including food processing. In terms of food production, it is used in pickling processes and to increase the shelf life of fruits and vegetables.
You do want to be careful with your calcium chloride. I recommend that an adult make that solution. (Or at least heavily supervise while an older child makes it.)
The calcium chloride solution we made can be irritating to the skin, so be sure to wash your hands carefully after using it. Personally, I didn’t panic or get overly worried about my kids touching it. We only do this every once in a while, so they aren’t handling the solution very much. You could also have your children wear gloves while playing with these worms.
Make sure that your kids do not ingest any of the calcium chloride or the calcium chloride solution. Do not get it into your eyes. Immediately after handling your slime worms wash your hands.
General Safety
This is not a taste-safe activity. Do not let your child eat or taste any of the components.
Keep all components and solutions out of your child’s eyes. Make sure they are not touching their eyes or into their noses while playing with this slime.
Wash your hands after handling this slime and components.
Clean Up
So how do you clean up after you make your worms?
One thing I would recommend is to put wax paper or newspaper under your bowls while you make your slime worms. This makes any drips or spills easier to clean up.
After you have finished with your worms you can throw those into the garbage. You want to be careful with how you dispose of your solutions.
Mix any remaining sodium alginate solution with the calcium chloride solution. You don’t want to be making slime in your pipes, so you want to make all the slime you can and throw it away.
Rinse the sodium alginate solution’s bowl very well with hot water, then let the water continue to run for a few more minutes.
You will want to be a little more careful in disposing of your calcium chloride solution. It needs to be diluted by about 10-20 times its volume. This post will help you dispose of it safely: How to dispose of calcium chloride.
The Science of Slime Worms
So how are these slime worms made?
We know that with the more traditional slimes we have cross polymer linking that gives slime its unique properties. (Learn more here: The Science of Slime.) But if we make thing strands of this type of slime or beads, they will just mush back together into a blob.
When we mix sodium alginate and calcium chloride the calcium ion switches places with the sodium ion to create the cross polymer linking. These chains trap water, which is how they make the slime beads and slime worms. (If you squeeze them hard they will ‘pop.’)
A Note About Distilled Water
You saw that this slime recipe calls for distilled water. Deionized water works as well. This is important for our procedure.
Normal water you get out of the tap or even bottled water contains lots of different ions and minerals. (Don’t freak out, this is normal and usually a good thing.) Distilled water has been purified to remove these impurities.
If you use regular water in this experiment those impurities in the water can cause the sodium ions to be swapped out with something different than the calcium ions, so the cross-linking won’t take place.
More STEM Activities Your Kids Will Love
Distilled Water vs Deionized Water
Deionized and distilled water both work for this science project, but they are not the same thing.
Distilled Water
Distilled water is purified water. It has had the minerals removed from it. It does still conduct electricity. This type of water is made by boiling water to remove impurities and collecting the vapor.
You can drink distilled water. If you have contaminated water then distilling it can be a safer option for drinking. But storing distilled water can be hard. This water tends to leach minerals out of anything it touches, so it can absorb things from any container it is in.
I actually have personal experience and know this is true. Back when I worked for a pharmaceutical company we were constantly monitoring the sterile waters used for injection and intravenous solutions, because it so easily absorbed anything it came in contact with.
Deionized Water
Deionized water is the purest form of water where all the ions are removed from the water as well. It is usually used in industrial and laboratory settings as it has the least impact on test results. Without ions, it also does not conduct electricity.
You can drink deionized water. There are some concerns if this is the only type of water you consume, so talk to your doctor before you make any major water drinking lifestyle choices. But drinking it every once and a while is fine.
Enjoy Your Worms!
This is a bit of an advanced slime, and you do want to handle it carefully. But it makes a big impact. It’s worth a try.