Leprechaun Snow! A St. Patrick’s Day Sensory STEM Activity
St. Patrick’s Day is a great time for a little good-natured mischief and fun. There isn’t as much pressure on it as a holiday. It is a great time to have some silly fun with your kids and blame it on a leprechaun.
I also love the colors involved with St. Patrick’s Day. Bright green, rainbows, gold? I can see why kids are drawn to them. So I thought we would capitalize on that and enjoy some sensory STEM fun!
This activity is easy to set up. It can get a bit messy, but it packs a big punch that makes it worth it.
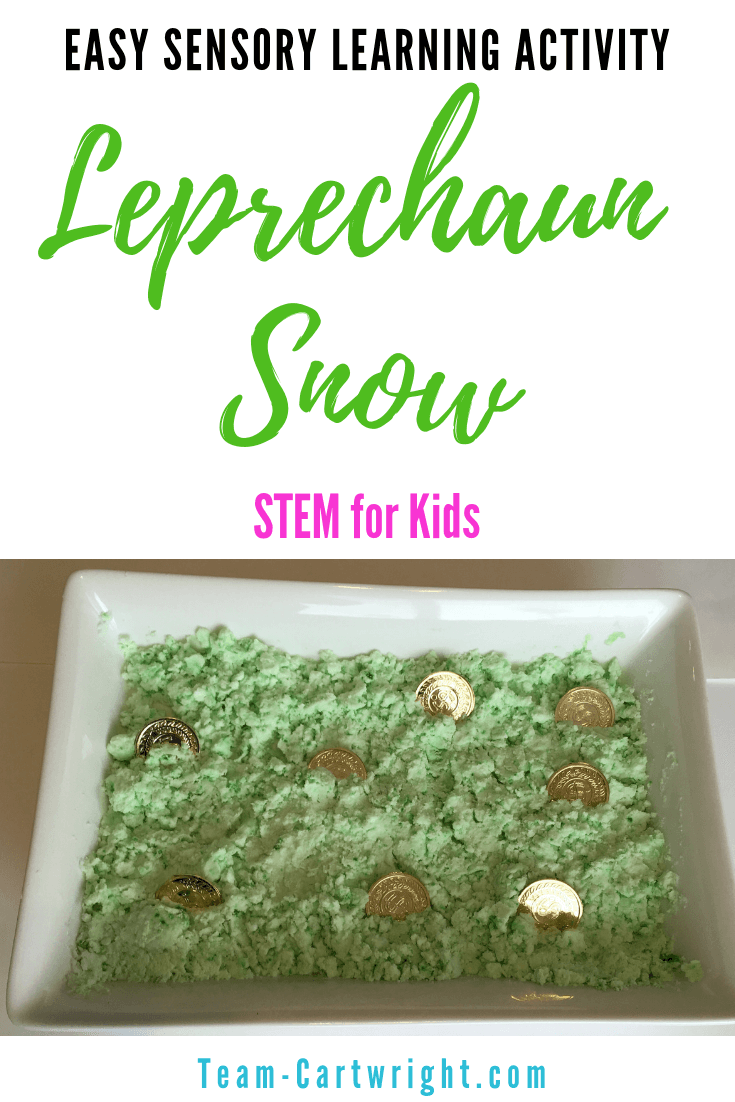
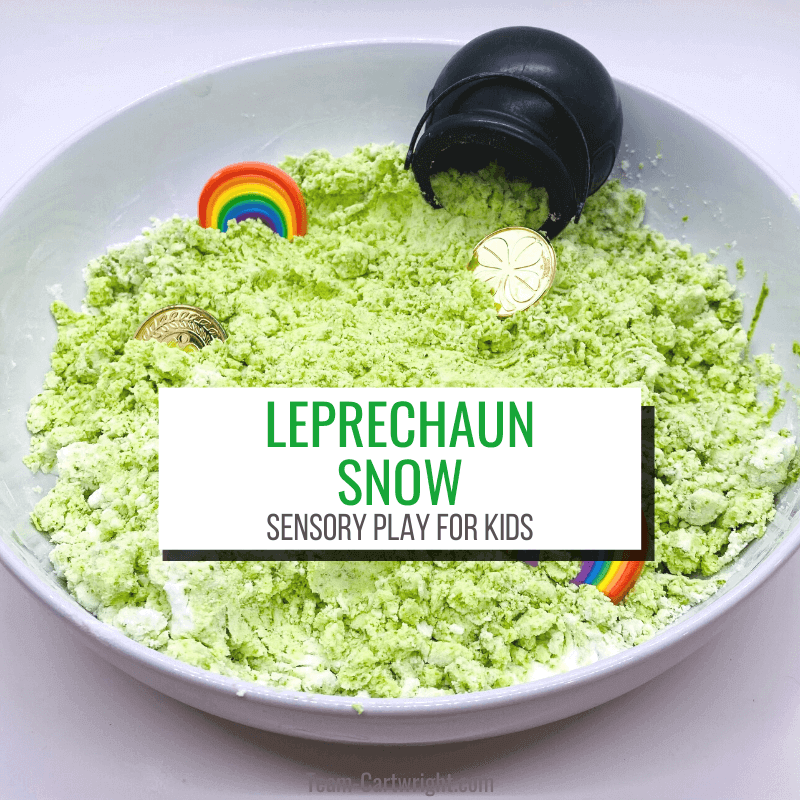
We made Leprechaun Snow. (The crazy snowy weather going on can only be some elaborate leprechaun mischief, right?) Our green snow came with hidden gold coins. They were covered in snow, so we had to clean them off.
That meant using the magic potion of course.
I’m getting ahead of myself. Here is our new favorite St. Patrick’s Day sensory activity: Leprechaun Snow.
What's In This Post?
Leprechaun Snow
You only need three ingredients to make this snow. It lasts a lot longer than snow you would bring in from outside, and it has some special properties that come out when you rinse it off your gold coins.
My 5-year-old adored this activity and my toddler twins thought it was amazing as well. I think the toddler to preschooler age range is ideal for it. Though elementary aged kids can get a kick out of it as well.
You might recognize the basic snow we are making from my Sensory STEM Activities. Let me reassure you, it is a great idea to repeat activities with your kids. And this snow is so adaptable to this fun holiday twist!
Making Your Leprechaun Snow
You Need
The ingredient list is pretty short.
- Baking Soda
- Conditioner
- Green Food Coloring
- Gold Coins
- Vinegar
To Make the Snow
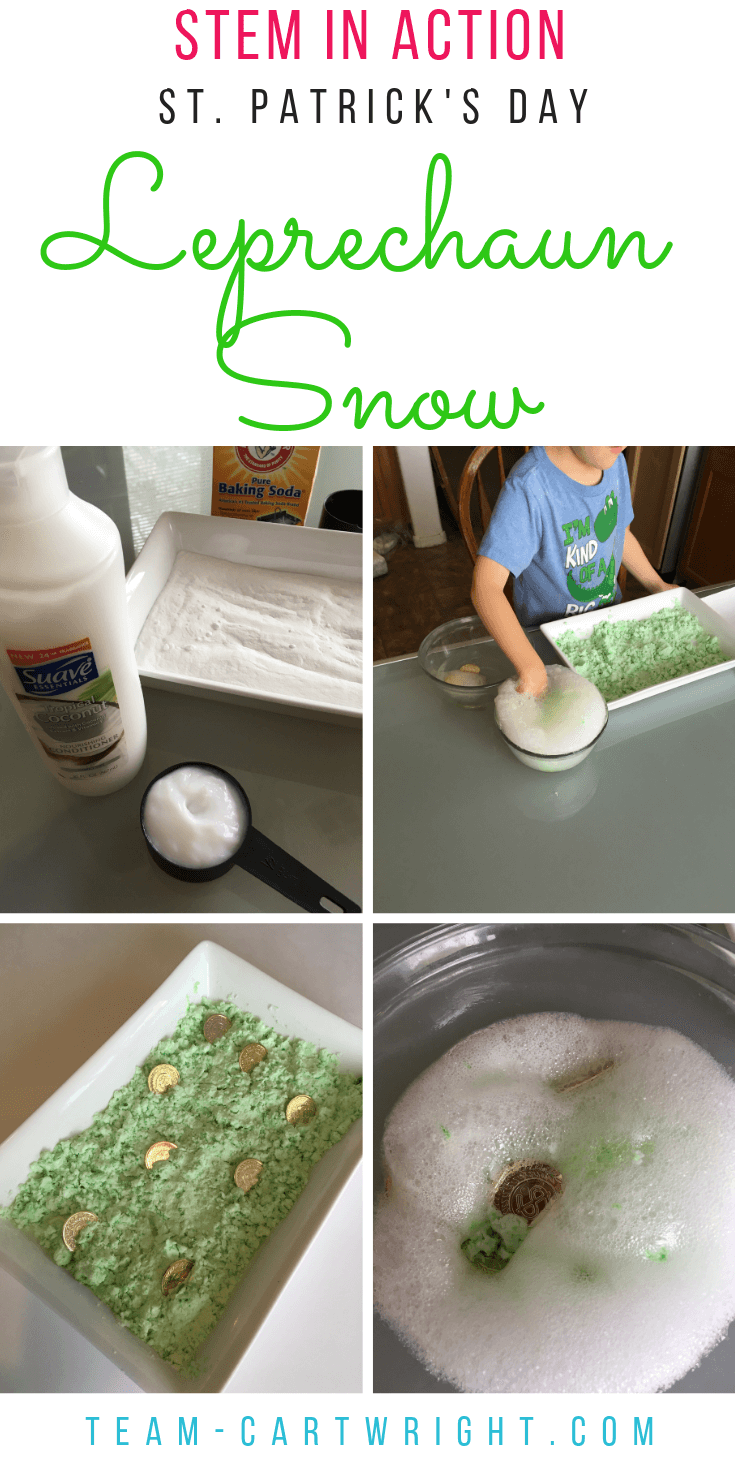
Step 1: Put 3 cups of baking soda into a large container.
To help out with how much that is, I pretty much use an entire two-pound box of baking soda. That sounds like a lot but one of those boxes costs less than $2. I think it is worth the cost.
Step 2: Measure 1/2 cup conditioner. I use the cheapest kind I can find. If you can find green conditioner you can save a step by using that. I already had white conditioner on hand so I just added green food coloring to that. Use as much as you like, but the more you use the more vibrant your snow will be.
Step 3: Mix the conditioner into the baking soda. The easiest way to mix this is with your hands. I recommend mixing it right before your kids play with it. This snow is actually cool to the touch when you make it, but that doesn’t last forever. You don’t want your kids to miss it.
(If you feel like your snow is too crumbly add a bit more conditioner. If it is too wet add more baking soda. You can play with the ratio until you get what you like best.)
Gold Coins
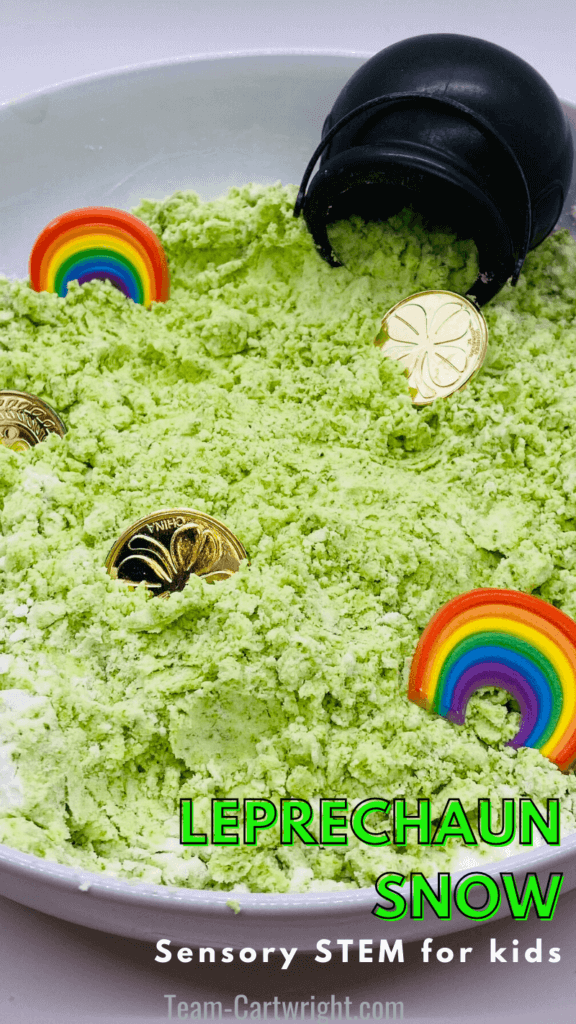
Leprechauns love gold coins, so it just makes sense that they would leave some behind in their snow!
I used plastic gold coins that I got at Party City. If you have the gold dollar coins those work well too. Do not use the chocolate coins. I cannot promise that the snow won’t get into the wrapper and touch the chocolate and you do not want to eat this snow.
I hid several gold coins in the snow and sent Ben on a hunt for them. When he found them he popped them into the magic potion to clean them off!
Magic Potion
The magic potion that melts the snow is pretty simple: Vinegar. Go ahead and pour a cup of vinegar into a bowl. You can add some water if you want, but straight vinegar works too.
Have your child brush most of the snow off the coins, but not all of it. Put the coins into the magic potion and you will see the snow ‘melt’ into bubbles and come away from the coins, leaving behind a fun foam!
This foam is safe to play with as well. So now you have double the sensory fun!
Personal tip here: Ben loved adding the magic potion directly to the snow to melt it all. This is great fun (and a bit messy), but there is no undoing that and getting your snow back to its original condition. So while I encourage you to let your child try this, wait till they have thoroughly enjoyed the snow as is.
Safety
This is all pretty safe. All the components are normal household objects and they don’t create anything unsafe when combined. Use your basic common safety rules here. Do not let your child eat the snow or magic potion or put it in their eyes.
Fortunately, the conditioner, while smelling good, does not smell like food. That helps keep curious little tasters at bay, but do make this a supervised activity.
The Science of Leprechaun Snow
So what is happening here?
We are actually making two different chemical reactions take place here. Both of them require the baking soda we used.
Baking Soda and Conditioner Snow
The first reaction is the snow. Here the baking soda mixes with the conditioner in an endothermic reaction. Endothermic reactions absorb energy in the form of heat when they take place. This is why they feel cool to the touch.
This sort of reaction really seems to grab a child’s attention. I think we are used to reactions that are exothermic, that is they produce heat. Burning is an easy example of an exothermic reaction. Heat is a byproduct of the reaction.
It is less common to find reactions that absorb heat, but that is what makes this a great snow!
Baking Soda and Vinegar Reaction
The second reaction comes when we use the magic potion to melt the snow off the coins. This is our old favorite, the baking soda and vinegar reaction.
Baking soda and vinegar are what are often used to make volcanoes at home. They mix to make carbon dioxide and water. This carbon dioxide is what creates the bubbles we see.
The addition of the conditioner from the previous reaction does mean that your second reaction won’t be as huge as if you just mixed vinegar and baking soda. But it does make an impact. The conditioner does help though by creating bubbles that last longer, making it more fun to play with.
Sensory Play
Sensory activities are so important for kids. You can do a sensory bin like this, but it isn’t the only way to get sensory learning in. This explains the reasons why you should encourage sensory exploration and gives some simple no prep activities to try: LINK
Additional Ways To Play
The big way we used this St. Patrick’s Day learning activity was through sensory play and talking about chemical reactions. But you can do a lot more learning than that.
Scooping and dumping the snow works gross motor skills. Shaping the snow into snowmen or balls or other shapes helps with fine motor skills. You can also practice using descriptive vocabulary to describe what your child is doing.
Don’t be afraid to step back and let your child have a bit of free play with this as well. Let them set the pace and explore their own ideas of what to do with the snow.
Rainbow Snow
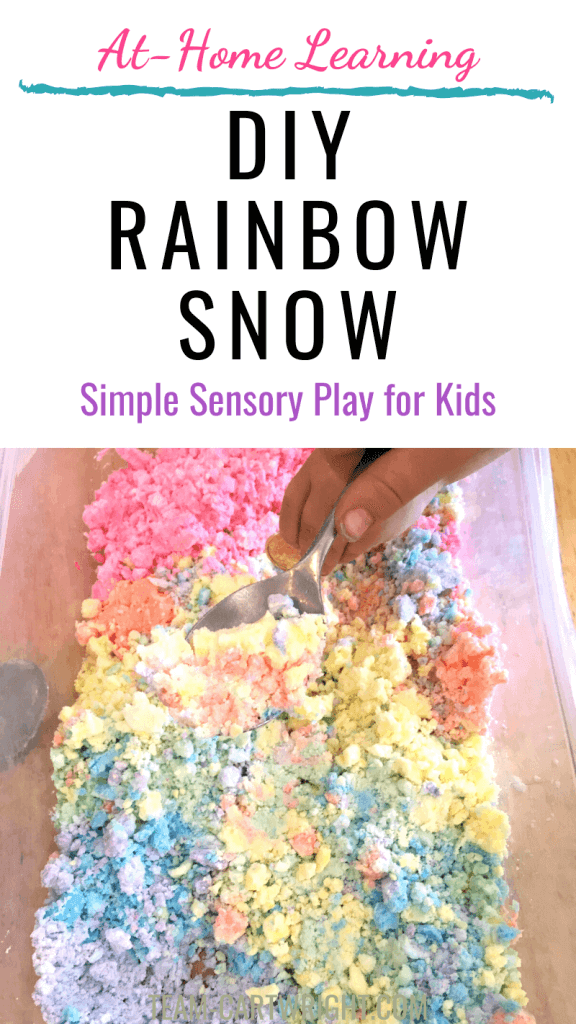
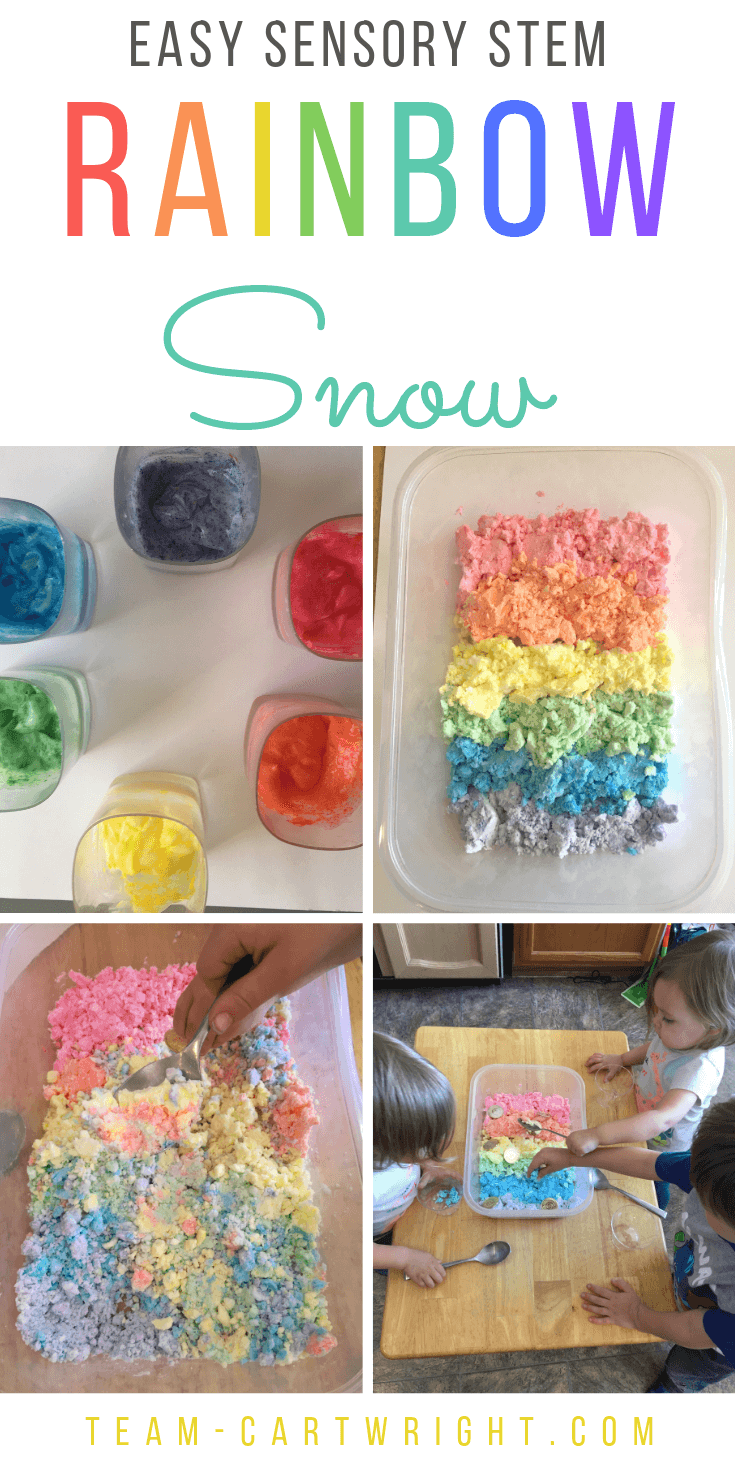
Ben ahd the great idea to make rainbow snow! I made smaller portions of the snow, about 1/4 cup of conditioner and 1.5 cups baking soda. I added different colors to the conditioners to make a whole rainbow of colors! It was a hit!

Here are more fun learning activities to try!
St. Patrick’s Day STEM Activities
Make an Easy DIY Easter Egg Rocket
Moon Activities for Preschoolers
Valentine’s Day Thaumatropes: An Easy Optical Illusion for Kids
St. Patrick’s Day Coding Activity
The Big Benefits of Sensory Activities
How To Make Leprechaun Snow
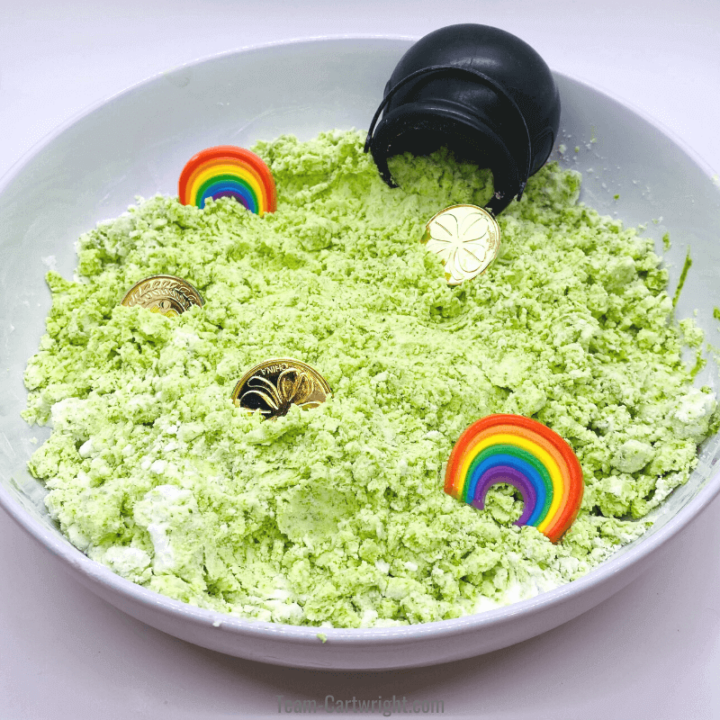
Make this amazing sensory experience, Leprechaun Snow! It is actually cold to the touch. It is fun to play with, teaches kids about endothermic reactions, and you can make a magical treasure hunt!
Materials
- White Hair Conditioner
- Baking Soda
- Food Coloring
- Optional Extras:
- Plastic Gold Coins
- Plastic Rainbows
- Pots of Gold
- Vinegar
Tools
- Measuring Cups
- Droppers
- Large Container
Instructions
Setting Up Your Leprechaun Snow
- Add 3 cups of baking soda to your sensory bin.
- Measure 1/2 cup of conditioner and add 15-20 drops of green food coloring. (You can do more or less based on how dark you want your snow to be.)
- Mix the green conditioner into the baking soda. It is easiest to use your hands.
- Add in any sensory bin extras you want to use and let your kids enjoy!
Magical Potion Treasure Hunt
- This sensory bin is amazing on its own, but you can make it even more magical with a magic potion and gold coins.
- Bury plastic gold coins in the snow.
- Give your child a cup with vinegar in it and a dropper. Let them use the vinegar to uncover the gold!
- An alternative is to use the vinegar as a magic potion to clean off the gold coins they find.
Notes
Safety
This is a pretty safe activity. Make sure your child doesn't put any of the sensory snow in their mouth or eyes.
Additional Tips
Any type of hair conditioner works for this, so go ahead and use whatever is cheapest.
The white condition makes it easier to get the color you want with food coloring, but any color will work.
Adding vinegar directly to the sensory bin will dissolve the snow. It is still very fun to play with that way, but if you want to maintain the snow put the gold coins into the vinegar 'magic potion' instead of adding it to the bin.
