How to make edible cereal slime and the science behind it.
Breakfast is the most important meal of the day right? At least that’s what I’ve heard. So that means it is time we slimed it.
Don’t worry, I’m not suggesting pouring slime over your breakfast. But you can make a slime that adds some sensory fun and science to typical breakfast food.
Let’s make some cereal slime.
(You can get free printable instructions if you scroll down to the bottom!)
What's In This Post?
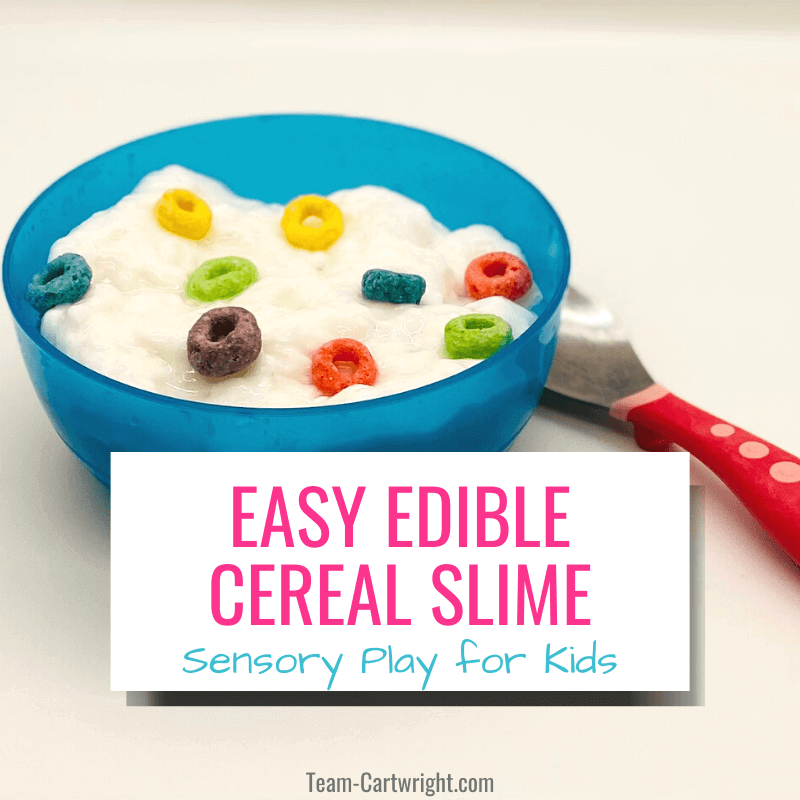
Edible Cereal Slime
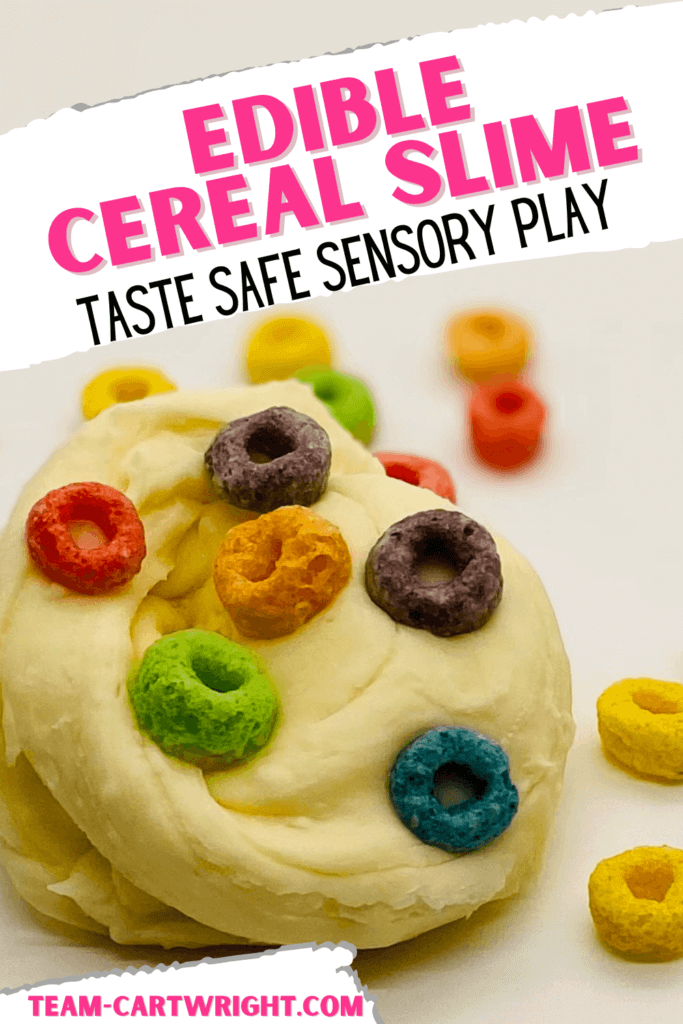
This cereal slime is so cute, and the fact that it is edible makes it even better. This is a little more complicated than most of the edible slimes we’ve made. But I think it’s worth it.
I will say this method of slime making does not give perfectly white slime. So it isn’t cereal in freshly poured milk. This one is slightly darker and more reminiscent of cereal milk after you have eaten all the cereal. (Don’t worry, you can check the tips section if you want whiter slime.)
It tastes so good I haven’t gotten any complaints though.
Supplies for Taste Safe Cereal Slime
This slime is pretty simple to make, and you might already have the ingredients in your kitchen right now. And one key ingredient will make a lot of sense and give this slime its great texture.
You need:
- Cornstarch
- Sweetened Condensed Milk
- Sugar
- Cereal of Your Choice
How To Make Cereal Slime
This slime is super fun to play with, but it is one that an adult needs to make. Or an adult needs to at least heavily supervise if an older child wants to try it on their own. If you are making this for toddlers, preschool, preK, kindergarten, have an adult make it.
To start with, we need to make the slime.
Step 1. Add a 14 oz can of sweetened condensed milk to a pot.
Step 2. Add in 1 Tbsp of cornstarch and 2 Tbsp of sugar.
Step 3. Heat up the mixture on medium-high heat for about 10 to 15 minutes, stirring the whole time. It is important to keep mixing the solution while it heats up.
Step 4. Your mixture should thicken and become stretchy. Once it has cooked, let it cool completely.
Step 5. Time to play!
Once you have your slime cooled and ready to play, take the cereal of your choice and mix it in with the slime. It makes a fun texture and adds some color. Plus it’s just plain tasty.
You will love these fun slimes!
Tips
The longer you cook your mixture the thicker it will become. So if you like a stiffer, more play dough-like consistency, cook your mix for a little longer. If you like a stickier, runnier slime try cooking it for a little less.
Your slime will also thicken a little as it cools.
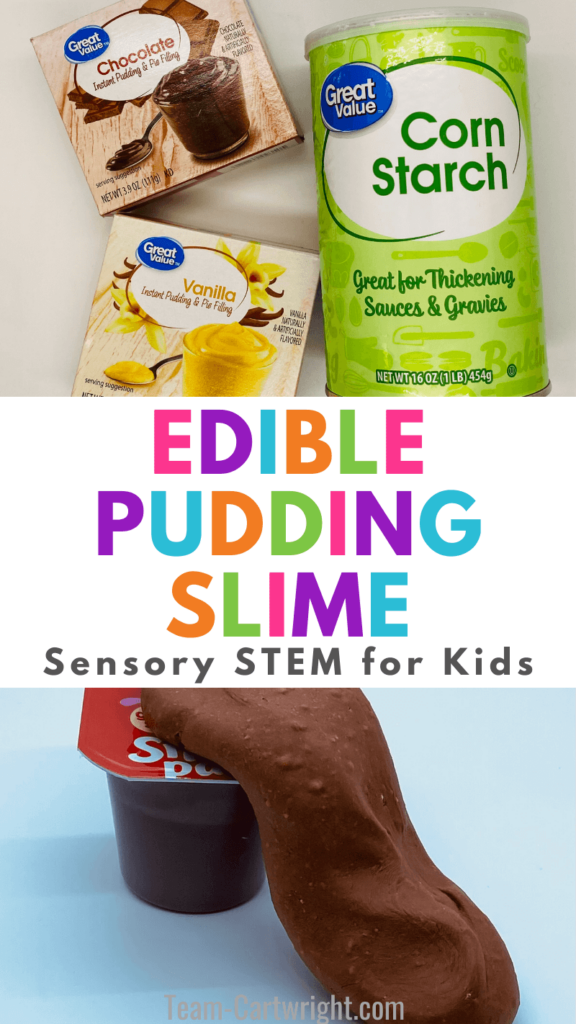
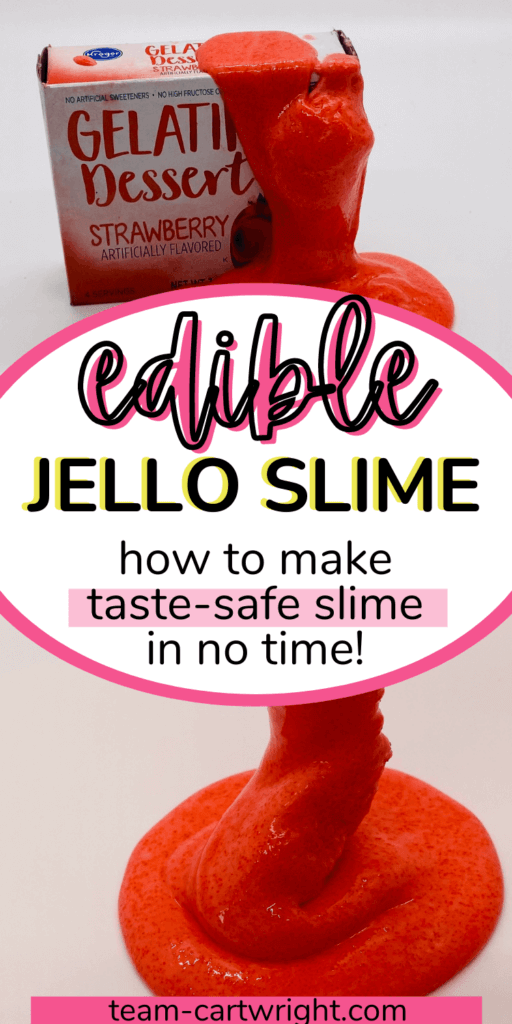
If you want a whiter slime you can make pudding slime using vanilla or white chocolate pudding mix. This slime is a little easier to make too, which is a plus.
You can also make a traditional slime, just keep in mind that will not be safe for tasting.
Slime Safety
This activity does require adult supervision as you will be using the stove. I recommend making this slime on your own and letting your child play once it has cooled fully.
Yes, it is cool to see the process. And yes, there is a lot of learning that can happen while watching the slime thicken up. But if you are doing this with young children safety first. This mixture will be very hot and sticky as it cooks. Do not touch it.
Do not let your child touch the slime until it has cooled.
Clean Up and Storage
This activity is pretty easy to clean up. Scrape any remaining slime in your pan into the garbage. Generally speaking, you do not want to put any slime or oobleck-like substance down your drain, as it will clog it. So get as much in the garbage as you can.
Then wash your pot with plenty of hot water as you would normally.
As for storage, this one was pretty played out after one session for us. If you would like to save it, put it in an air-tight container in the fridge for no longer than a week.

The Science of How Cereal Slime Works
So this slime is fun and creative. It’s so easy to personalize and can be so colorful and tasty. It’s great to use this as an amazing sensory activity and leave it at that…
But we can also learn about how it works as a slime. And that is really cool too.
Slime Basics
You can get details on how slime works here: The Science of Slime.
The short version is that slime is made by having long polymer chains in a substance. When you add an activator, these chains link up and this is called cross-polymer linking. This is what helps slime ooze and move around, but still stay together.
In this slime, we use sugar, which is sucrose. This is a polymer. Not only that, we use cornstarch. Cornstarch is an excellent activator that links up to our polymer chains. This is what makes this slime so slime-like.
If the cornstarch makes you think of another fun Non-Newtonian Fluid, you are thinking of the right thing: oobleck. Ooblecks are liquid-like when you touch them gently, but as you add force through handling they act more like solids.
Additional Learning Opportunities
Even if you don’t want to get into the details of how this slime works, there is still a ton of learning going on!
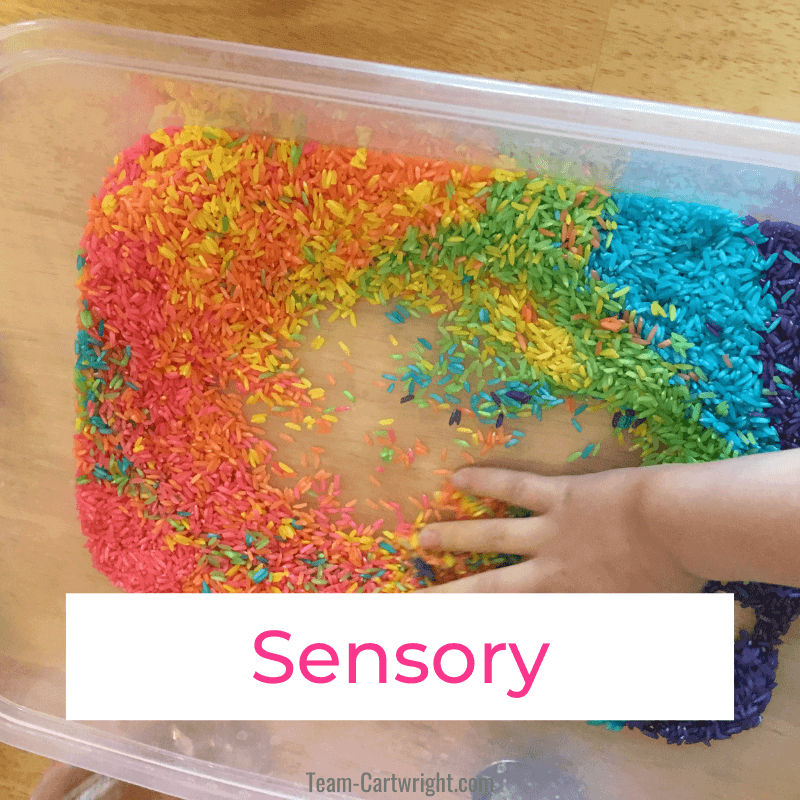
Sensory Learning
Slime is a great sensory activity. Kids can dig their hands in, touch, smell, and in this case, even taste the slime. This gets their entire selves into the activity.
You can get more information on just how important sensory play is by reading this: The Big Benefits of Sensory Play.
Getting those benefits doesn’t mean you have to put in a ton more work as a parent. The easiest thing to do is just talk with them. Ask what they are experiencing, drawing attention to their different senses.
Try to encourage descriptive words as your child plays too. Slime gives us a chance to use words we might not otherwise use in conversation. Ooze, squishy, stretchy, etc. Sensory play is a great time to introduce new vocabulary.
Dramatic Play
Dramatic play is when children can just let their imagination soar. They can be anything they can think of! And slime like this brings a fun element to this play.
Your child can pretend to run a restaurant, pretend to be eating breakfast in space, or just get to take control of a daily task. Whatever they think of, they are learning and exploring.
Having a fun element they can shape, play with, AND actually taste adds to the realism of their play. It really just takes it up a level.
Remember, play is the learning of childhood. So yes, dramatic play counts as an educational activity.
Slime for Breakfast!
Okay, maybe slime isn’t the best breakfast food. But this cereal slime makes breakfast food super fun. Your child will absolutely love it. When are you going to make it?

Let’s find your next fun activity!

How To Make Edible Cereal Slime
Make edible cereal slime! Perfect for preschool, preK, and kids of all ages. Taste safe and super fun.
Materials
- Cornstarch
- Sweetened Condensed Milk
- Sugar
- Cereal
Instructions
- Put one 14 oz can of sweetened condensed milk into a pot.
- Add 1 Tbsp of cornstarch and 2 Tbsp of sugar.
- Heat the mixture for 10-15 minutes, stirring constantly, until it thickens.
- Remove from heat and let cool. The slime will thicken a bit more as it cools.
- Add cereal and play with your slime!
Notes
Tips
This slime will thicken as it cools, so keep that in mind as it cooks. If you like stretchier slime cook it for a shorter period of time. If you like it more play dough like cook it for the full 15 minutes.
Safety
Since this slime needs the stove, it should be made by an adult. Please take care when making it as it will be very hot and very sticky. Do not let children touch it until it has cooled completely.
Clean Up/Storage
This slime can be stored in an air-tight container in the fridge for about a week.
Clean up by throwing slime away. Scrape as much leftover mix as you can into the garbage and wash pot as you normally would