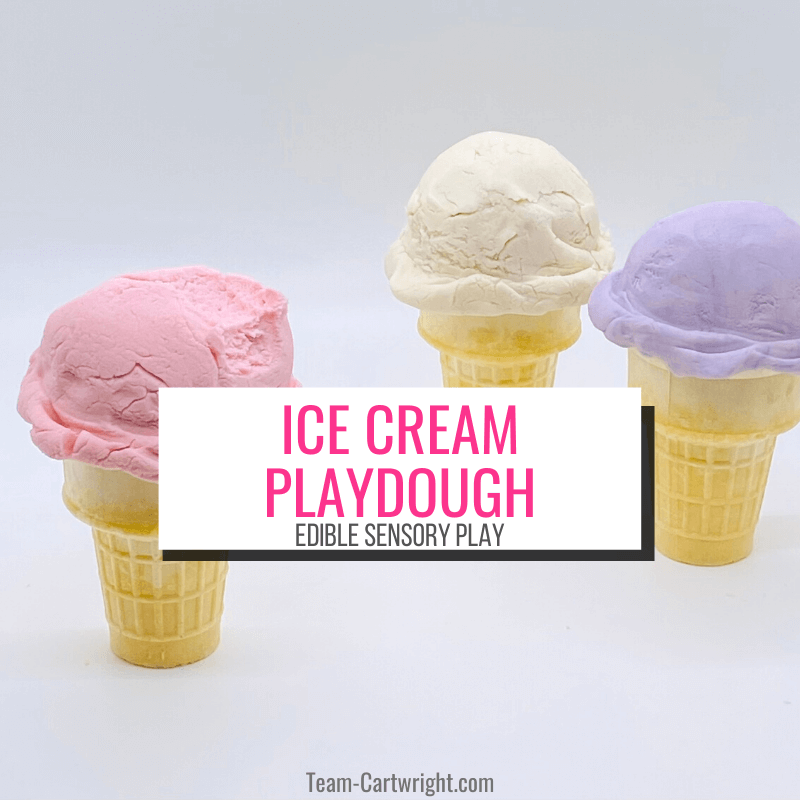
Ice Cream Playdough: The Best No Cook Playdough
How do you make the best playdough?
To me, the best homemade playdough is the easiest playdough to make. And you can make an awesome homemade sensory playdough with just two ingredients.
There are lots of playdough recipes out there, but I wanted a homemade play dough recipe that didn’t require any cooking. This non cook play dough can be made in less than 5 miutes, but your children will play with it for a long time.
Here is how to make ice cream play dough that will provide a special sensory STEM treat for your little ones.

What's In This Post?
Ice Cream Playdough: The Best No Cook Playdough
The easiest and best no cook playdough recipe there is. With just 2 ingredients you can make ice cream playdough that is a taste safe sensory activity your kids will love.
Materials
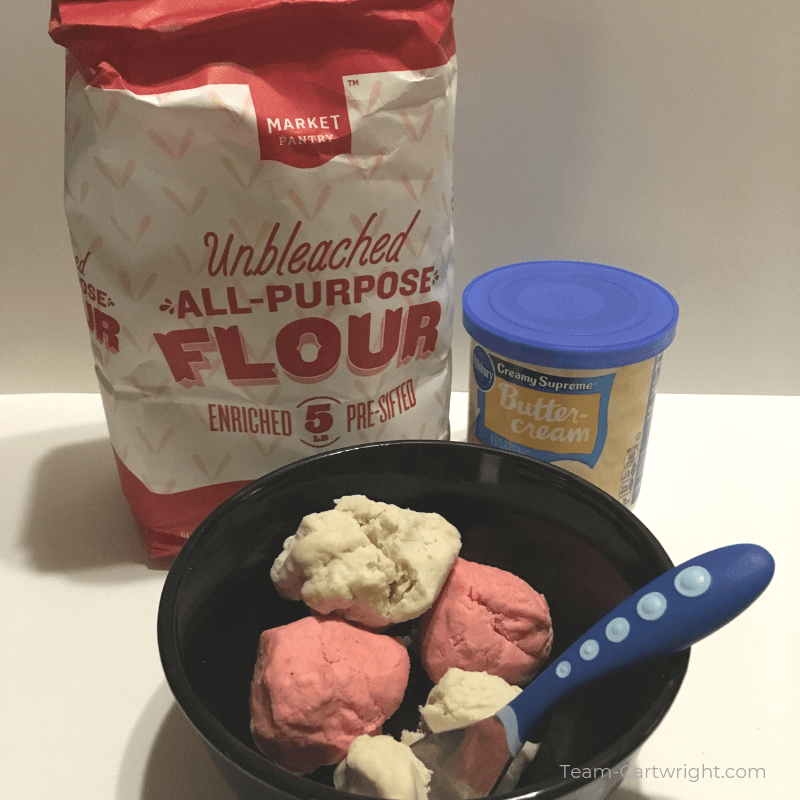
- Frosting
- Flour
- Food Coloring
Instructions
- Empty an entire can of of frosting into a bowl. I start with white frosting so I can choose the color of ice cream we will make. (Though chocolate frosting makes a nice mud playdough!)
- Add your food coloring of choice.
- Add one cup of flour and gently stir.
- Keep adding more flour until your playdough is a consistency you like. We prefer stiffer dough, so I end up adding about 2 cups of flour.
- Play with your playdough!
A Few Extra Notes on Play Dough Ice Cream
A few extra tips for your sensory STEM play.
(And don’t forget to check out all the sensory activities and STEM activities your kids will love!)
Ingredient Substitution
You can use powdered sugar instead of flour to make this play dough. I choose flour mainly because that is what we had on hand, but also because it makes the playdough taste more, well, dough like.
This is an edible dough, but I didn’t want to make it too tasty. The goal is to play with it and learn from it. Being able to eat it should just be a bonus.
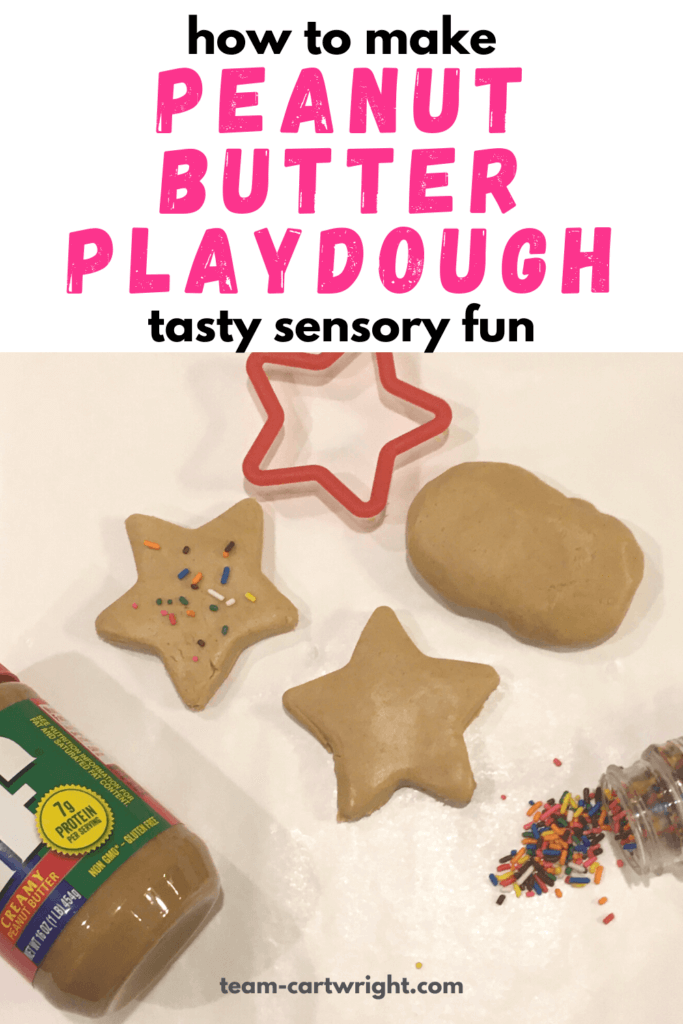
(If you want another fun option, try Peanut Butter Play Dough! Just as easy and tasty.)
Ingredient Amounts
The exact amount of flour you will need will vary based on the type of frosting you buy. (Some are more liquid like than others.) Start small and add more as you go.
If you find you have made your playdough too thick you can add small amounts of water to balance it back out.
I used two cans of frosting to make enough of this DIY playdough in two colors for three kids. One can could easily split into two colors. If you are making this for more than four children I would recommend adding in an additional can or two.
Storage
We stored this playdough in the fridge after we used it, and I kept it for about a week. After that point it was really done.
This is a food substance, so follow good food storage habits with it. Keep it in your fridge when not in use and don’t hold onto it for too long.
Safety
This is a pretty safe activity. General precautions apply.
Don’t let your kids put this in their eyes. Don’t let them inhale the flour. If your child is going to actually end up eating some of this play dough, make sure to cook your flour before use. (Spread it on a tray, 5 minutes in a 350 degree oven.)
The most important thing is to make sure your kids know the difference between this edible playdough and regular play doh. They can only taste what you say they can taste.
Ice Cream Play Dough
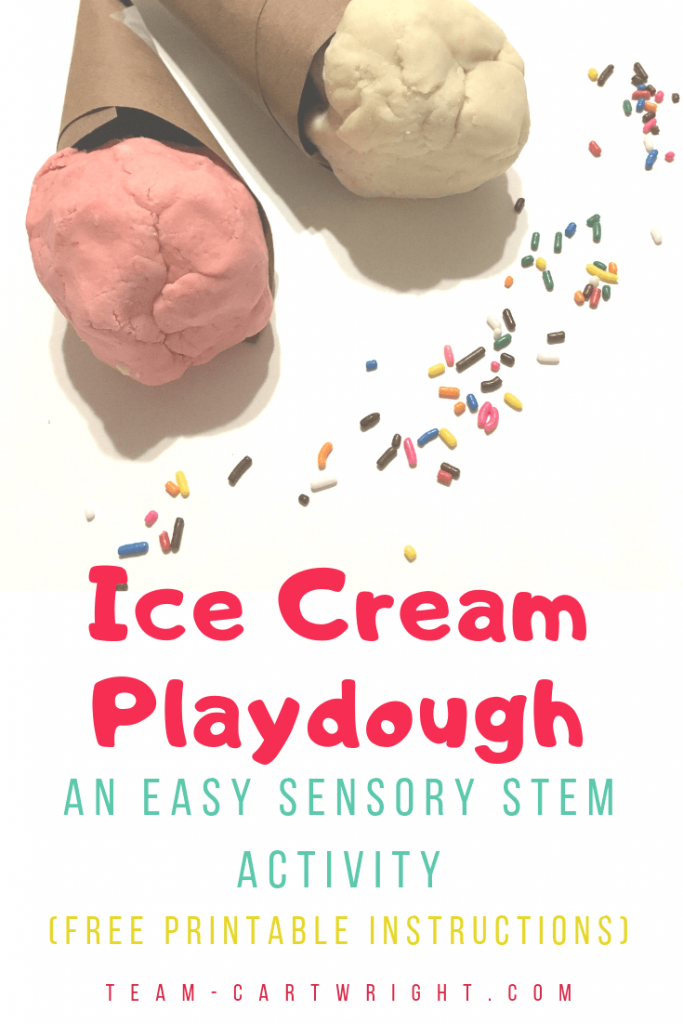
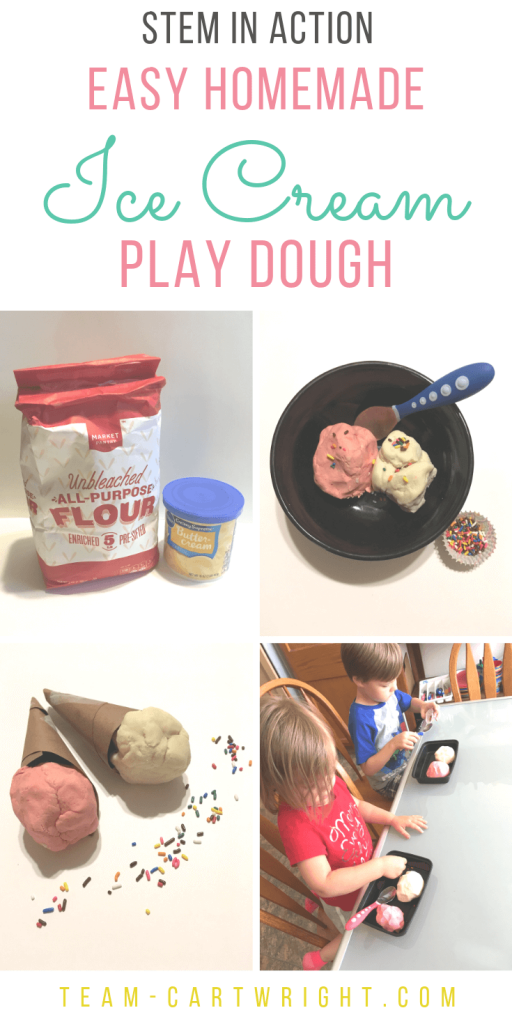
This playdough is perfect for pretend ice cream play.
It looks the part, is smells the part, and it even kind of tastes the part. The only thing missing is that it isn’t actually frozen. Which is good, melting would ruin the fun.
(Though if you want an actual chilly sensory experience, try making 2 ingredient snow!)
We made this a real experience by adding sprinkles to decorate our sundaes. But you can add any sort of ice cream treat you like! Next time I plan to get real ice cream cones.
The Science of Ice Cream Playdough
So wait, this is fun and all. But is there real science learning going on?
Yes!
Every sensory activity you do with your child is a chance to expose them to STEM learning. You don’t have to over complicate it. The learning is in the doing.
Following a Recipe
Being able to follow a recipe is really a life skill that extends beyond cooking.
Why? We all need to be able to follow directions. That’s what recipes are, a series of directions.
In science we need to be able to follow directions. Doing an experiment in the wrong order can drastically change the results.
Can you reproduce your results from this play dough ice cream making experience?
Try these fun, edible activities too!
Changes in the Physical Properties
Even with just two main ingredients you can see changes physical changes taking place. The frosting starts off liquidy and fluid, and the flour is a powder.
Talk about the difference between these two substances. How do they look and feel different? (You can even try tasting them!)
What does your child think will happen when you mix them together? Will the frosting get powdery? Will the flour dissolve into a liquid?
Then mix, and observe.
Color Mixing
Since this playdough is for short term use, I do let my kids mix the colors. What happens when you mix your colors?
Talk about the properties of colors and how the interact with each other.
You can get more fun color STEM activities here: Color Mixing Science for Kids
Benefits of Playdough
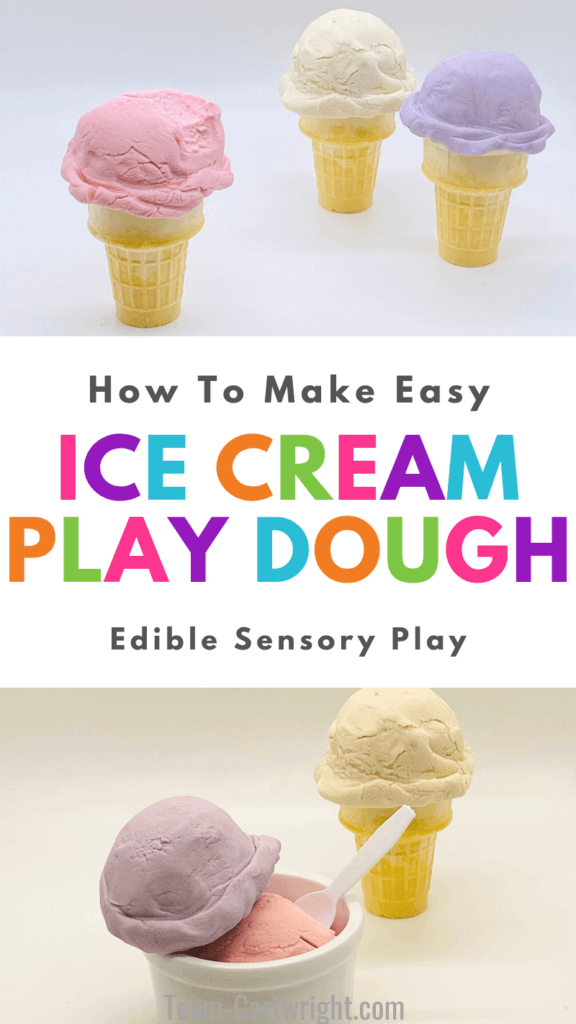
Playdough is an amazing activity for kids. It provides an excellent sensory experience, which has huge benefits.
Fine Motor Skills
All the physical manipulation of the dough works hand strength and fine motor skills.
It isn’t always easy to shape playdough, and the more your child practices the better they get!
Calming Activity
Working playdough through your hands can be quite soothing.
We know little ones can have big feelings they don’t know what to do with. Having this safe physical outlet can help calm them.
Knowing that manipulating some sort of playdough is relaxing is a helpful life skill. It is easy enough to keep a small amount of dough handy for kids to grab as they need it.
Creativite Thinking
This one is obvious. Playdough lets kids be creative!
If they can think of it, they can try to make it. Ice cream play dough is perfect for creative play.
(Learn more about why your child should play with playdough: The Benefits of Playdough)
Ice Cream Fun!
This is one will be doing again. There are so many ways to change it up and keep it interesting. And who doesn’t love a learning treat?
Enjoy!

More Activities To Try
