How To Make a Model Spine: Anatomy STEM for Kids.
My kids are fascinated with their own bodies. And with good reason. When you get into how our bodies function it really is fascinating.
This makes learning about the human body a really effective way to get kids interested in STEM. Even better is learning about something they can experience working. Things like breathing and hearing their heartbeat are good places to start.
Another good place to start? The spine.
We might not be able to see our spine or hear it, but we can feel it in action every time we move. And that will make your kids excited to learn about it.
Let’s make a spine!

What's In This Post?
How To Make A Spine Model
First up we are going to make the model of our spine so you can see how easy it is. Then I’ll share more about the actual science of the spine.
Spine Model Supplies
You don’t need much to make a spine model. These are the supplies that we used to make our model, but you can substitute whatever you have handy.
You need:
- Empty Egg Carton
- Pipe Cleaners
- Colored Foam Sheets (Or Construction Paper)
How To Build Your Spine Model
Step 1:
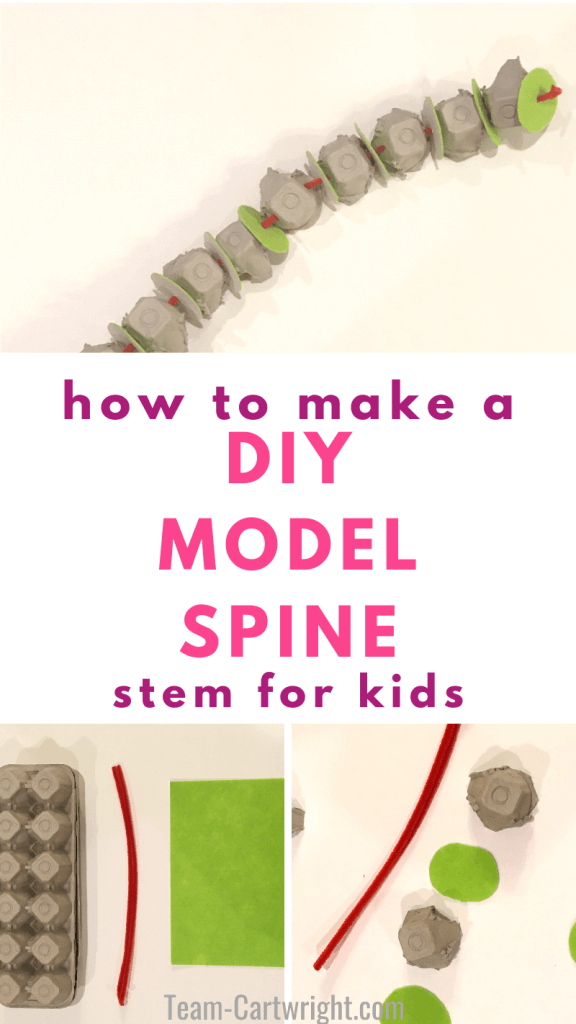
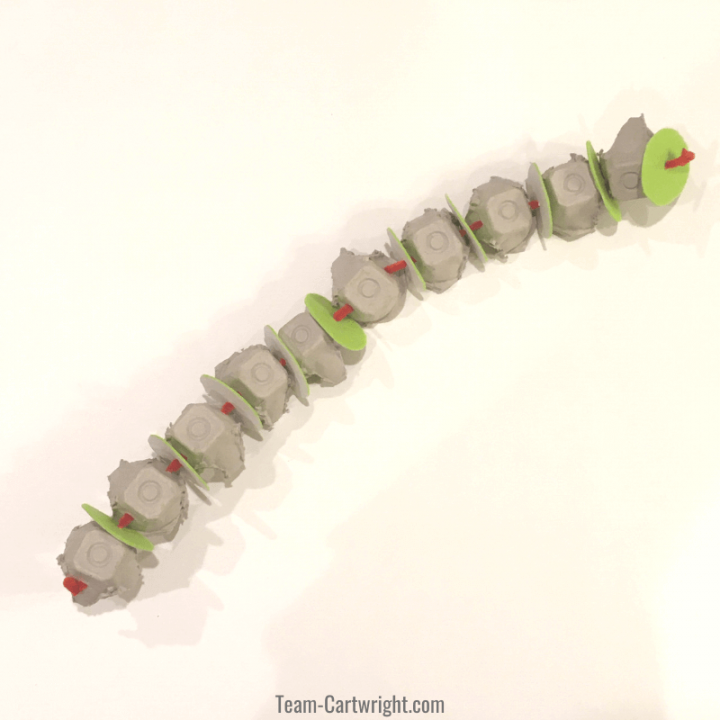
Take your empty egg carton and cut the top half off. You can discard this. Take the bottom half and cut the egg spots apart. You should end up with 12 little cups.
Step 2:
Cut your foam board into small circles, about the same diameter as the egg carton cups. Cut out 12 circles. Poke a small hole in the center of each circle.
Step 3:
Poke a hole into one side of your egg carton cups. Poke a second hole in the side opposite.
Step 4:
Thread an egg carton cup into your pipe cleaner. Then add one of your foam circles. Next, add another egg cup. Then another foam circle.
I twisted the ends of two pipe cleaners together to get a longer spine. Continue adding the egg cups and foam circles in the alternating pattern until your spine is the length you want.
Twist the ends of the pipe cleaner so the pieces of your spine don’t fall off.
You made a spine!
Safety Information
A little safety tip here. The easiest way I found to cut apart the egg cartons and to poke holes in the materials is to use a knife on a cutting board. So it makes sense to either have a grown up do this or at least have this activity be closely supervised by an adult. Safety first.
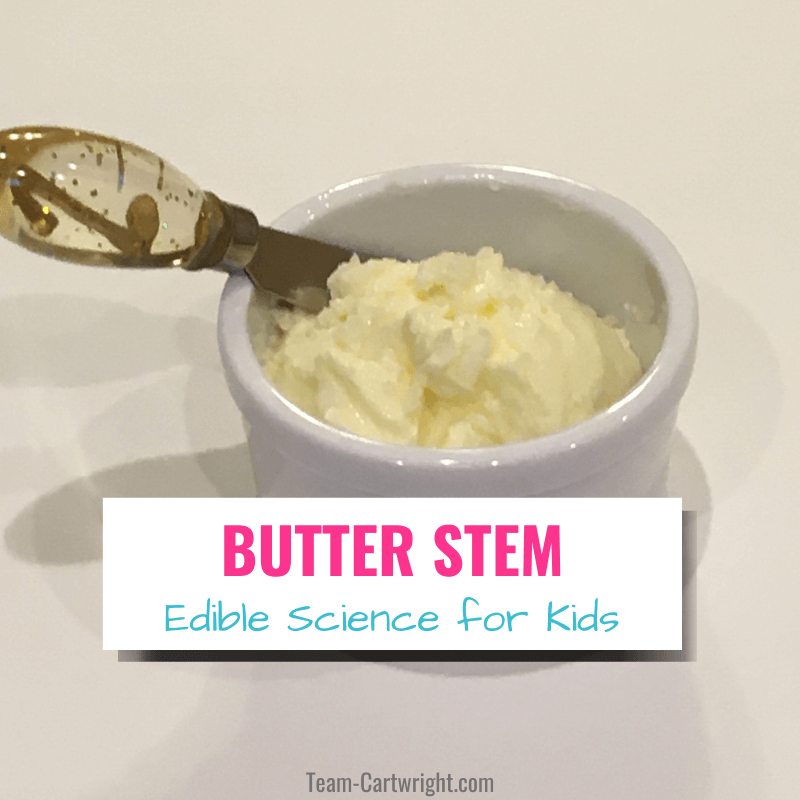
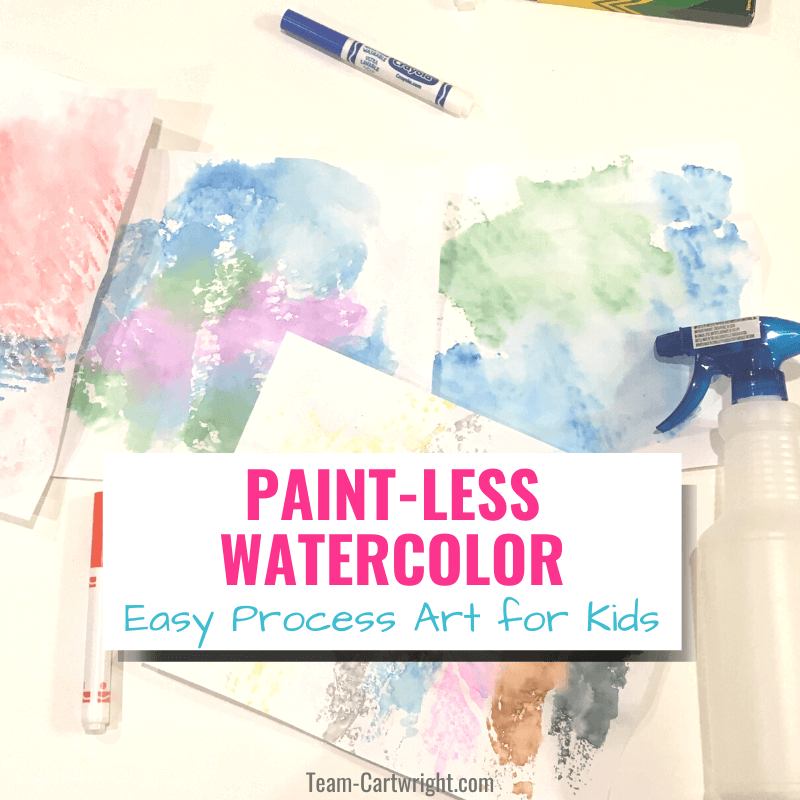
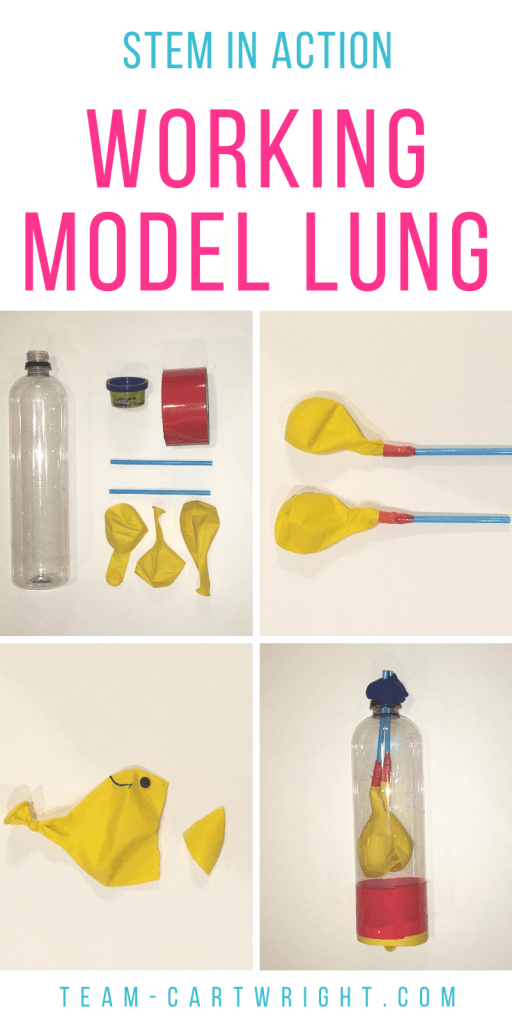
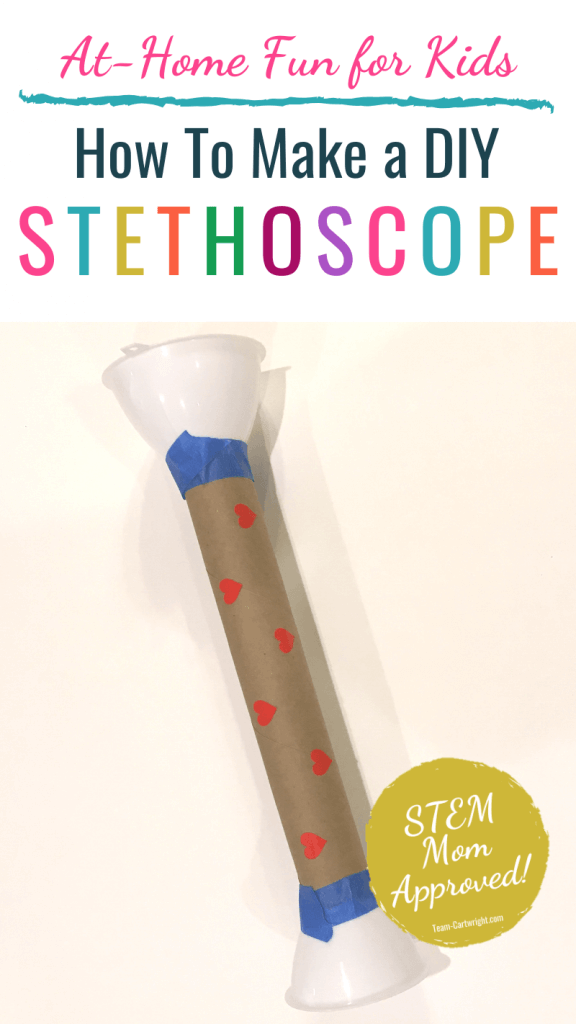
More Fun Human Body STEM To Try!
Activities To Try with Your Model Spine
Alright, so we made the spine. Cool, but now what?
The goal of this model is to help your child understand how the spine works in their bodies. While a normal spine has more vertebrae than the one we made, we can still make it work for a good demonstration.
Stretch and Compress
Our spine can stretch and compress. This, along with the fact that our spine curves, helps our spine act as a shock absorber of sorts for our body. We can see this by taking our model and gently pushing and pulling on the ends of the model.
You can see the egg cups move closer together as we push on the spine and spread as we pull. (It might be subtle, but it happens.) This helps us support our bodies while we move.
Touch Your Toes
Have your child bend over and touch their toes. You try it for them to see too.
How do we bend? Do we just bend over and have a flat back, or does our back curve to help us get closer to the ground?
This curvature is possible from the flexibility of our spine. You can see it in the model by holding the model to one person’s back and having them bend over. See the stretch? Then switch so everyone can see.
Side to Side Stretch
You can either hold the spine model to one person’s back to do this one or place it flat on a table. If using a person, have the person stand up straight then stretch to one side. If on the table hold one end steady and gently curve the other end to the side, as you would with a stretch.
What happens to the spine? It allows a certain degree of flexibility thanks to the vertebrae. We can stretch and move side to side.
What Are the Parts of Your Spine?
Your spine is the part of your body that helps hold you upright. It is a very important part of our anatomy and is what designates us as vertebrates.
Vertebrates have backbones, and this includes humans, birds, dogs, cats, etc. Invertebrates do not have backbones. This includes worms and insects. (Learn more about the difference between vertebrates and invertebrates by clicking here.
The spine starts at the skull and runs all the way down to your tailbone. It is made up of several different parts. Here are what the parts of our DIY spinal cord represent.
Egg Carton Cups=Vertebrae
The spine is made up of vertebrae. These are the bony pieces that make up the spine and protect the spinal cord itself. These are represented by the egg carton cups.
These bony pieces allow us to move and bend while still protecting the nervus tissue, artery, and vein that make up the spinal column. We saw how the spine lets us move with our stretching activities above. The hard bones offer strength and protection.
The vertebrae are divided into different sections. There is cervical, thoracic, lumbar, sacrum, and coccyx.
- Cervical: There are 7 cervical vertebrae and they support the head.
- Thoracic: There are 12 thoracic vertebrae and they support the ribs.
- Lumbar: There are 15 lumbar vertebrae and they make up the lower back.
- Sacrum: There are 5 sacrum vertebrae and they are fused together.
- Coccyx: There are 3-5 coccyx vertebrae and they make up your tailbone.
Foam Circles=Intervertebral Discs
Our vertebrae are great for protection and allowing us some flexibility to move, but they can’t just be rubbing up against each other. So between each vertebra are intervertebral discs. These discs are represented by our foam circles (or construction paper circles.)
These discs have a big job to do. First, they act as a joint between vertebrae to allow us to move. They also act as ligaments to help hold the vertebrae together. And finally, they aid as shock absorbers between the vertebrae and for our bodies in general. This is all very important to protect our valuable spinal cord.
Pipe Cleaner=Spinal Cord
It seems funny that such a simple item represents such an important part of our bodies. Our spinal cords are the nerves that run from our brain out to our entire body. It basically makes our bodies work.
The spinal cords transmits the neural inputs between the brain and our bodies.
This means when our brain sees our cup and wants to pick it up, it sends a message down our spinal cord. This message gets to our arms and we can pick up the cup. Or we feel something tickling our leg. The spinal cord sends that message up to our brain so we know to move our leg.
Now obviously this is a simplified explanation. But it is the main idea of what is happening.
(The actual details are fascinating, but a bit out of the scope of this activity. However, if your child wants to learn more check out this resource: Spinal Cords for Kids)
What Can Your Spine Do For You?
This model is a great way to show our kids just how important the spine is in our body, and how amazing our bodies are in general.

How To Make a Model Spine
Make a simple model spine with your kids out of an egg carton! Plus learn about the spine and just how important it is.
Materials
- Empty Egg Carton
- Pipe Cleaners
- Foam Sheets (or Construction Paper)
Tools
- Knife or Scissors
Instructions
- Cut the top off an empty egg carton and discard it.
- Cut the individual egg cups apart.
- Poke a hole in one side of each egg cup, then poke a hole in the opposite side.
- Take your foam sheet and cut it into 12 circles, each approximately the same diameter as the egg cups.
- Poke a hole in the center of each foam circle.
- Take your pipe cleaner and thread an egg cup into it. Then add a foam circle. Then another egg cup. Continue the pattern.
- When your pipe cleaner runs out, twist another one to the end to make the spine as long as you like.
- Once your spine is the length you want gently bend over the ends of the pipe cleaners at each end to hold everything in place. You made a spine!
Notes
Safety
The easiest way to cut apart the egg cups and poke all the holes is with a knife. This should be done by an adult or under adult supervision. Safety first.