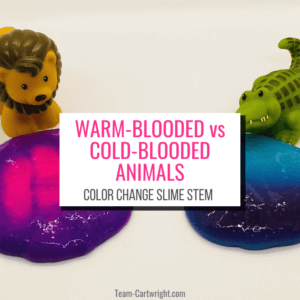
Warm-blooded vs cold-blooded activities with fun and easy color-changing slime, sensory STEM for kids!
I love hands-on activities for explaining STEM concepts to kids. When kids get involved and get to touch and experience things they just learn so much more!
We’re going to take advantage of that, and the fact that kids love slime, to do an awesome science experiment that teaches kids about warm-blooded and cold-blooded animals.
Let’s learn all about cold-blooded animals and warm-blooded animals with the help of the easiest color-changing slime you can make.
This post contains affiliate links. Please see my disclosure for more information.
What's In This Post?
Sensory STEM: Warm-Blooded Animals vs Cold-Blooded Animals with Color Changing Slime!
This activity came together so quickly, but it really captivated the kids. Getting to play with the slime was a perfect way to understand how the animals are different. The fact that their hands were busy meant that they were open to learning more too!
We’ll start with the slime, then talk more about the animals.
How To Make Color Changing Slimes
Are you just here for the slime? That’s totally okay.
Slime is so much fun this particular slime is surprisingly easy to make. Seriously, this is so much easier than it sounds like it should be. At least it is if you use my cheater method.
Here is how to make the easiest color changing slime ever.
Supplies for Color-Changing Slime
You can make this slime with your favorite slime recipe that uses glue. Here is what we use.
How To Make Color Changing Slime
This is the basic slime recipe I usually use. It is easy and makes great slime. (Looking for more ideas that don’t use borax? Check here.)
Step 1: Mix 1 tsp of Borax into 1/2 cup water. (It will dissolve better if the water is slightly warm.) This is your slime activator.
Step 2: In a separate bowl, mix 4 ounces of red/orange color changing glue with 4 ounces of warm water.
Step 3: Add your slime activator (the Borax solution) into your slime bowl one spoonful at a time. Mix as you go. Your slime will start to form.
Step 4: Keep adding activator until your slime is the consistency you like!
After you have made this first slime, repeat the procedure with your blue/purple color-changing glue so you have two color-changing slimes.
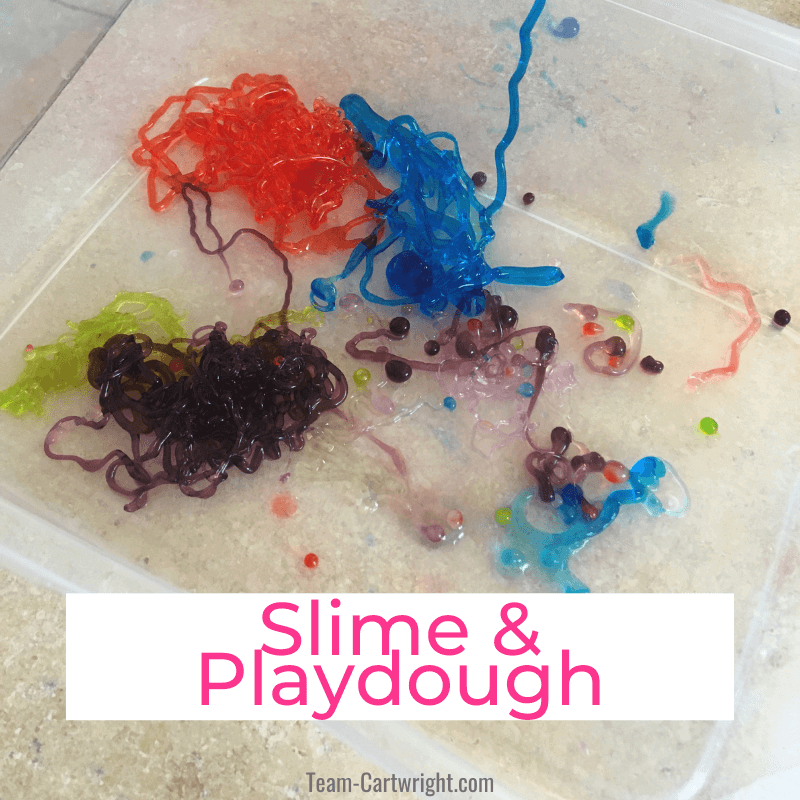
Your kids will love these easy slime activities!
Warm-Blooded Animals vs Cold-Blooded Animals STEM Activities
Now that we have our slimes made, we are ready to use them for a fun demonstration to help kids understand the difference between cold-blooded animals and warm-blooded animals.
Supplies for This Experiment
You already did the hard part by making the slime, here is the rest of what you need for this STEM activity.
- Pink/Purple color-changing slime
- Blue/Purple color-changing slime
- Blacklight flashlight or other UV light source
How To Perform Your Experiment
This is a simple activity, and one that is just plain fun because it uses slime.
Step 1: Make your two color changing slimes. (Directions above)
Step 2: Have your child observe the slimes before they play with them. What color are they?
Step 3: Take the pink/purple color-changing slime and have your child play with it. What happens as they manipulate the slime? It should turn from purple to pink as they play!
Step 3: Take the blue/purple color-changing slime and have your child play with it. What happens as they play? It acts like normal slime.
Step 4: Take that same blue/purple slime and shine your blacklight flashlight over it. What happens? It should turn from blue to purple!

Observations and Results
As you can see, performing this experiment is pretty easy. The important part is in your child’s observations as they play with their slime. Here is what you should be seeing.
Pink/Purple Color Changing Slime Observations
This slime starts out purple. As your child touches it and plays with it, it turns pink! Then if left alone for a bit it turns back to purple.
What does this happen? This slime contains pigments that are heat sensitive. That means that as we play with the slime, the heat from our bodies warms the slime and causes the color to change.
This represents warm-blooded animals. Warm-blooded animals are able to maintain their own body temperature without an outside source. We as humans are warm-blooded. Our bodies control our heat, and our bodies controlled the color change in this slime.
How Does This Slime Change Colors?
This pink/purple color-changing slime is thermochromic. This means that it changes colors based when exposed to heat. This is accomplished using special dyes, most commonly leuco dyes and liquid crystals.
As heat is applied to these dyes the crystals in them rearrange and reflect a different wavelength of light back, changing the colors we see. (Learn more about how we see colors here: Color STEM for Kids.)
Learn more about thermochromic pigments here.
Blue/Purple Color Changing Slime Observations
The blue/purple slime starts out as blue, and as your child plays with it, it remains blue. But shine a black light on it and it turns purple. Why is this?
This slime is photosensitive. That means it changes colors because of the UV light in the black light. (This is why it will also change if you take it outside. There are UV rays in sunlight.)
This slime represents cold-blooded animals. Cold-blooded animals are not able to maintain their own body temperature. When they are in the sun or the weather is warm they will be warm, but in the dark or colder temperatures, their body temperature is also lower. Our slime relied on the light, not our bodies, to change.
How Does This Slime Work?
This blue/purple color-changing slime is photochromic. This means it changes colors when a UV light source is shined on it. As with the thermochromic pigments, this color change is a result of special dyes.
With this slime, the UV light changes the molecular structure of the pigment we see in the blue slime making it darken and appear purple. You can learn more about photochromic pigments here.
Safety and Tips
This is a pretty safe activity. You do want to take care with your children that they are careful with the glue and borax. None of this should be ingested and wash your hands after you play with the slime.
Yes, I prefer the borax method of making slime. It makes the most consistent quality slime. You can learn more about how this slime works and get more suggestions for other methods here: Science of Slime and Best Recipes.
If you would like to see the color change with your pink/purple slime again quickly, place it in the fridge for a few minutes to cool down. You will see the color change when you play with it again.
If you don’t have a black light you can take the blue/purple slime outside and use sunlight to see the color change take place.
And finally, if you want to play with this slime but aren’t super into making it on your own I’ll give you a big hint. Buy this kit. You can completely make this slime on your own using color-changing pigments with your favorite slime recipe, but there is nothing wrong with using the easy ready to go materials.

The Science of Warm-Blooded and Cold-Blooded Animals
We’ve been throwing these terms around, and I did briefly define them above. But let’s dive into the science of what these words mean.
Cold-Blooded Animals
Here is the definition of cold-blooded animals.
- Cold-Blooded Animals: These are animals who get hotter or colder based on the temperature. If it is warm out, the body temperature of these animals rises. If it is cold out, their body temperatures drop.
Cold-blooded animals are also known as ectotherms.
Pros and Cons of Being Cold-Blooded
Not being able to control your own temperature sounds like it could be a problem, but there are some benefits.
Pros of being Cold-Blooded
Since these animals don’t maintain their own body heat, they usually have lower food needs than warm-blooded animals. Since they don’t need to eat as much, their environments can usually handle larger populations of these animals. (Compare how many fish can fit into one pond as opposed to how many bears an environment can handle.)
Cons of being Warm-Blooded
Being an ectotherm has its challenges though. These animals are often slow and sluggish when cold. So early mornings and nights can be tough for them in terms of finding food and self-defense. They also can’t survive as well in more extreme climates, they need a certain level of consistency to thrive.
The Best Activities for Kids!

Examples of Cold-Blooded Animals
Here are some examples of cold-blooded animals. (Note this is not an exhaustive list, it’s just a few examples most kids will be familiar with.)
- Reptiles: Lizards, alligators, crocodiles, snakes, turtles, geckos, and iguanas
- Amphibians: Frogs, toads, newts, salamanders
- Fish: Bass, goldfish, catfish, guppies, sharks, beta fish, clownfish
- Insects: Bees, wasps, ants, dragonflies, butterflies
Warm-Blooded Animals
Here is the definition of warm-blooded animals.
- Warm-Blooded Animals: These are animals that make their own body heat and maintain their body temperatures in most environments.
Warm-blooded animals are called endotherms.
Pros and Cons of being Warm-Blooded
Like being cold-blooded, there are good and bad parts of being warm blooded.
Pros of being Warm-Blooded
Being able to supply their own heat means that endotherms can live in more extreme environments. (For example, you don’t see many lizards in snowy climates. But humans and bears can survive there.) Warm-blooded animals aren’t vulnerable while they warm up like ectotherms, which is helpful against predators.
Cons of being Warm-Blooded
Not having to worry about warming up is nice, but it does come with some cons. Being an endotherm comes with a higher energy need in order to make this heat happen. That means these animals need to spend more time finding food and consuming calories to keep up with their metabolic needs. Having higher caloric needs means an environment can only handle a smaller population.
Examples of Warm-Blooded Animals
Here are some examples of warm-blooded animals. (Again, this is not an exhaustive list, it’s just a few examples most kids will be familiar with.)
- Mammals: Humans, apes, dogs, cats, lions, horses, elephants, dolphins, whales, giraffes, and more.
- Birds: Eagles, canaries, pigeons, chickens, turkeys, robins, ostriches, and more.

Keep Exploring Our World
This sensory STEM activity got my kids excited to learn more about animals and more about the chemistry of color changes. You can start great conversations about the characteristics of different animals and explore deeper. And if your child is just fascinated by the slime, that works too! They are exploring and learning.
So when are you going to get started?

Let’s find your next fun activity!