Valentine’s Day Thaumatropes for Kids!
- Ages: Preschool, PreK, Kindergarten
- Difficulty: Medium
- Learning: STEM, Optical Illusions, Valentine’s Day
Let’s talk about Valentine’s Day with kids. I love Valentine’s Day, and I am trying to teach my kids that it isn’t about just romance. You don’t need a boyfriend or girlfriend to enjoy the day. You can share love with everyone!
Since we are sharing the love with our friends, I thought it would be fun to make some amazing Valentine’s to share. These Valentine’s Day cards are actually really easy to make, but they pack a punch. And they teach a little STEM!
Let’s make some Thaumatrope Valentine’s for kids.
What's In This Post?
Thaumatrope Valentine’s For Kids
These thaumatropes are really easy to make and are an excellent coloring activity for your kids. You can print them out as is or let your child personalize them to share with others.
Before I get too into the science of how these work, let’s make them.
You Need:
- Paper
- Sticks or Straws
- Scissors
- Crayons or Markers
To Make:
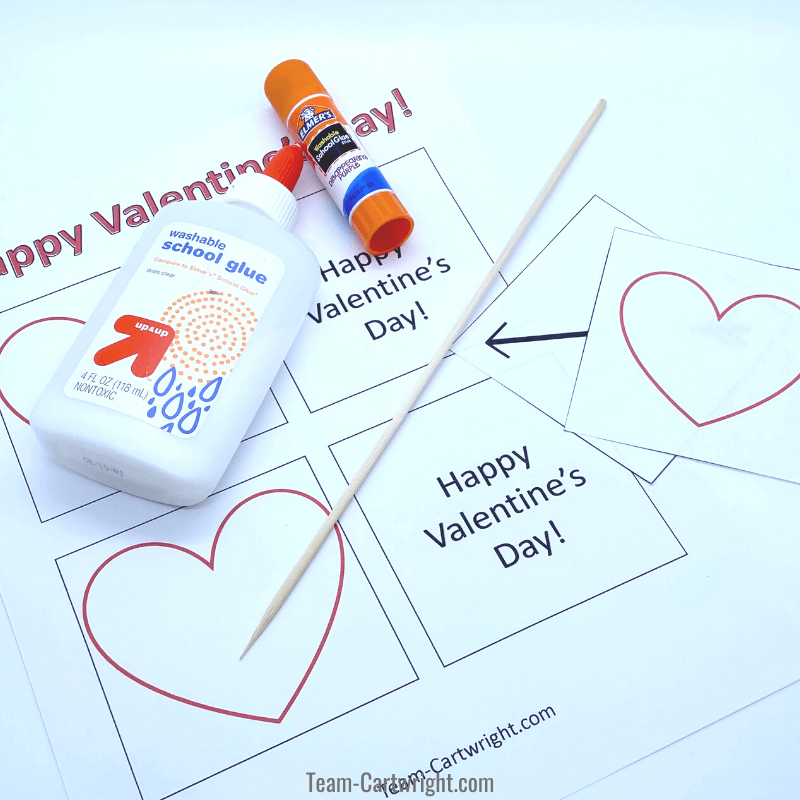
You can make these by hand, but I have included some printables to the end of this post to make these cards even easier for you.
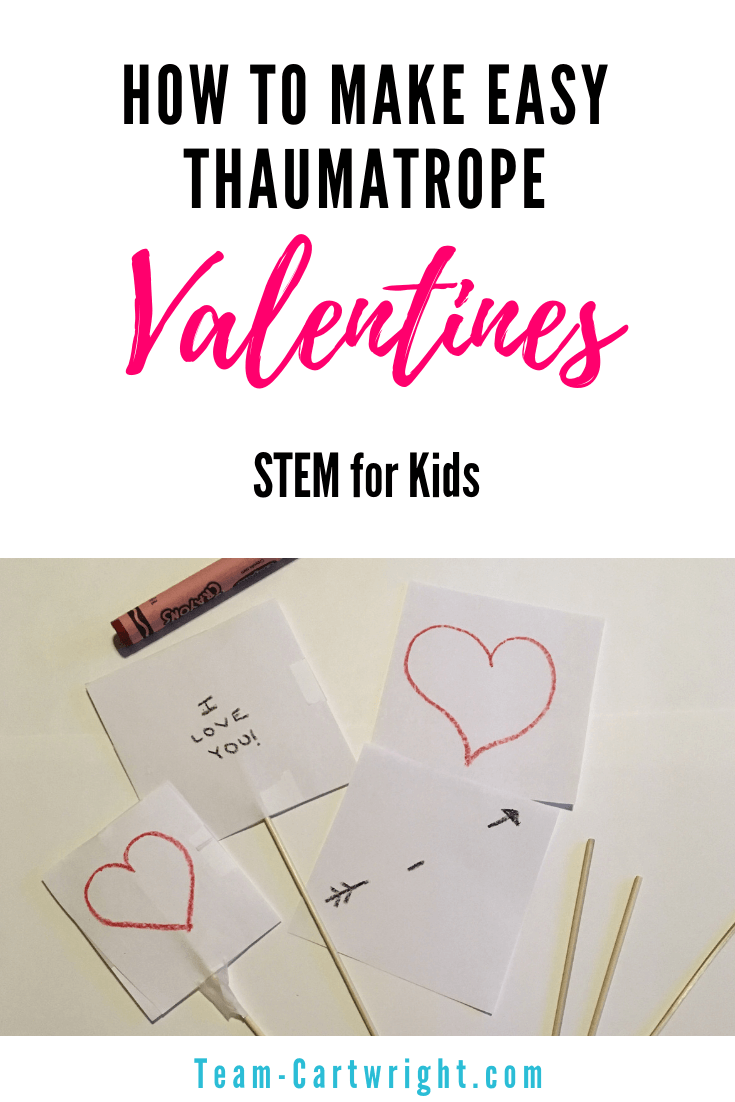
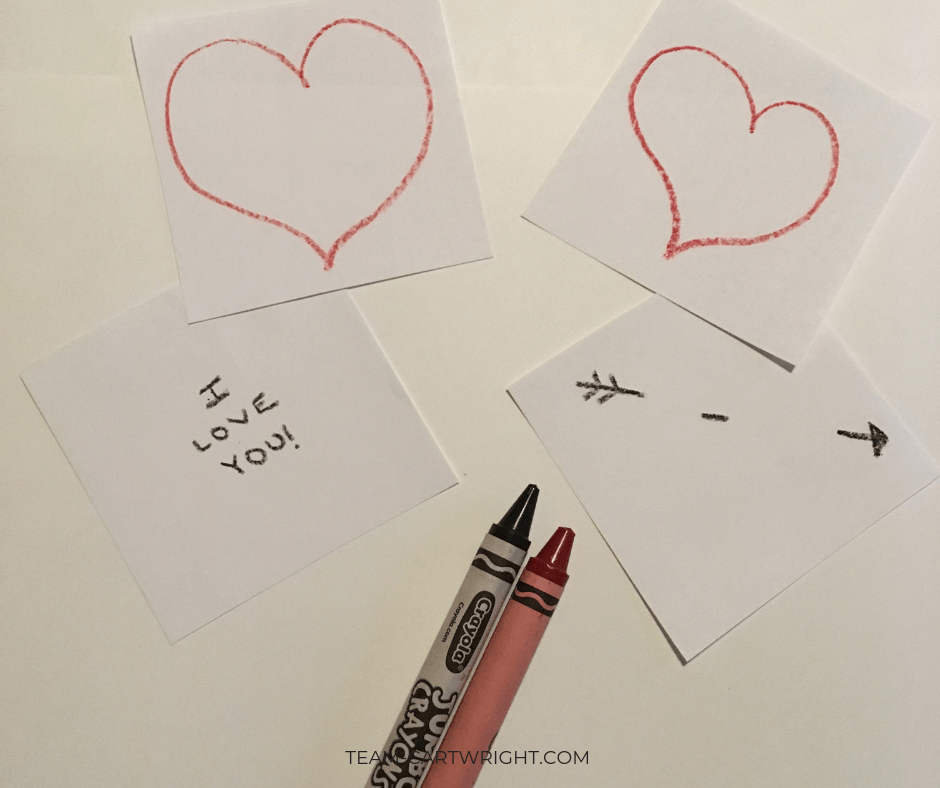
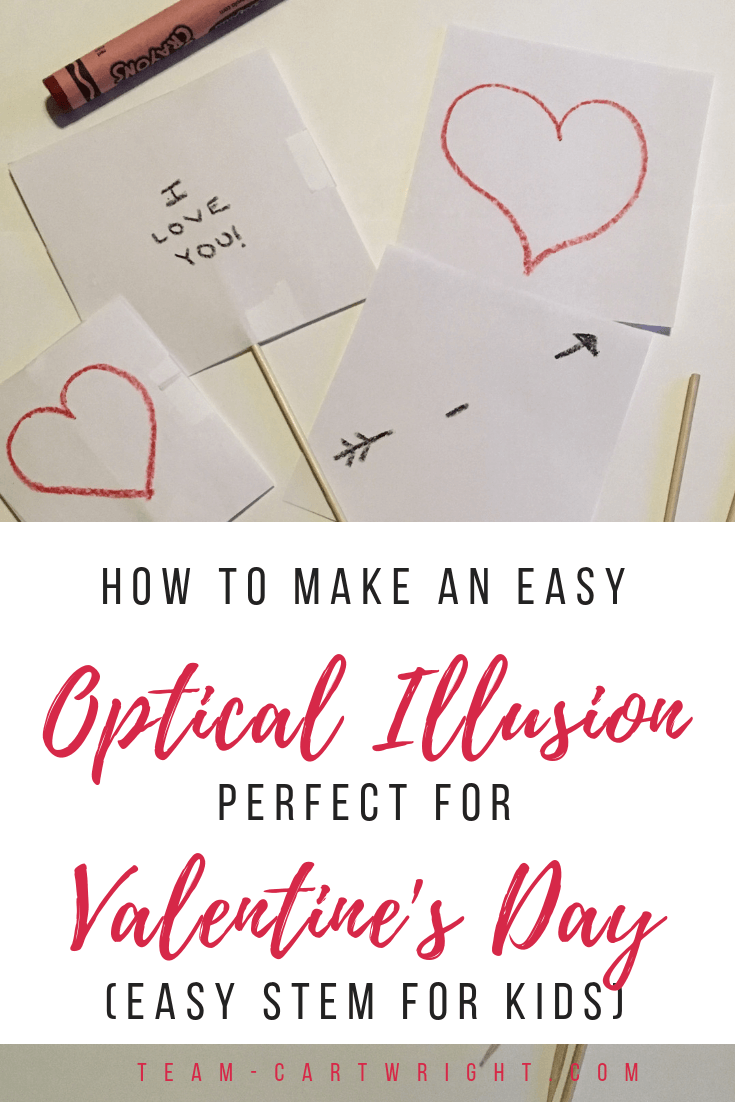
Cut out two squares of the same size. Draw a big heart on one piece of paper. Lightly trace the heart onto the other piece of paper in pencil. (The adult might want to do this, you want to be able to erase it well.)
Draw in the other part of the Valentine. You can add an arrow or just a message like ‘Happy Valentine’s Day!’ Then erase the pencil line.
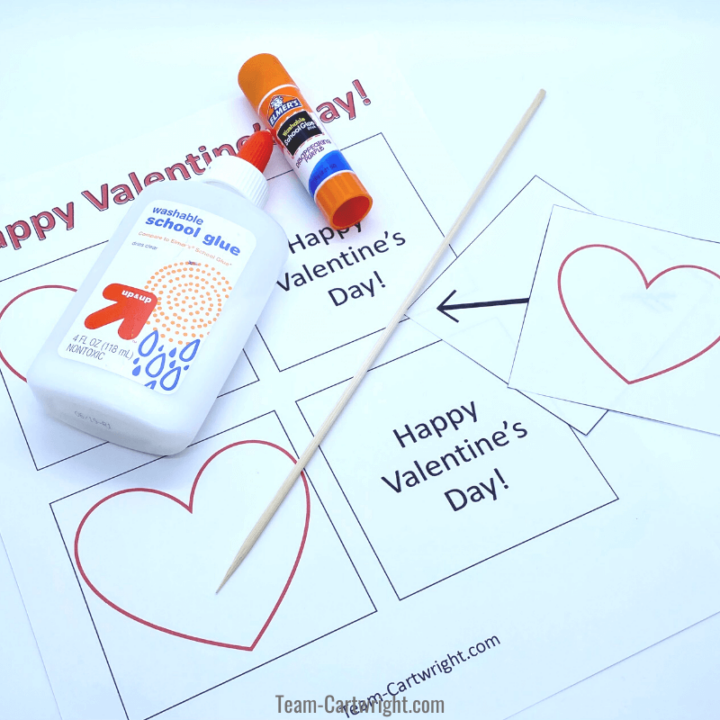
If you are using the printables then print out the square of Valentine’s and cut out the individual squares. They can be used as is or have your child color them. (The printables have a few blank ones so your child can draw whatever they like if that helps too!)
Place one of the pictures face down and tape or glue your stick to the center of it. (Make sure it is very secure, don’t skimp on the tape!) Take the other piece and place it over the stick, picture facing out. Glue or tape the two pieces together.
The end result should be a stick with pictures facing out on the different sides, ready to twirl.
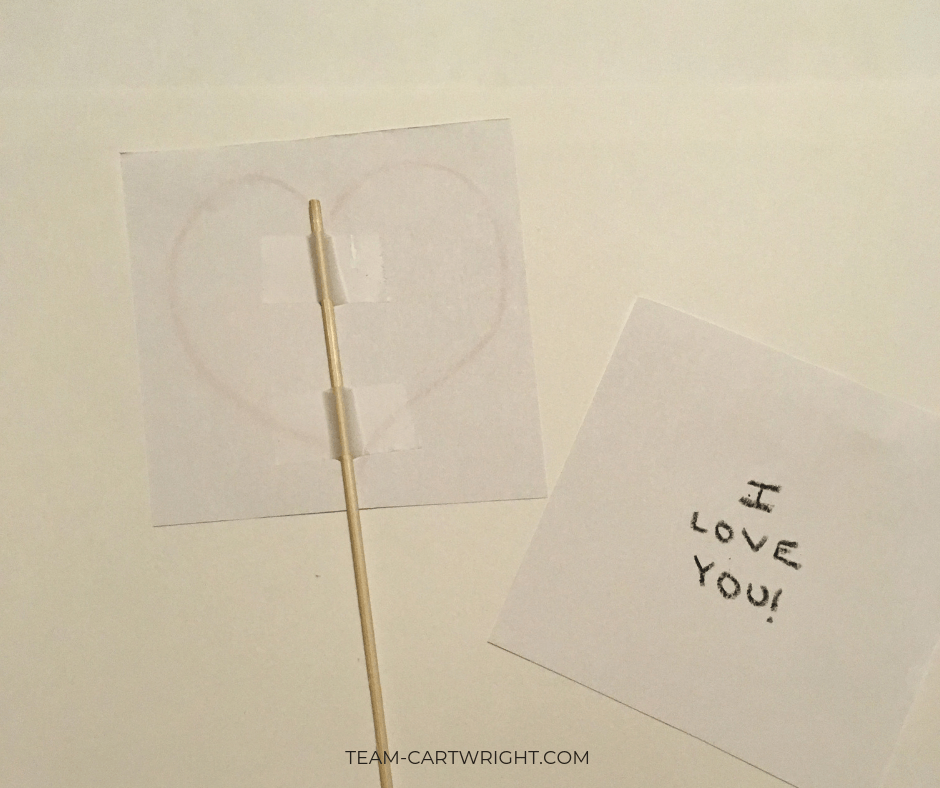
We used kitchen skewers and they worked really well. We also tried using lollipops so the Valentine would have a sweet treat with it. These worked pretty well, but the sticks were a bit short. This made it hard for Ben to twirl. I recommend getting a lollipop with a long stick for little hands to twirl.
(Safety Note: If you use kitchen skewers like I did you might want to trim the end so they aren’t quite so sharp.)
How To Use Your Thaumatrope:
Hold the stick between your palms and rub your hands together to make the stick spin. Watch the animation happen! You made a thaumatrope!
The Science: How Does a Thaumatrope Work?
What you have made here is an optical illusion. As you can see when you twirl your thaumatrope the images appear to become one picture.
This is known as persistence of vision. Persistence of vision is when the brain takes two or more separate images and views them as one. Basically, the image is switching so fast that the retina is still processing the previous image when the new one appears, so the brain perceives it as one picture.
A prime example of this is the birdcage illusion. One side of the picture has a bird, and the other has the cage. When you spin the two you see the bird in the cage.
History of Thaumatropes
This sort of optical illusion toy has actually been around for a long time. The first thaumatrope was published in Paris in 1825, and there are a lot of optical illusion toys besides this one. Check out this article to learn more: Persistence of Vision
Thaumatrope in Action
I am not the best at getting video of the activities we do, but I did grab a quick one of our thaumatrope examples.
Optical Illusions for Kids
Thaumatrope is really just a big word for a really cool little trick. This is a great way to spark an interest in STEM and share Valentine’s Day fun with your kids.
(PS: If you tend to forget about Valentine’s Day until the last minute, check out these tips: Oh, S#&@! I forgot Valentine’s Day!)

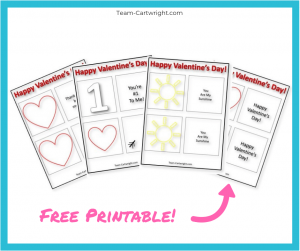
Want to get some free printables to make these thaumatropes for kids even easier to make? I’ve got you covered. They are available in my library of free printables! To gain access and get these freebies you just need to sign up below. Signing up also signs you up for the Team Cartwright mailing list.
Check out more learning fun!
DIY Confetti Poppers for Kids!
Pretty Penny: Can You Clean a Penny with Ketchup?
How To Make Thaumatropes for Kids
Make the best Valentine's that will absolutely wow your kids. These utilize a classic optical illusion. They are fun, candy-free, and easy to make. You can use the printables provided or make your own!
Materials
- Paper
- Crayons or Markers
- Tape or Glue
- Skewer or Round Stick
Tools
- Scissors
Instructions
These thaumatropes are pretty easy to put together, but younger children might need help with the construction. You can use the provided printables to make these or create your own! And make sure to use scissor safety.
Making Your Own Images
Here is how to make your own thaumatrope images. Then I will discuss how to assemble using these or the printed version.
- Cut out squares of paper, approximately 2.5 inches by 2.5 inches. You need two squares per thaumatrope.
- Color your designs. You want one part of the image on each paper. For example, draw a heart on one square and write I Love You on the other. Tip: Draw one image then place it under your other square so you can see where it is and line up your images right.
- Take a round skewer and cut off the pointy tip carefully.
- Glue or tape your skewer in the middle of one of your squares, with the image on the opposite side of the skewer.
- Glue or tape the other image on top of your first square, again with the image no the opposite side of the skewer. (You want both pictures facing out.)
- Let dry.
Using the Free Printable Images
Here is how to make your thaumatropes using the free printables provided.
- Print the free images and carefully cut out the squares.
- Continue with the above instructions steps 3-6.
Creating Your Optical Illusion
Making the optical illusion work is really quite simple.
- Hold the stick of your thaumatrope between your hands, fingers straight as though you were clapping.
- Move your hands back and forth to make the thaumatrope spin.
- Watch the magic of the optical illusion!
Notes
Safety
Use parental supervision while your children are cutting. If your skewers have a pointy end you can trim that off.
Notes
And round stick can be used for these valentines. You can try using pixie sticks if you would like to make a candy treat Valentine. Lollipop sticks also make a good stick to use for these.
